
CMake is a cross-platform free and open-source software tool designed to build, test, and package the software. CMake uses a simple platform and compiler-independent configuration files to control the software compilation process. It leads to the production of native makefiles and workspaces, which are, in turn, used in a compiler environment of choice.
In this post, we are going to show you how to install CMake on your Ubuntu system. Our Ubuntu release of choice in this tutorial is Ubuntu 18.04 LTS.
Installing CMake on Ubuntu
Prerequisites
Before installing CMake, ensure you have root privileges and that your system is up to date by running the commands below.
sudo apt update sudo apt upgrade
Method 1: Install CMake using Ubuntu Software
If you don't want to go about executing a bunch of commands on the Linux Terminal, then this method is for you. As of writing this post, the available stable version of CMake is 3.17.3.
Step 1. Launch the “Ubuntu Software Install” from the Ubuntu applications menu, as shown in the image below.

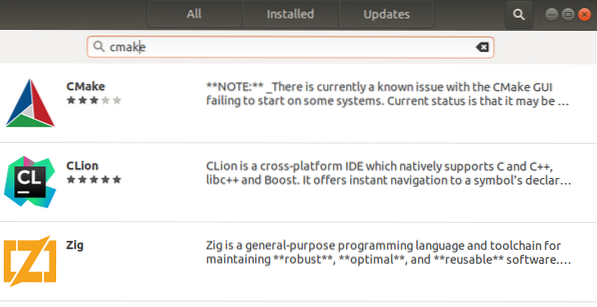
Step 2. On the Ubuntu Software “Search Bar” at the top, type the word CMake and press “Enter.” You will see a list of applications but only Click on the CMake icon. It will probably be the first item on the list, as shown in the image below.
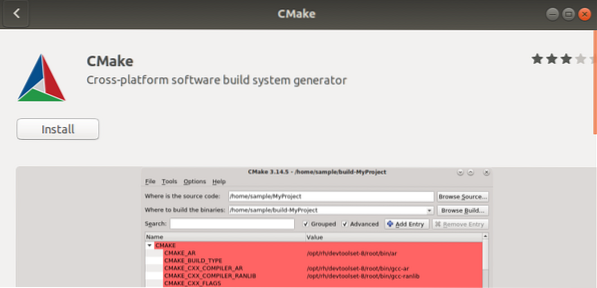
Step 3. Click on the “Install” button to download and install CMake on your Ubuntu system. You might be required to enter your root password to continue with the installation.
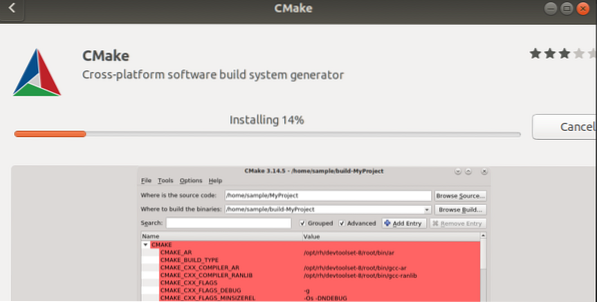
Step 4. You can track the installation progress using the percentage below, as shown in the image.
CMake will now install in your system. If the process completes successfully, You should see a window similar to the one on the image below.
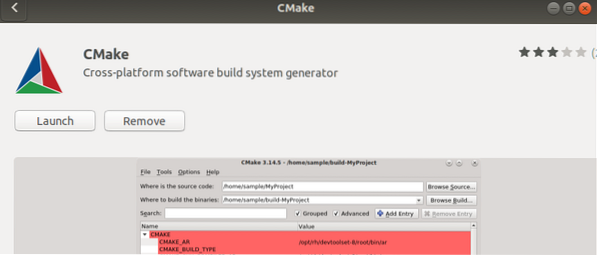
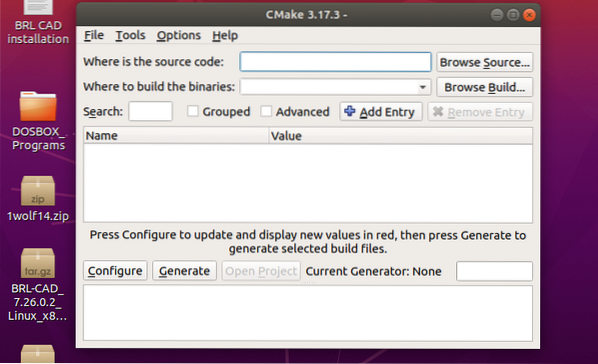
Step 5. To start CMake, click on the “Launch” button. The CMake window should open, as shown in the image below.
Uninstall CMake using the Ubuntu Software
If you wish to remove CMake from your system using the Graphical User Interface GUI), it is pretty straightforward.
Step 1. Launch the Ubuntu Software application and search for “CMake” on the search bar above.
Step 2. Click on the CMake application that appears on the list. You should see a window similar to the one below.
Step 3. Click on the “Remove” button to uninstall CMake from your Ubuntu system.
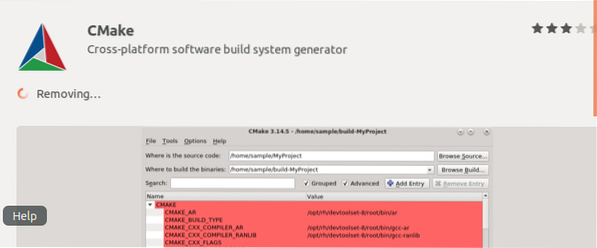
From the image below, we can see “CMake” is uninstalling from your system.
Method 2: Installing CMake using command-line
This is the method to follow to install CMake in your Ubuntu system to those who prefer the Command-line method over the Graphical User Interface. There are two ways which you can use to install CMake on your system via the Terminal:
a) Using snap
b) Using the source code from the official CMake website
Snap app
Step 1. Launch the Ubuntu Terminal and execute the command below.
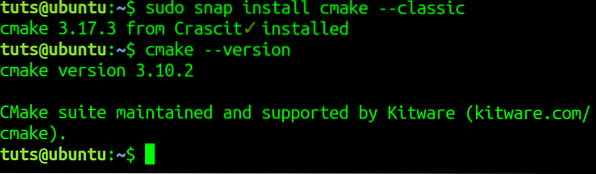
sudo snap install cmake -classic
Once the installation completes, run the “-version” command below to see the CMake version installed in your system.
cmake --version
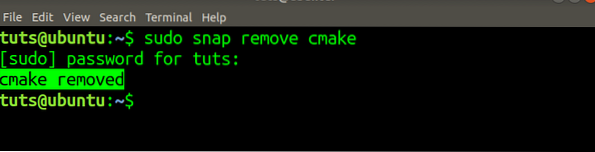
To Remove/Uninstall CMake using snap in the command-line, run the command below.
sudo snap remove cmake
Note, this method only works for CMake installed via Snap or Graphical way using the Ubuntu Software.
Installing CMake using Source Code VI
Before writing this post, I tried installing CMake from the Ubuntu repository and PPA, but none of them installed the latest CMake version. To install the latest CMake version, follow the steps below.
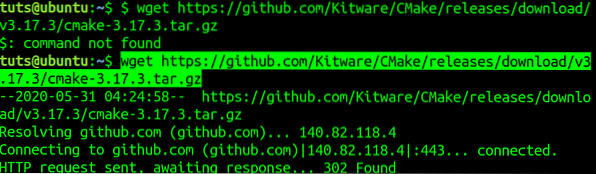
Step 1. Download the CMake source code from its official website. That can be done using the “wget” command on the Terminal, as shown below. Make sure to replace the link in the below command with the link you copy from the official website.
$ wget https://github.com/Kitware/CMake/releases/download/v3.17.3/cmake-3.17.3.tar.gz
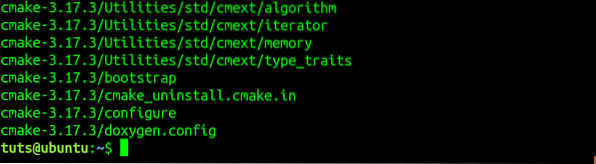
Step 2. Navigate to the directory where you downloaded the code. It should be the folder in which you run the “wget” command. Run the “tar” command to extract the contents.
tar -zxvf cmake-3.17.3.tar.gz
Step 3. Navigate to the newly created CMake directory using the “cd” command.
cd cmake-3.17.3

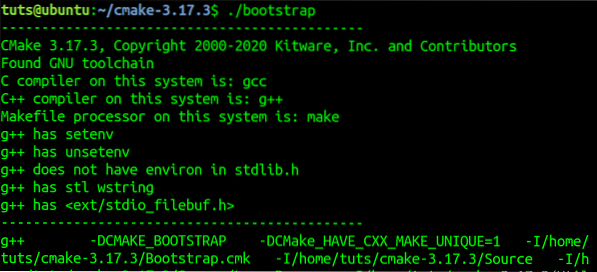
Step 4. Run the command below to compile and install CMake in your Ubuntu system.
sudo ./bootsrap
Once the process completes, you should see a message, as in the image below.
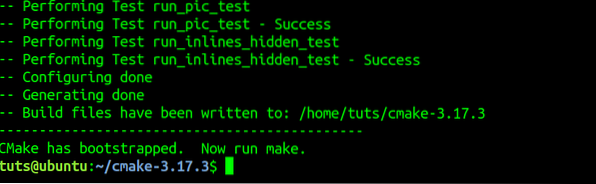
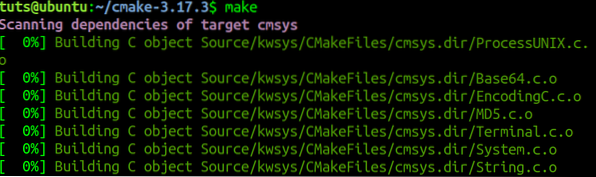
Step 5. Run the “make” command.
make
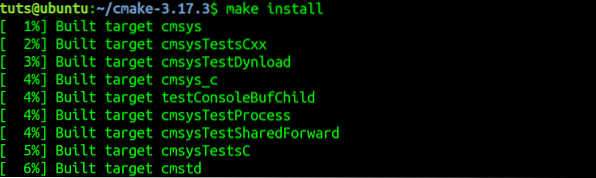
Step 6. Run the “make install” command to install CMake in your system.
make install
Step 7. To confirm that CMake installed successfully in your system, run the “version” command.
cmake --version

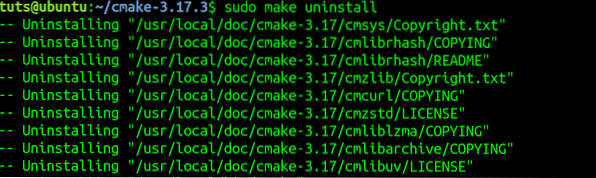
To Remove/Uninstall CMake installed using the “make” command, run the command below.
sudo make uninstall
Conclusion
Those are two ways to install CMake on your Ubuntu system. If you are new to using CMake and would like to know more about it, head over to the official site to read their comprehensive documentation.


