
Method 1: Using Console/Terminal Window
First, check your webcam and microphone, because the ZOOM conferencing application relies on these peripherals.
Step 1: Update APT
As always, update your APT first. Open the terminal window on your Ubuntu desktop and type in the following commands.
$ sudo apt update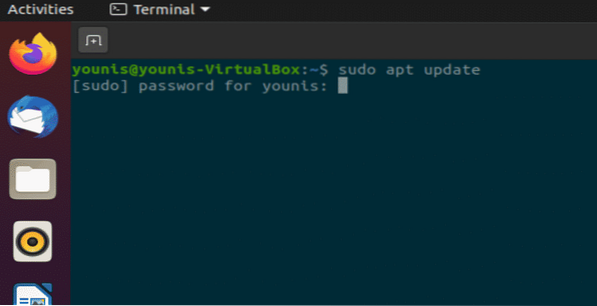
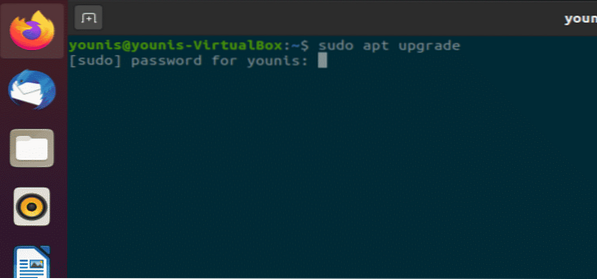
Step 2: Install Zoom-Client
Execute the following command in your terminal window to install the ZOOM client. You will be asked for a password, as the install requires root privileges.
$ sudo snap install zoom-client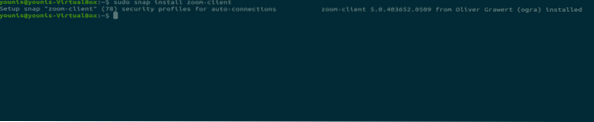
This will download and install the ZOOM client application from the Ubuntu software repository.
Step 3: Launch ZOOM
In your terminal window, execute the following command to start using ZOOM.
$ zoom-client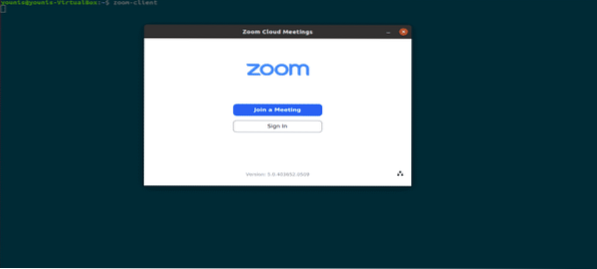
Figure: ZOOM Login screen.
Method 2: (GUI METHOD) Using the Ubuntu Software Center
Now, I will show you how to install ZOOM via the Graphical User Interface (GUI) method.
Step 1: Open Software Center
Click on Activities in Desktop and in the search bar, type “software” and click on it, as shown in the following snapshot.

Figure: Selecting the Software Center.
Step 2: Search for ZOOM in the Software Center
In the Ubuntu Software Center, type “zoom” in the search bar and click on it, as shown in the following snapshot.
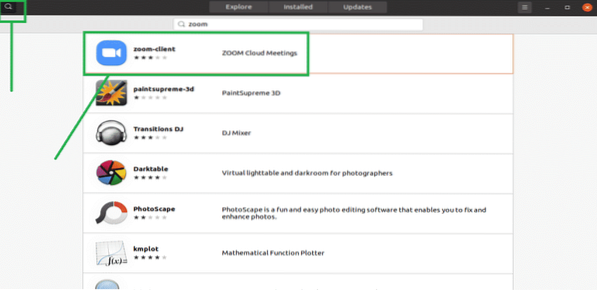
Figure: Search for the ZOOM client in the search bar.
Step 3: Install ZOOM Client App
Click on the “Install” button, and the ZOOM client application will install.
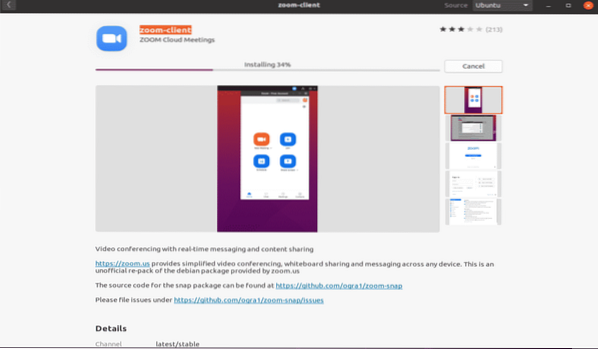
Figure: Installing ZOOM client in the Software Center.
Step 4: Launch Zoom
To start the ZOOM client, click on the “Launch” button after installing.
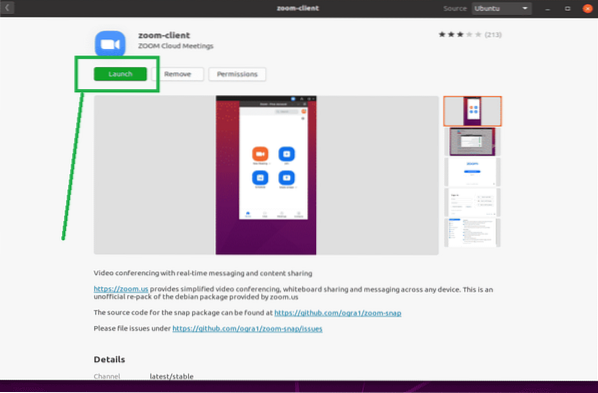
Figure: Launch ZOOM app by clicking the green button.
Step 5:
Congratulations, ZOOM is ready.
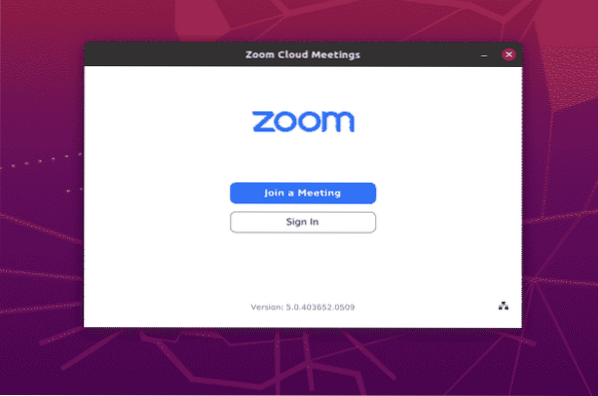
Figure: ZOOM app login screen.
Conclusion
Installing the ZOOM application is very easy in Ubuntu 20.04. This article showed you two straightforward methods for installing and using the ZOOM app on Ubuntu 20.04 Focal Fossa.


