Enabling Package Repositories:
First, you have to make sure that the official main, restricted, universe and multiverse repositories are enabled.
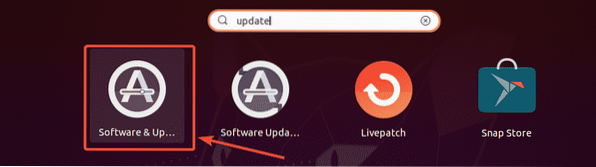
To do that, open the Software & Updates app from the Application Menu of Ubuntu 20.04 LTS.
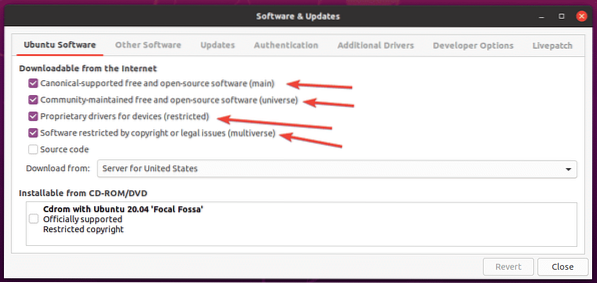
Now, in the Ubuntu Software tab, make sure the marked check boxes are checked.
Updating Package Repository Cache:
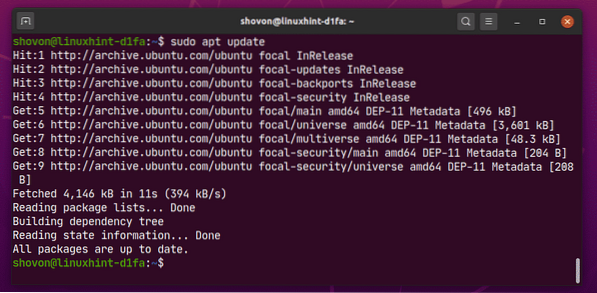
Now, update the package repository cache with the following command:
$ sudo apt update
The APT package repository cache should be updated.
Installing Multimedia Codecs:
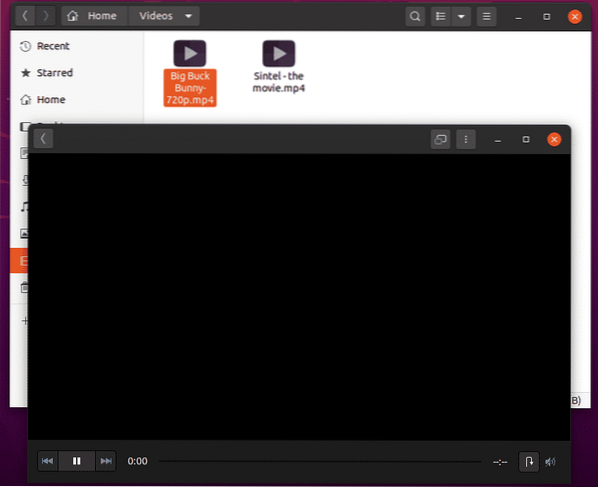
Multimedia codecs are essential for playing audio and video files. By default, multimedia codecs are not installed on Ubuntu 20.04 LTS.
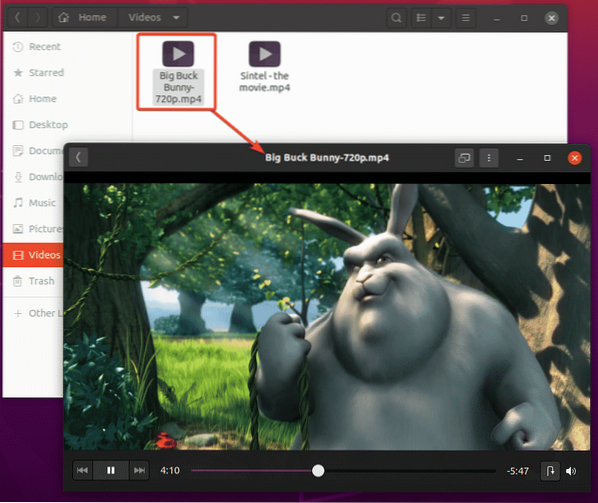
As you can see, I am not able to play the video file Big Buck Bunny-720.mp4 with the default Ubuntu 20.04 LTS Videos app. Once you install the multimedia codecs, you will be able to play any videos/audios with any video/audio player on Ubuntu 20.04 LTS.
You can install all the available multimedia codecs at once with the following command:
$ sudo apt install ubuntu-restricted-extras
Now, to confirm the installation, press Y and then press
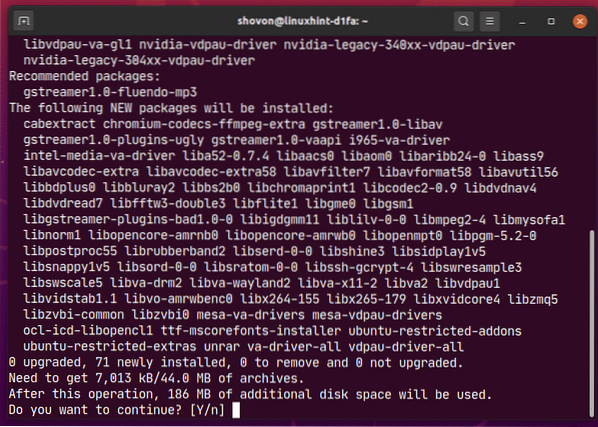
Ubuntu should download all the required packages from the internet.

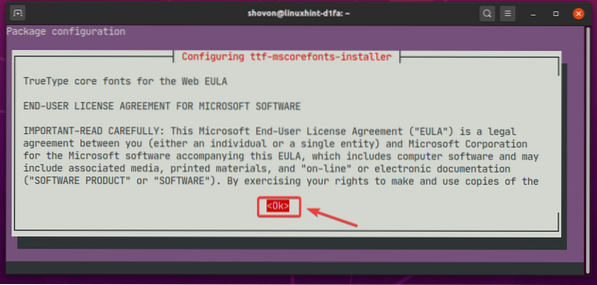
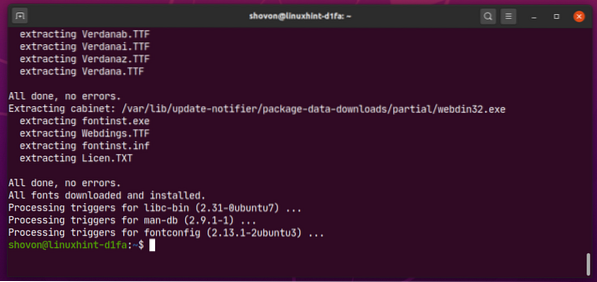
Ubuntu 20.04 LTS will install Microsoft fonts along with the multimedia codecs.
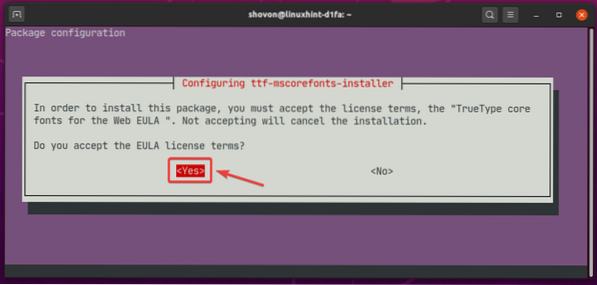
You have to accept the EULA (End User License Agreement) of Microsoft if you want to install Microsoft fonts on Ubuntu 20.04.
Select
Now, select
NOTE: If you don't want to install Microsoft fonts, don't accept the Microsoft EULA. Just select
The installer should continue.
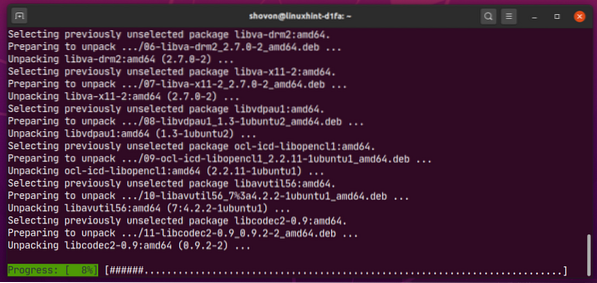
At this point, all the multimedia codecs should be installed.
Once the multimedia codecs are installed, you should be able to play any video/audio file on Ubuntu 20.04 LTS as you can see in the screenshot below.
Installing VLC Media Player:
You can install VLC media player on Ubuntu 20.04 LTS. VLC media player is one of the best video and audio player out there. It can play almost any type of media files. There is a saying that if VLC can't play a media file, no other player can. I personally like VLC media player a lot.
You can install VLC media player with the following command:
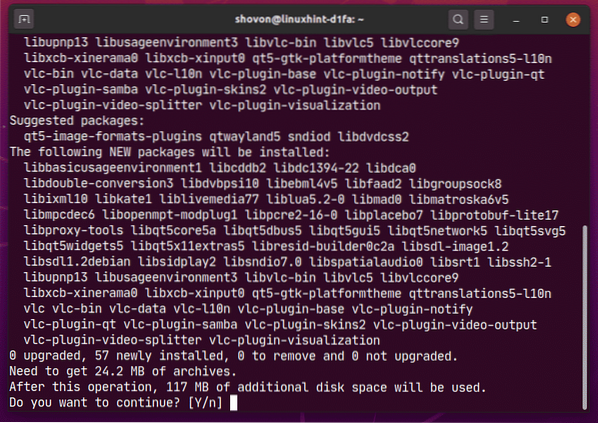
$ sudo apt install vlc
Now, to confirm the installation, press Y and then press
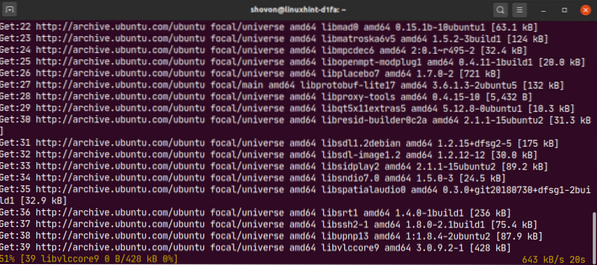
All the required packages are being downloaded from the internet.
At this point, VLC should be installed.
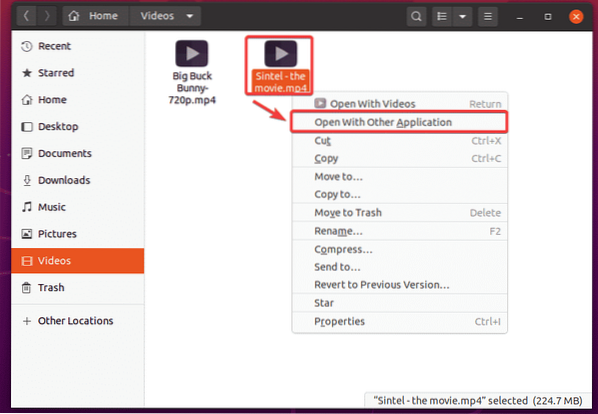
Now, to play a media file with VLC, right click (mouse) on the file and click on Open With Other Application.
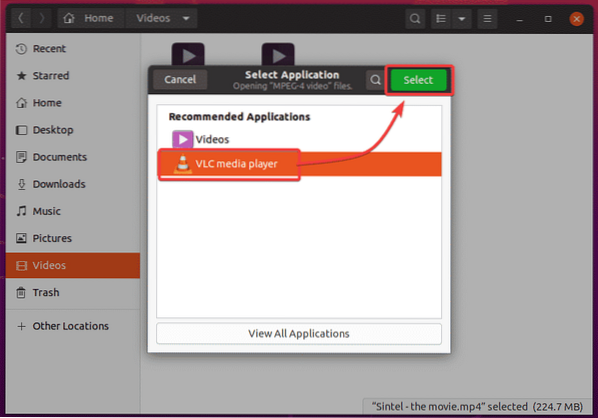
Select VLC media player from the list and click on Select.
As you're running VLC media player for the first time, you will see the following window.
Check Allow metadata network access and click on Continue. This way, VLC will automatically download information about the media file being played (i.e. album covers) from the internet.
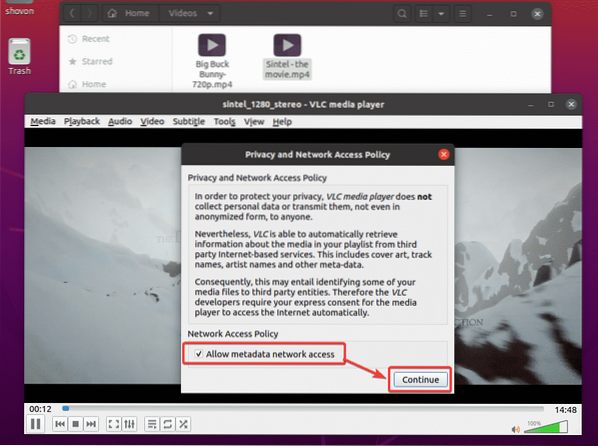
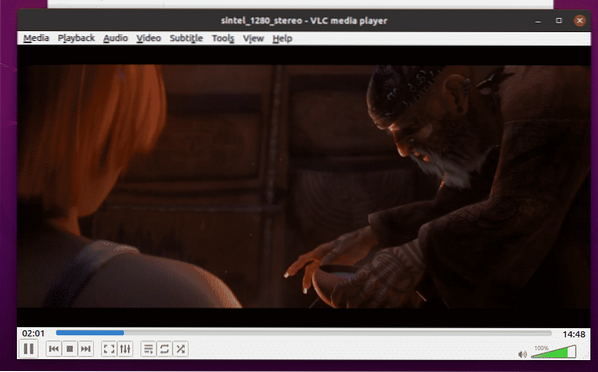
VLC is playing Sintel - the movie.mp4 file as you can see in the screenshot below.
Installing Clementine Music Player:
If you don't like Rhythmbox, the default music player of Ubuntu 20.04 LTS, you can try Clementine. It is like Rhythmbox, but it has a better user interface and more features. Clementine can also download the lyrics, album cover, artist information etc. of the music you're playing automatically.
You can install Clementine with the following command:
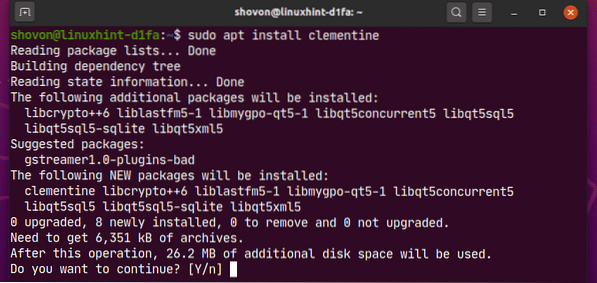
$ sudo apt install clementine
To confirm the installation, press Y and then press
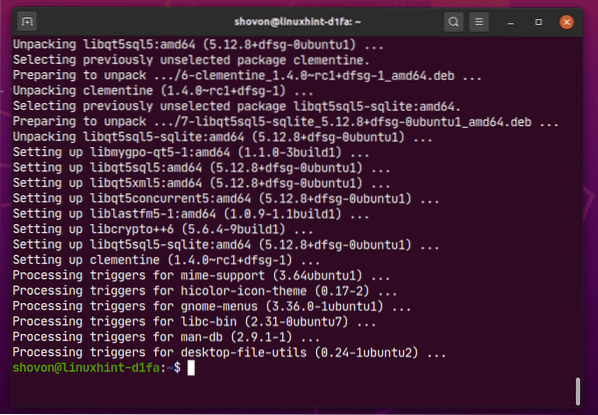
Clementine should be installed.
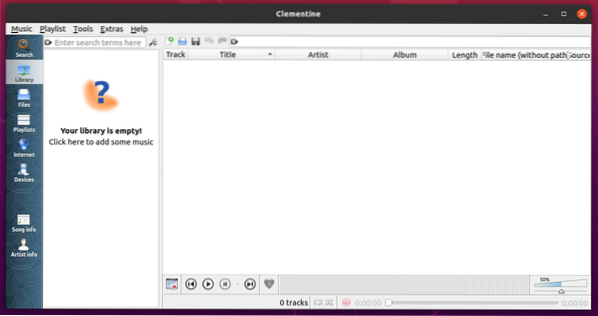
Once you have installed Clementine, you can start Clementine from the Application Menu of Ubuntu 20.04 LTS.
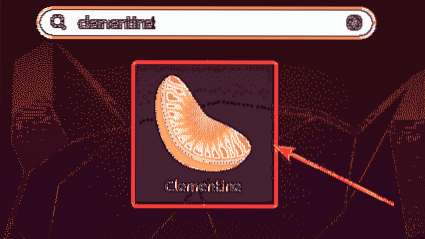
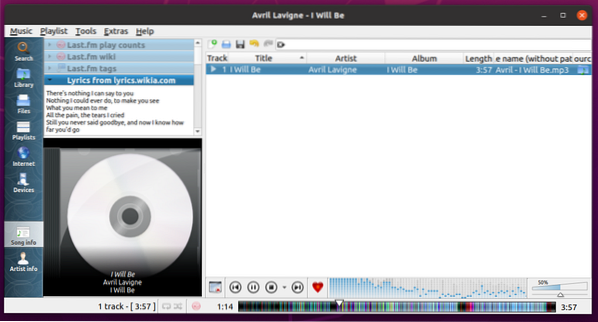
Clementine music player should start.
As you can see, Clementine is playing a music. On the right, the lyrics of the music is being displayed.
Set Default Video and Music Player on Ubuntu 20.04 LTS:
If you want to change the default video and music player on Ubuntu 20.04 LTS, this section is for you.
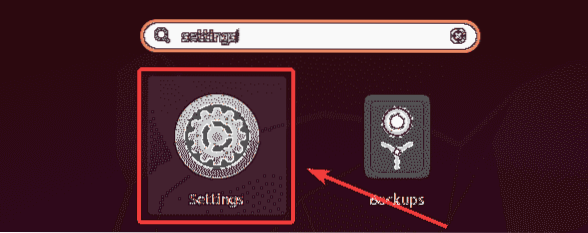
First, open the Settings app from the Application Menu of Ubuntu 20.04 LTS.
Now, go to the Default Applications tab from the Settings app. As you can see, Rhythmbox is set as the default Music player and Videos is set as the default Video player on Ubuntu 20.04 LTS.
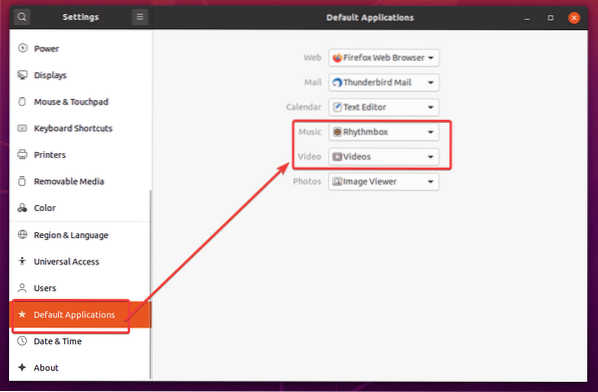
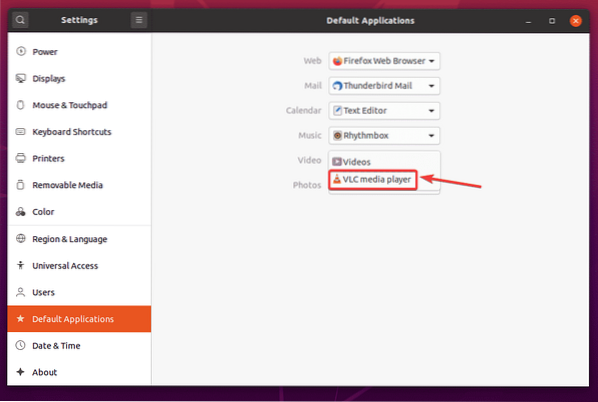
To change the default Video player to VLC media player, click on the Video dropdown menu and select VLC media player form the list.
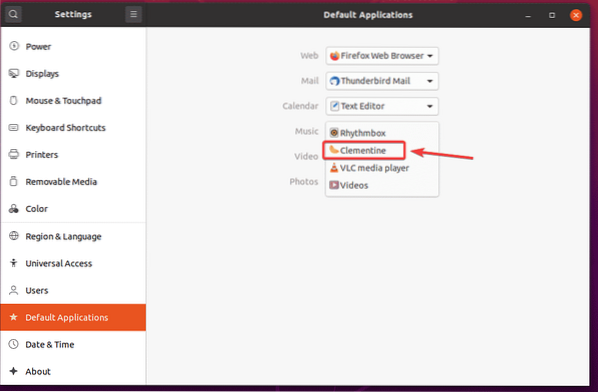
The same way, click on the Music dropdown menu and select your default music player from the list.
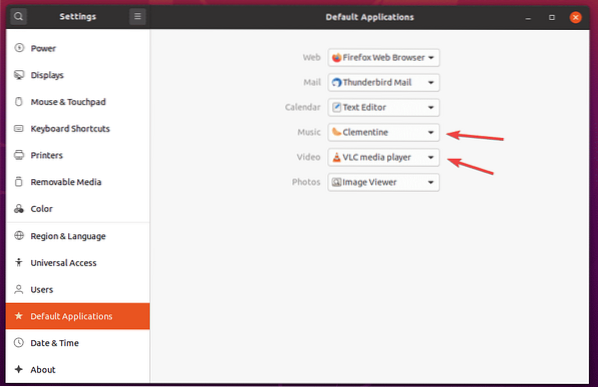
As you can see, VLC media player is set as the default Video player and Clementine music player is set as the default Music player.
So, that is how you install multimedia codecs on Ubuntu 20.04 LTS. Thanks for reading this article.