Things You Need:
To follow this article, you need the following components:
- A Raspberry Pi 2 or Raspberry Pi 3 single board computer.
- A microSD card (16 GB or more) for flashing Raspbian.
- A HDMI cable and a monitor as a Display for Raspberry Pi.
- A USB keyboard and a USB mouse for input.
- A computer with internet connection for downloading and flashing Raspbian.
- A good quality Android phone charger with micro USB cable for powering up Raspberry Pi.
Downloading Raspbian OS:
You can download Raspbian from the official website of Raspberry Pi. First, Go to the download page of Raspbian at https://www.raspberrypi.org/downloads/raspbian/
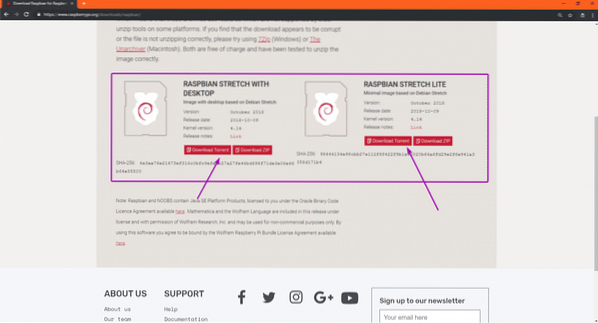
Once the page loads, scroll down a little bit and you should see the section as marked in the screenshot below. There are two versions of Raspbian you can download from the official website of Raspberry Pi. The Raspbian Lite image does not have any desktop environment pre-installed. The Raspbian with Desktop has a desktop environment pre-installed. Raspbian Lite image is smaller than Raspbian with Desktop image. You can download any one of these images depending on your need.
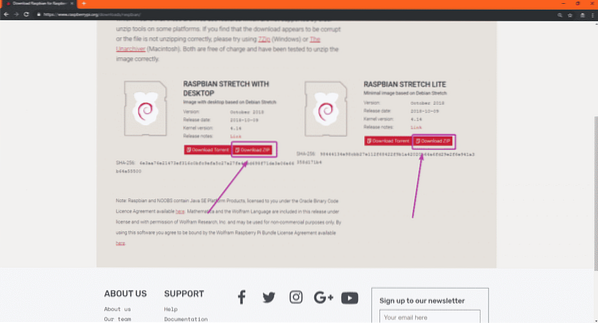
To download Raspbian OS image, just click on the Download ZIP button of the Raspbian OS version you need as shown in the screenshot below.
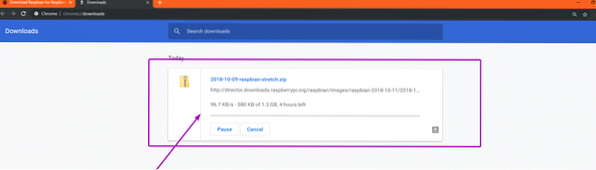
Your download should start. It may take a while to complete.
Flashing Raspbian on micoSD Card:
To flash Raspbian OS image to the microSD card, I am going to use Etcher in this article. Etcher is available to download and use for free on Windows, Mac and Linux. It is one of the best tool for flashing microSD card for Raspberry Pi. You can download Etcher from the official website of Etcher at https://www.balena.io/etcher . If you're using Linux, then it is out of the scope of this article to show you how to install Etcher on Linux. I will have a separate article on that. So, keep an eye on LinuxHint.com.
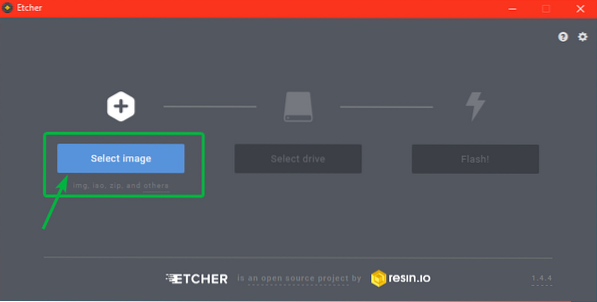
Anyway, once Etcher is installed, insert the microSD card on your computer and open Etcher.
Now, click on Select image as marked in the screenshot below.
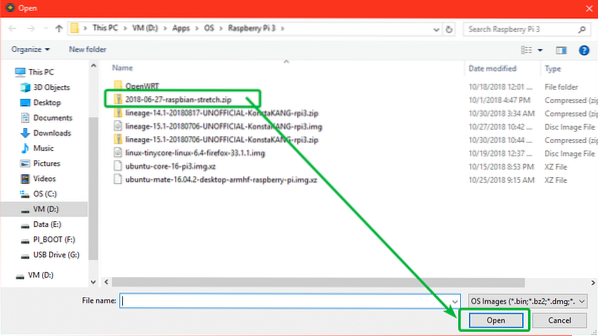
A file picker should be opened. Now, select the Raspbian OS image that you just downloaded and click on Open.
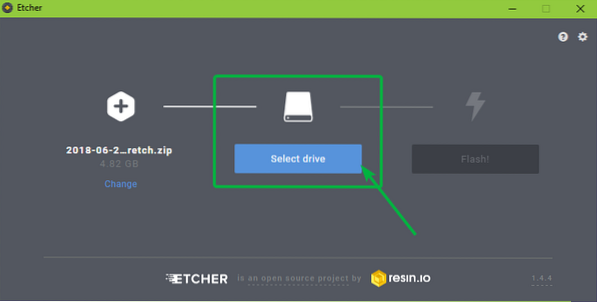
Now, click on Select drive.
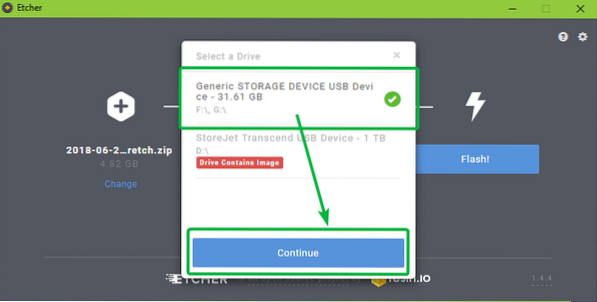
Now, select the microSD card device that you want to flash Raspbian OS image on and click on Continue.
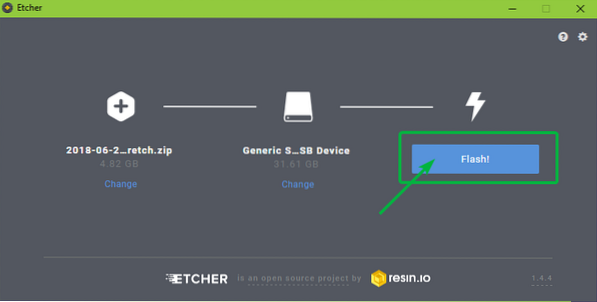
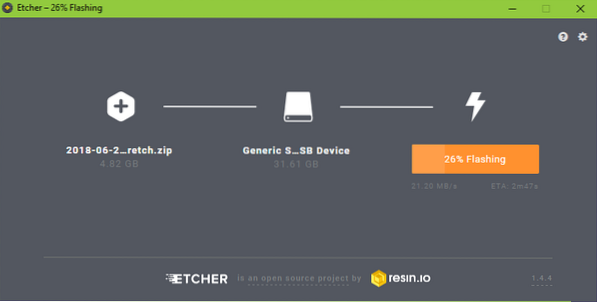
Now, click on Flash! As marked in the screenshot below.
The microSD card is being flashed…
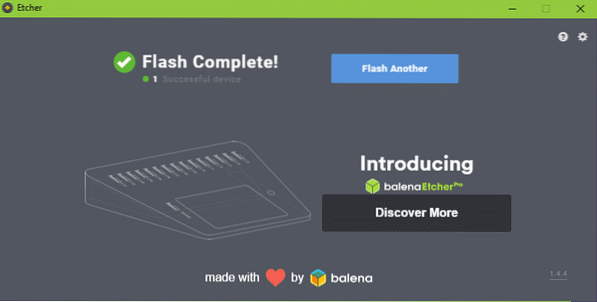
Once the microSD is flashed, you should see the following window. Now, eject the microSD card from your computer.
Setting Up Raspberry Pi and Booting into Raspbian:
Now,
- Insert the microSD card on your Raspberry Pi.
- Connect one end of the HDMI cable of your monitor to your Raspberry Pi.
- Connect the USB keyboard and USB mouse on Raspberry Pi.
- Connect the micro USB charger cable to your Raspberry Pi.
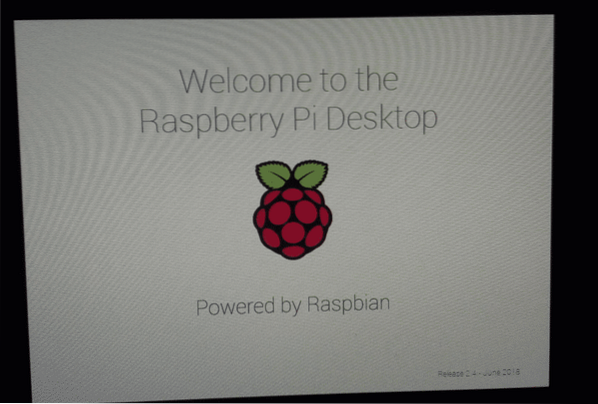
Finally, power on your Raspberry Pi and you should see the following window. Raspberry pi is booting.
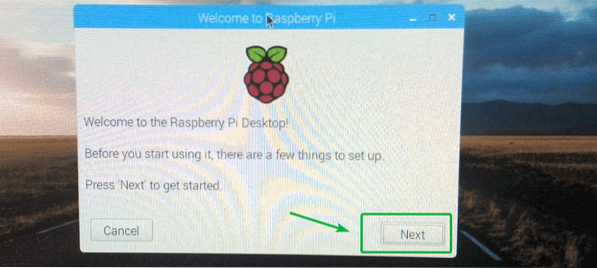
Within a few seconds, Raspbian should be booted. As you're using Raspbian for the first time, you will have to configure Raspbian. So, click on Next.
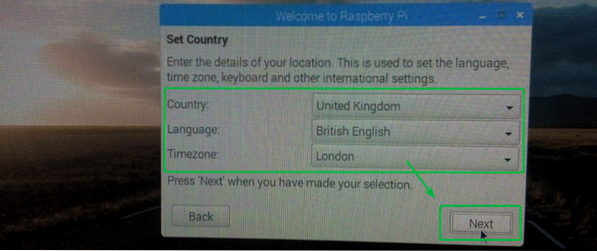
Now, select your country, language and time zone using the dropdown menu. Once you're done, click on Next.
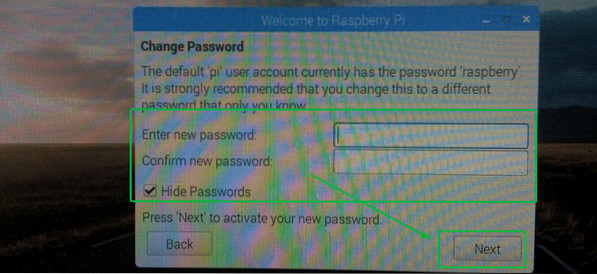
Now, type in the password that you would like to set on your Raspbian OS. Once you're done, click on Next.
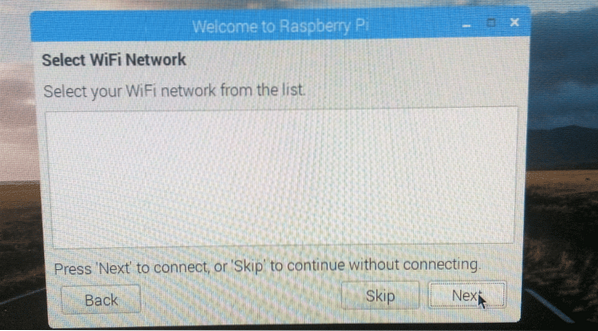
Now, you can connect to a Wi-Fi network if you want. The Wi-Fi network in your area should show up in the list. My Wi-Fi SSID is hidden, so it's not showing up here. Besides, I will connect to internet using LAN cable anyway, so I don't need Wi-Fi at the moment.
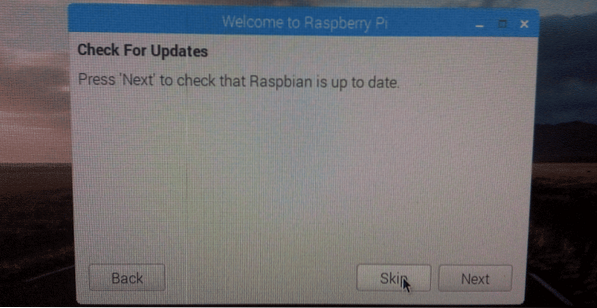
Once you have configured the network, you should see the following window. If you want to keep the software packages of your Raspberry Pi up to date, then click on Next. Otherwise, click on Skip.
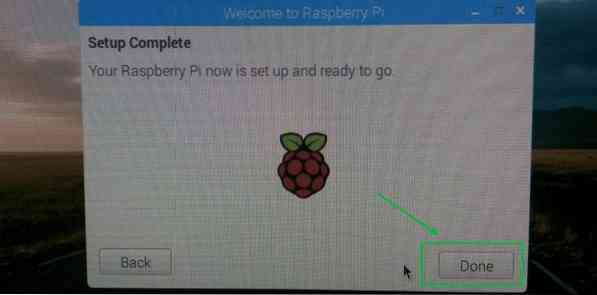
Your Raspberry Pi should be ready. Finally, click on Done.
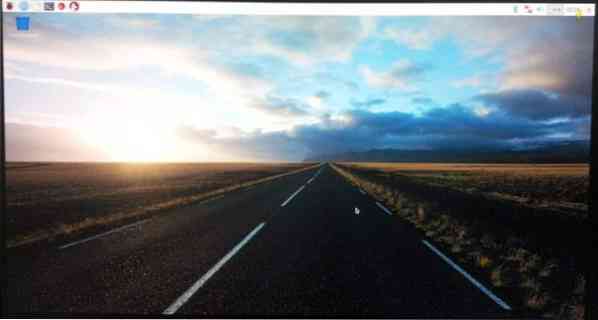
The Raspbian OS's desktop environment.
Enabling SSH and VNC:
You may not want to use an external monitor every time you want to work with your Raspberry Pi. You can connect to your Raspberry Pi remotely using SSH or VNC. You should use SSH if you prefer to work on the command line. If you prefer to work using the graphical desktop environment, then enable VNC as well.
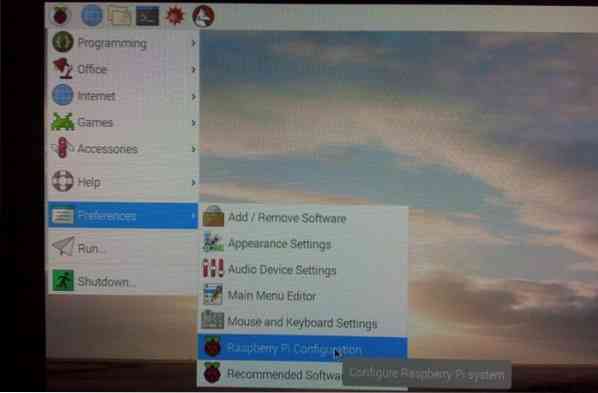
First, open the Raspberry Pi Configuration app as shown in the screenshot below.
Raspberry Pi Configuration app should be opened. Now, click on Interfaces.
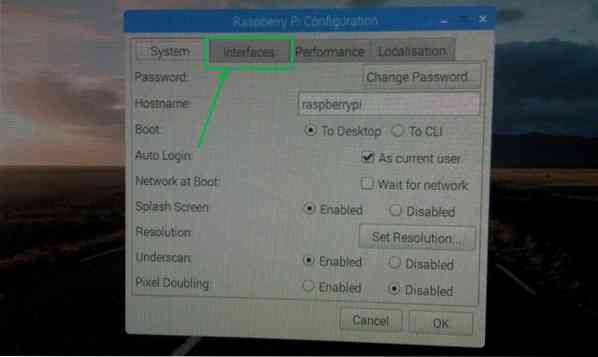
Now, make sure SSH and VNC are Enabled as marked in the screenshot below. Then, click on OK.
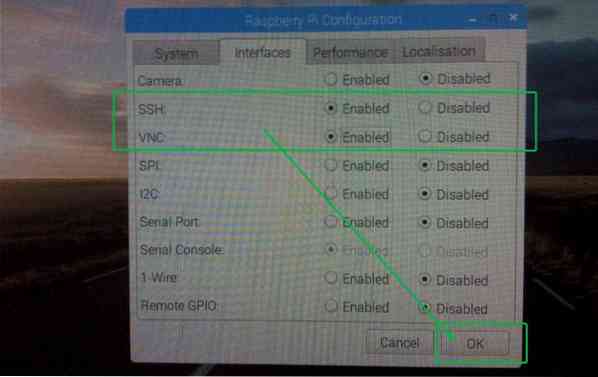
SSH and VNC should be enabled.
When VNC is enabled, the marked logo should be displayed on the top bar of Raspbian OS.

Finding Out the IP Address Of Raspberry Pi:
Now, open up a Terminal as follows:
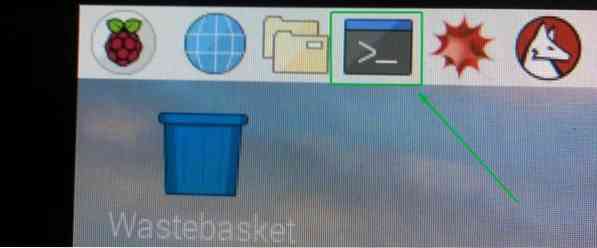
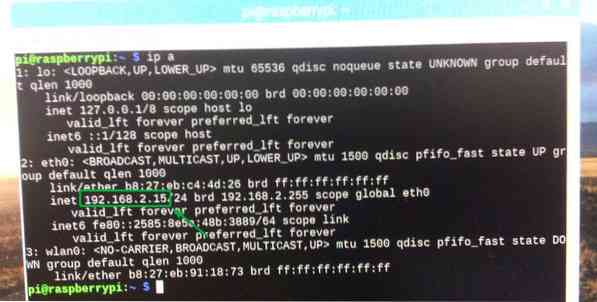
Now, to find out the IP address of your Raspberry Pi, run the following command:
$ ip aThe configured IP addresses should be listed. As you can see, my Raspberry Pi 3 Model B got the IP address 192.168.2.15 using DHCP on its LAN interface.
Remotely Connecting to Raspberry Pi using SSH and VNC:
Now that you know the IP address of your Raspberry Pi, you can connect to it remotely using SSH or a VNC Client software. Remember, the default username of Raspberry Pi is pi and the password is the one that you set earlier while configuring Raspberry Pi.
To connect to your Raspberry Pi using SSH, you can run the following command from another computer:
$ ssh [email protected]To connect to your Raspberry Pi's graphical desktop environment using VNC protocol, you can use VNC viewer app.
You can download VNC Viewer from the official website of RealVNC at https://www.realvnc.com/en/connect/download/viewer
So, that's how you install Raspbian on Raspberry Pi. Thanks for reading this article.


