Network Topology:
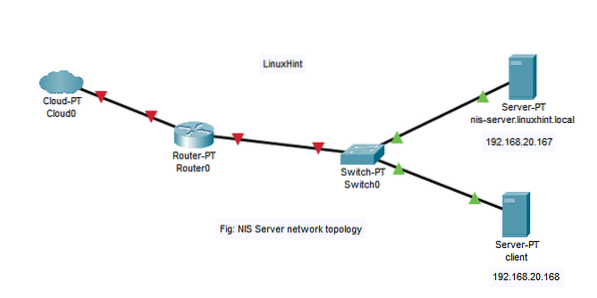
Here, we have 2 machines with Ubuntu Server 18.04 LTS operating system installed.
In this article,
NIS Server:
Hostname = nis-server.linuxhint.local
IP Address = 192.168.20.167/24
NIS Client:
Hostname = client
IP Address = 192.168.20.168/24
Things You Must Know:
The NIS server nis-server.linuxhint.local must have an static IP address configured. In this article, it's configured with the static IP 192.168.20.167. client machine must be on the same network as the nis-server.linuxhint.local server. The hostname must be a Fully Qualified Domain Name (FQDN) and configured correctly in the NIS server. Here, the NIS server has the hostname nis-server.linuxhint.local and the domain name linuxhint.local
You may use DNS server to resolve hostname and domain name. You can also use the /etc/hosts file. In this article, I will be using the /etc/hosts file for DNS resolution. The client machine must also be able to resolve the NIS server hostname and domain name. You can also use either a DNS server or /etc/hosts file for DNS resolution in the client machine.
Setting Static IP in NIS Server:
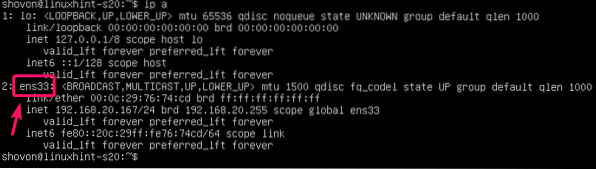
First, find the network interface name with the following command:
$ ip aHere, the network interface name is ens33 in my case. It may be different for you. Make sure to replace it with yours from now on.
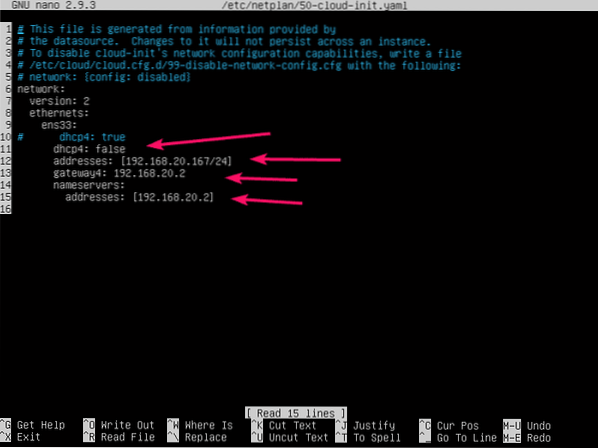
Now, edit the /etc/netplan/50-cloud-init.yaml file with the following command:
$ sudo nano /etc/netplan/50-cloud-init.yaml
Now, add the following lines to the file. Make sure to adjust the IP addresses depending your networking configuration. Once you're done, save the file.
Now, apply the network configuration with the following command:
$ sudo netplan apply
Configuring DNS in NIS Server:
Now, open the /etc/hosts file of the NIS server as follows:
$ sudo nano /etc/hosts
Now, add the following line to the /etc/hosts file and save the file.
192.168.20.167 nis-server.linuxhint.local nis-server linuxhint.local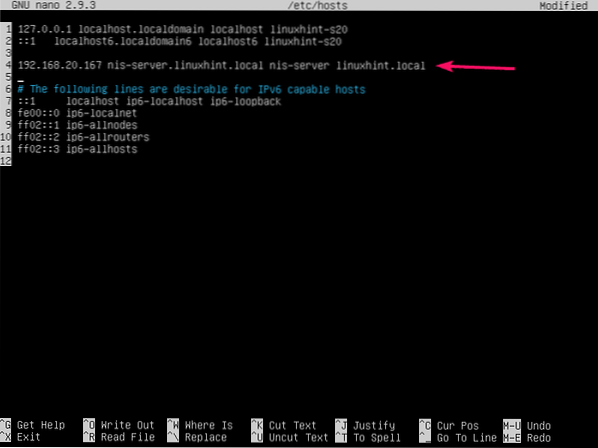
Now, set a FQDN hostname nis-server.linuxhint.local to the NIS server with the following command:
$ sudo hostnamectl set-hostname nis-server.linuxhint.local
Now, reboot the NIS server as follows:
$ sudo reboot
Once the NIS server starts, the hostname should be set to nis-server.linuxhint.local.
$ hostname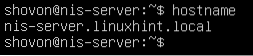
Installing NIS Server:
Now, on the NIS server machine, update the APT package repository cache with the following command:
$ sudo apt update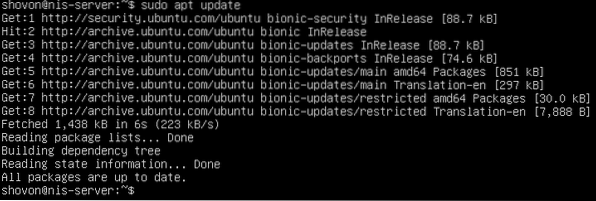
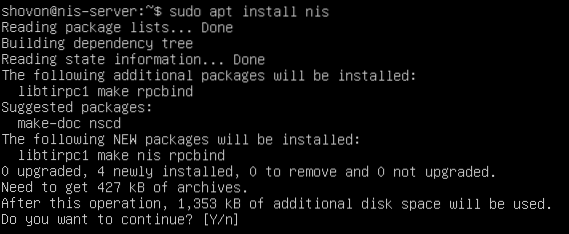
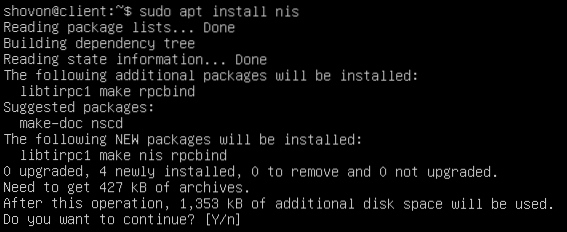
Now, install NIS server package with the following command:
$ sudo apt install nis
To confirm the installation, press Y and then press
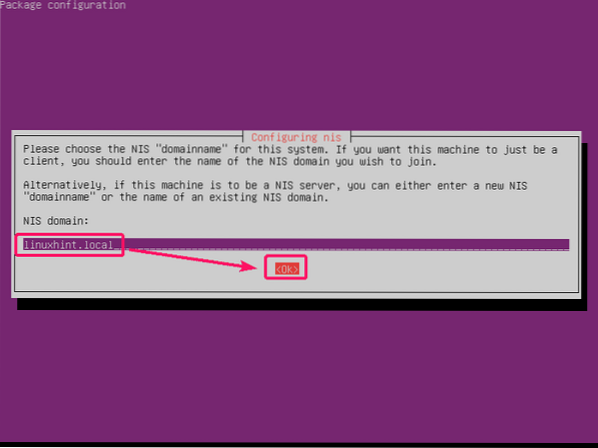
Now, type in your domain name (linuxhint.local in my case), select

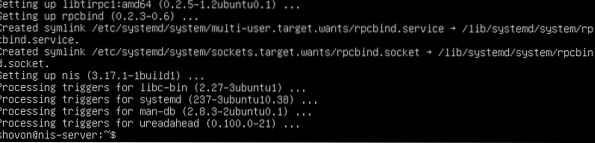
NIS server should be installed.
Configuring NIS Server:
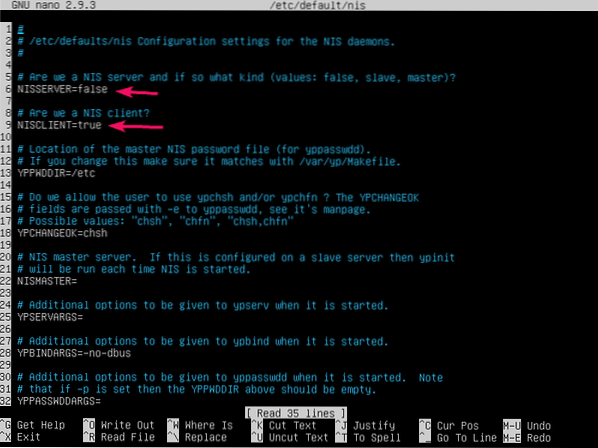
Now, open the configuration file /etc/default/nis with the following command:
$ sudo nano /etc/default/nis
You have to change the 2 lines as marked in the screenshot below.
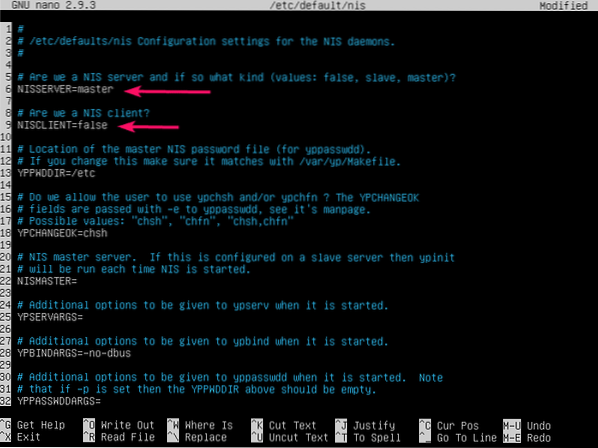
Set NISSERVER to master and NISCLIENT to false as shown in the screenshot below. Then, save the file.
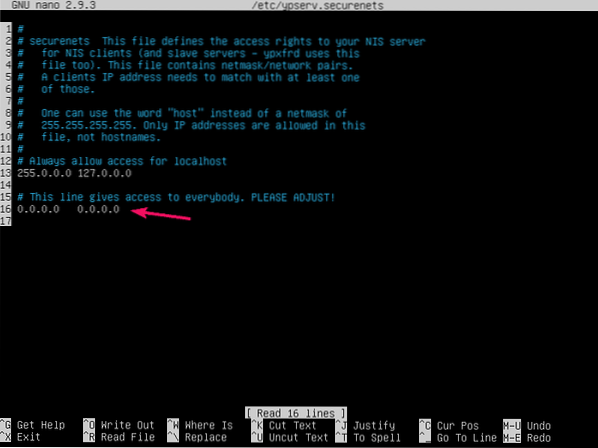
Now, open the /etc/ypserv.securenets file as follows:
$ sudo nano /etc/ypserv.securenets
Add a hash before the marked line to comment it out.
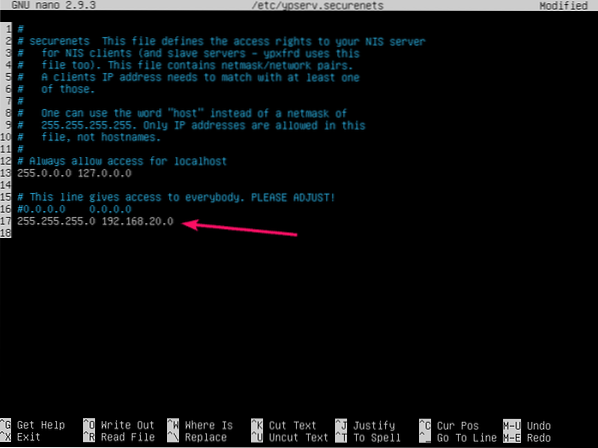
Then, add your own network's netmask and network address in the following format:
netmask network-addressThen, save the file.
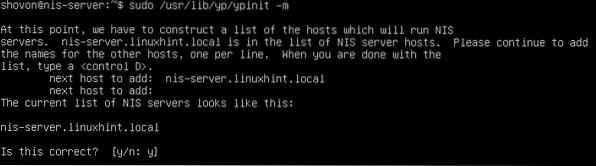
Now, initialize the NIS server database with the following command:
$ sudo /usr/lib/yp/ypinit -m
Your FQDN hostname should be listed here. Now, press

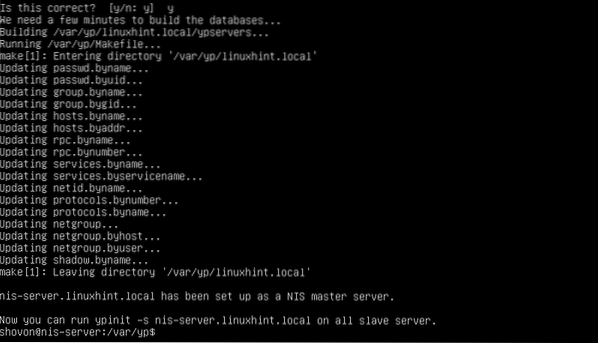
To confirm, press Y and then press
NIS server database should be initialized.
Now, restart NIS service with the following command:
$ sudo systemctl restart rpcbind nis
Adding User to NIS Server:
Now, you can add new users to the NIS server.
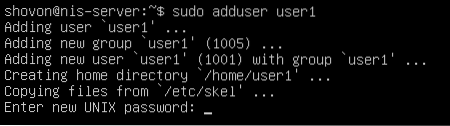
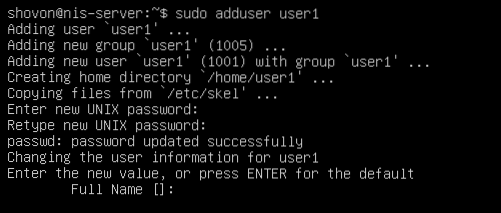
To add a new user user1 (let's say), run the following command:
$ sudo adduser user1
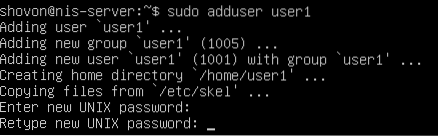
Now, type in a password for the user user1 and press
Retype the password and press
Now, type in some user information.
Once you're done adding all the user information, press Y and then press
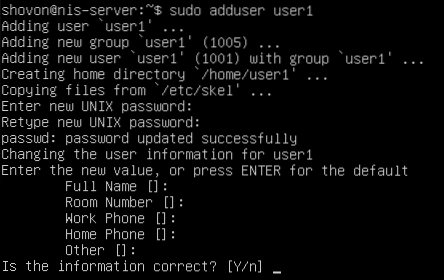
The user user1 should be created.
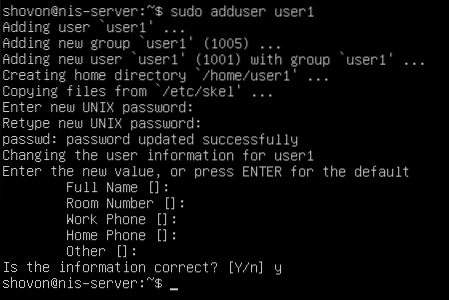
The same way, add another user user2.
$ sudo adduser user2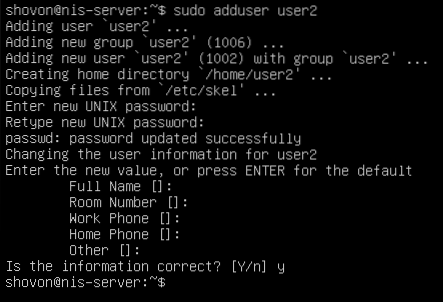
The same way, add another user user3.
$ sudo adduser user3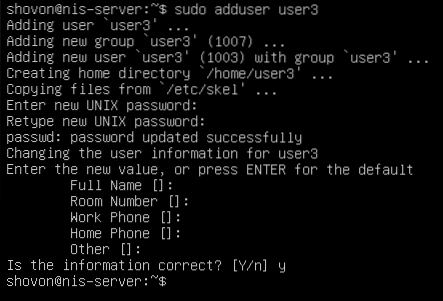
Every time you make new users or change user information i.e. name, home directory, password etc., you must update the NIS user database.
To do that, navigate to /var/yp directory first.
$ cd /var/ypNow, run the following command from the /var/yp directory to update the NIS user database.
$ sudo make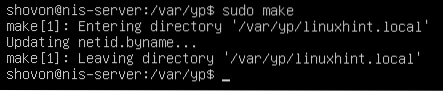
Configuring NIS Client:
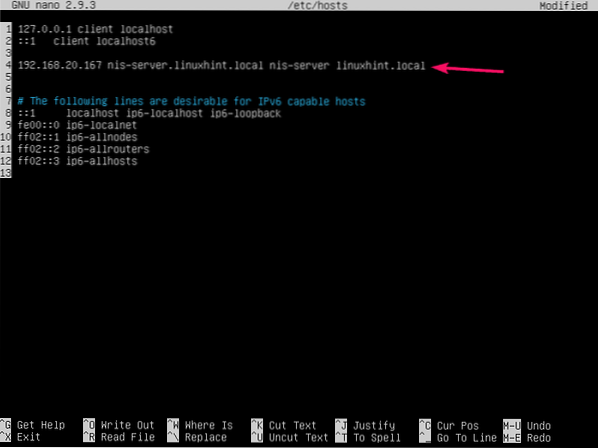
In the NIS client, first add the hostname and domain name of the NIS server to the /etc/hosts file.
$ sudo nano /etc/hosts
Add the following line to the /etc/hosts file and save the file.
192.168.20.167 nis-server.linuxhint.local nis-server linuxhint.local
Now, update the APT package repository cache of the NIS client machine.
$ sudo apt update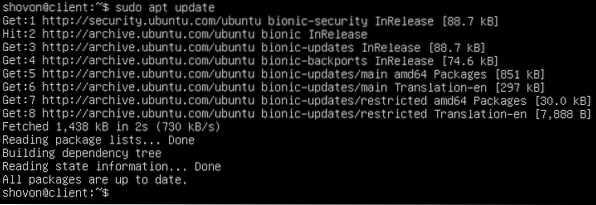
Now, install NIS package in the NIS client machine as follows:
$ sudo apt install nis
To confirm the installation, press Y and then press
Type in the NIS server's domain name (linuxhint.local in this case) and press
NIS package should be installed.

Now, open /etc/yp.conf file as follows:
$ sudo nano /etc/yp.conf
Now, add the following line at the end of the /etc/yp.conf file and save it.
domain linuxhint.local server nis-server.linuxhint.local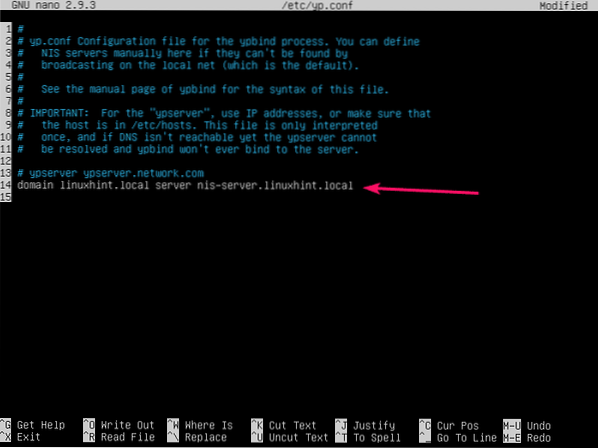
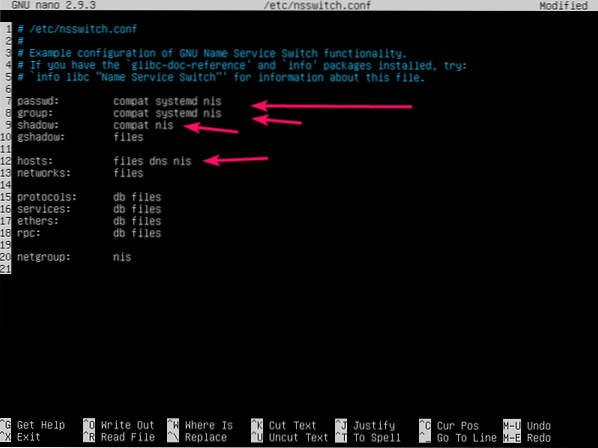
Now, open the /etc/nsswitch.conf file as follows:
$ sudo nano /etc/nsswitch.conf
You have to modify the marked lines.

Add nis at the end of each line as marked in the screenshot below. Once you're done, save the file.
You also have to mount the home directories of the NIS users to your NIS client. You can use iSCSI, NFS, CIFS (Samba) to do that. But it is out of the scope of this article. So, I will keep the NIS users home directory in the NIS client's local filesystem.
When you login as your NIS users, they will automatically create their own home directories in the /home directory of the NIS client machine. To allow them that privilege, you have to configure PAM of the NIS client machine.
To configure PAM, open /etc/pam.d/common-session configuration file as follows:
$ sudo nano /etc/pam.d/common-session
Now, add the following line at the end of the file and save the file.
session optional pam_mkhomedir.so skel=/etc/skel umask=007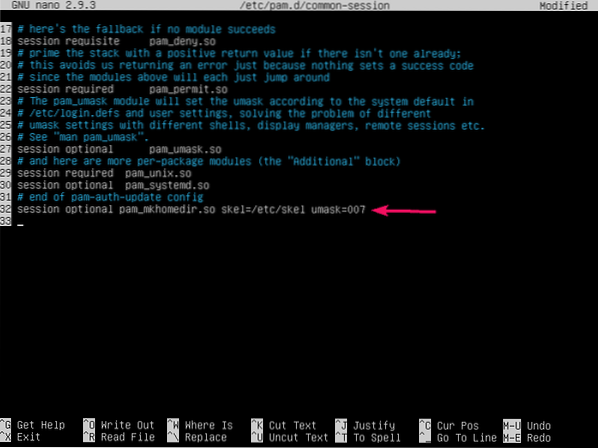
Now, reboot the NIS client machine as follows:
$ sudo reboot
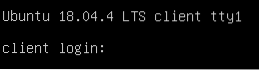
Testing NIS Server:
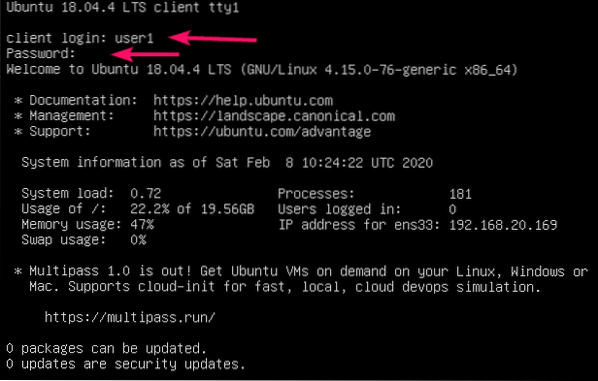
Once the NIS client machine boots, you should be able to login as the users that you've created earlier in the NIS server machine.
As you can see, I've successfully logged in as user1 in the NIS client machine.
The home directory of user1, /home/user1 is automatically created as well.

By default, the NIS users will be in their own home directory as you can see in the screenshot below.
$ pwd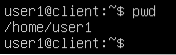
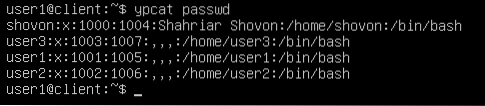
Once NIS client is configured, you can see information about all the NIS users with the following command:
$ ypcat passwdAll the users you've created in the NIS server machine should be listed here as you can see in the screenshot below.
As you can see, I can also login as user2 and user3 from the NIS client machine. NIS is working correctly.


So, that's how you install and configure NIS server on Ubuntu Server 18.04 LTS. Thanks for reading this article.


