Downloading the Ubuntu 18.04 LTS ISO Image
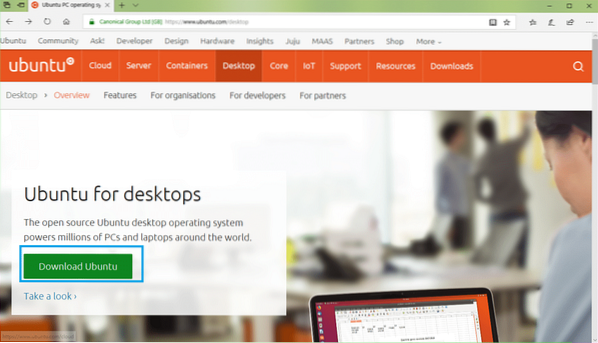
Go to the official website of Ubuntu at https://www.ubuntu.com/ from any Web Browser. You should see the following window.

Now click on Desktop as marked in the screenshot below.

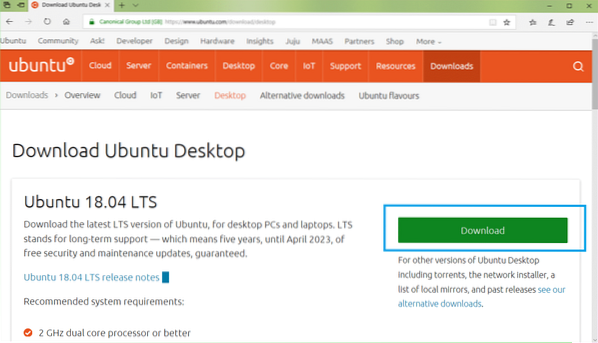
Now click on Download Ubuntu button as marked in the screenshot below.
Now click on the Download button of Ubuntu 18.04 LTS as marked in the screenshot below.
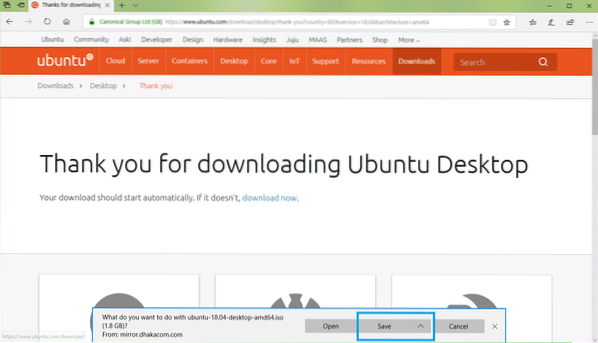
You should see the following page.
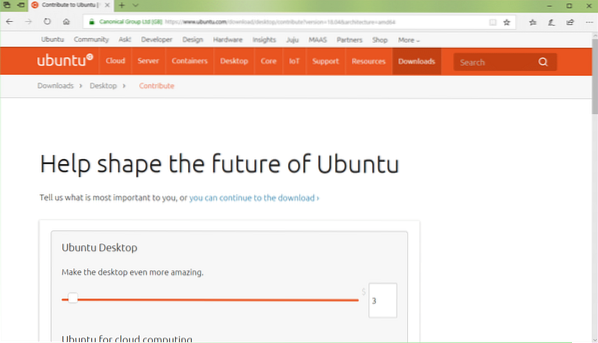
Scroll down a little bit and click on Not now, take me to the download as marked in the screenshot below.
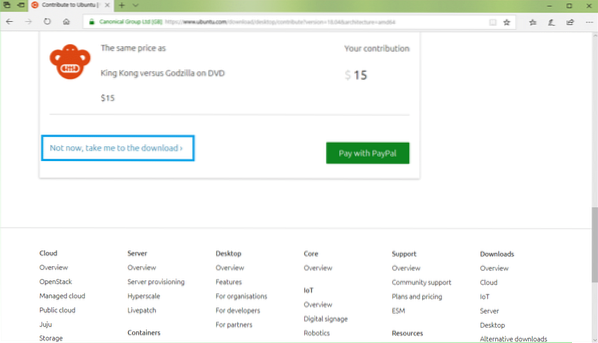
Now click on Save as marked in the screenshot below. You download should start.
Downloading Rufus
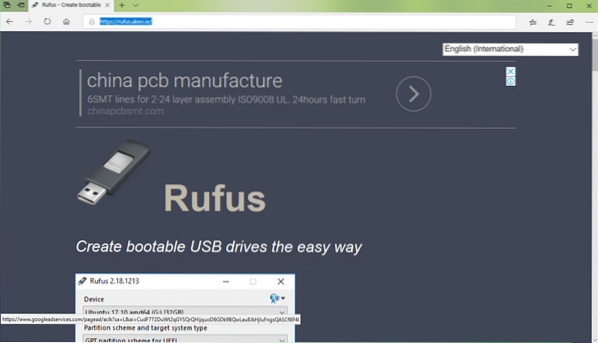
You can download Rufus from the official website of Rufus at https://rufus.akeo.ie/
Go to the official website of Rufus from any web browser and you should see the following window.
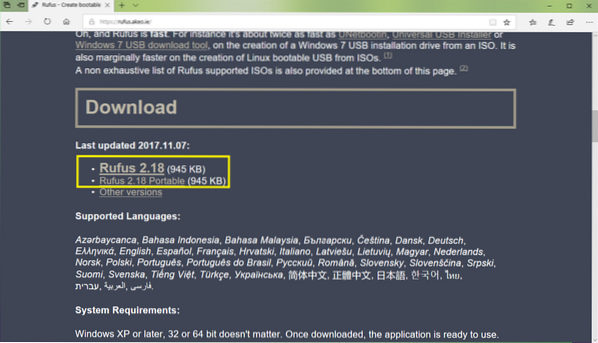
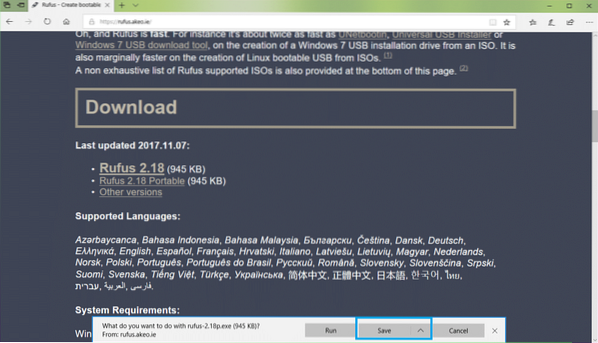
Now scroll down a little bit to the Download section. Click on Rufus or Rufus Portable link as marked in the screenshot below. I prefer Rufus Portable.
Now click on Save.
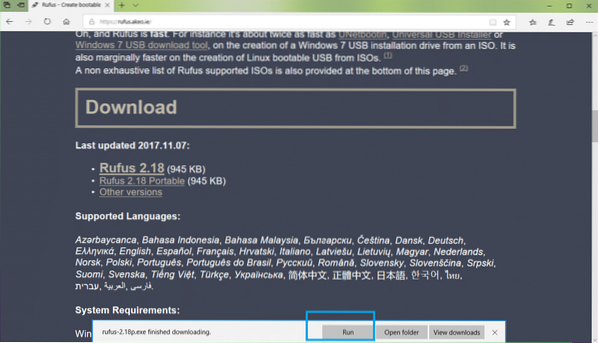
Now click on Run.
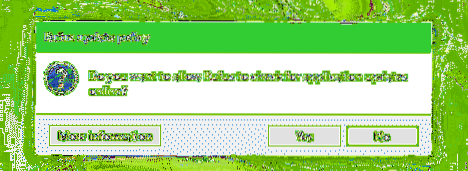
Click on No.
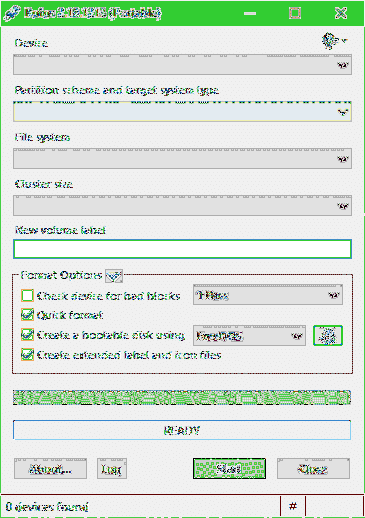
Rufus should start.
Creating an Ubuntu 18.04 LTS Bootable USB with Rufus
NOTE: Rufus will remove everything from your USB device. If you have any important data, please move it somewhere safe before you go through this process.
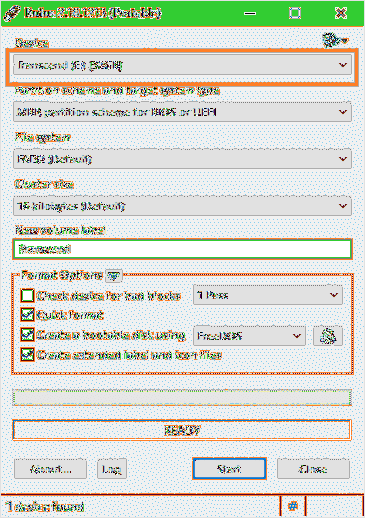
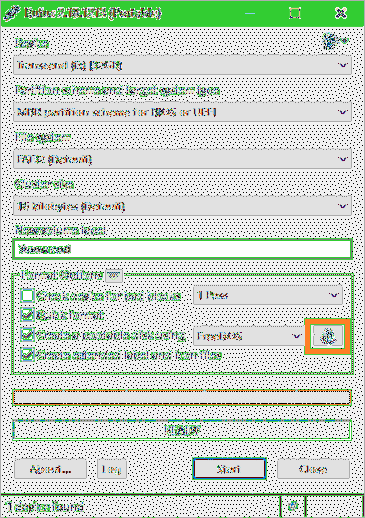
While Rufus is open, insert your USB drive that you wish to make Ubuntu bootable. It should be detected by Rufus as you can see in the screenshot below.
Now click on the CDROM icon as marked in the screenshot below.
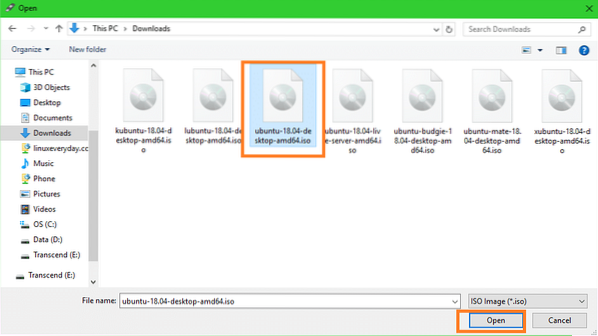
A File Explorer window should show up. Now select the Ubuntu 18.04 LTS iso image that you've just downloaded and click on Open as marked in the screenshot below.
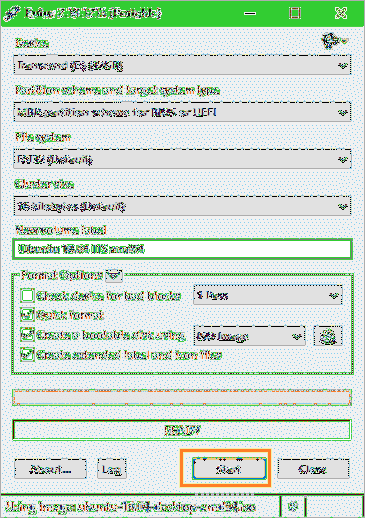
Now click on Start.
You should see the following window. Now click on Yes.

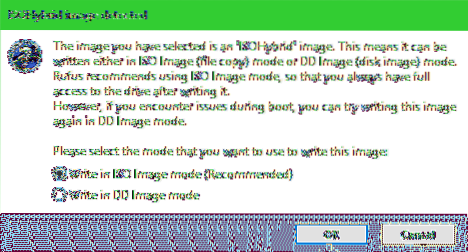
You should see the following window. Leave the defaults and click on OK.
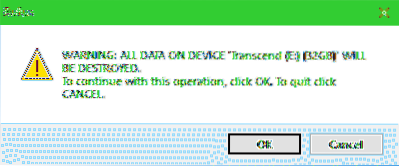
You should see a warning message. If you don't have any important data on your USB drive, click on OK.
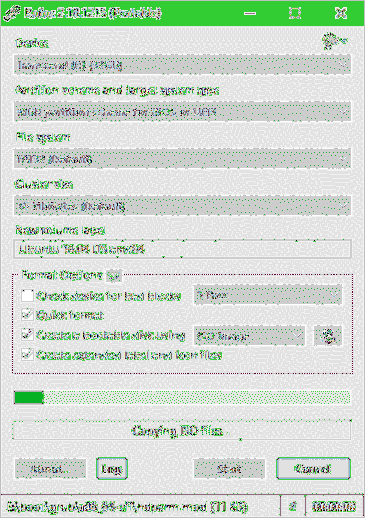
Rufus should start making your USB drive Ubuntu bootable. It should take a few minutes.
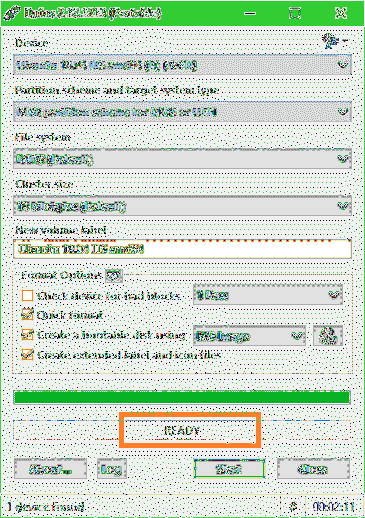
Once it's done, you should see READY status as marked in the screenshot below. Now close Rufus and your USB drive is ready.
Booting from the USB drive and Installing Ubuntu 18.04 LTS
Now you have to boot from the USB drive. How you do it depends on the motherboard you have. You want to go to the BIOS of your motherboard and select the USB drive you just made Ubuntu bootable with Rufus. On some motherboards, you press
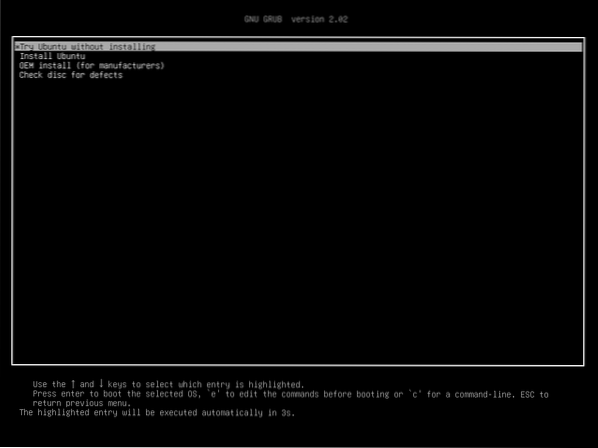
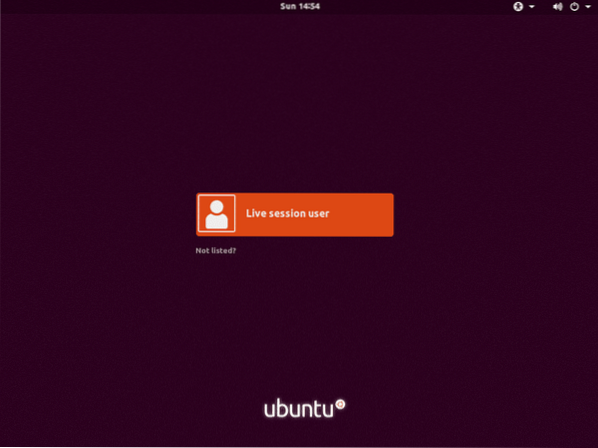
Once you select your USB drive from your BIOS, you should see the following window. Select Try Ubuntu without installing
Now click on Live session user.
Ubuntu 18.04 LTS live session should start. Now double click on Install Ubuntu 18.04 LTS icon as marked in the screenshot below.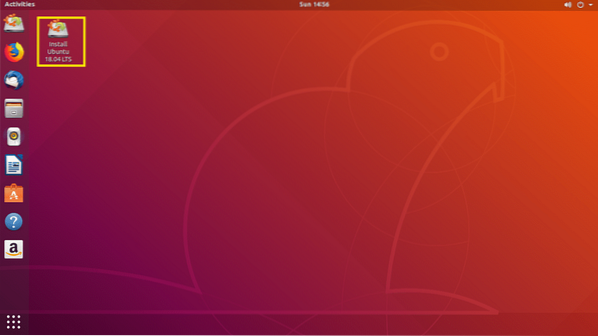
Ubuntu 18.04 LTS installer should start. Now click on Continue.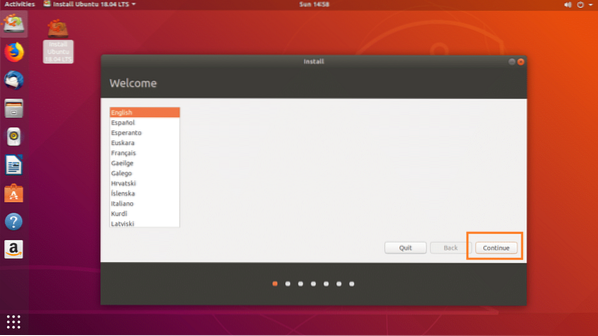
Now select your desired Keyboard layout and click on Continue.

Select either Normal installation or Minimal installation and click on Continue.

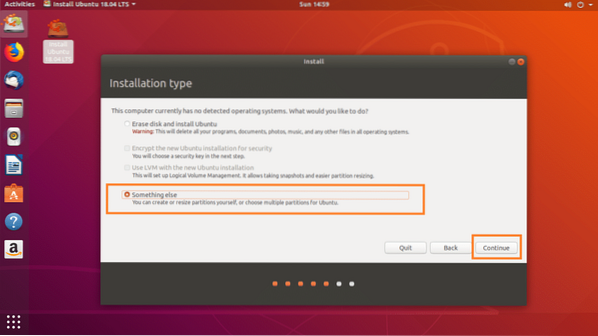
If you want to install Ubuntu on a brand new hard drive, then select Erase disk and install Ubuntu, otherwise select Something else and click on Continue.
Make sure your hard drive is selected.

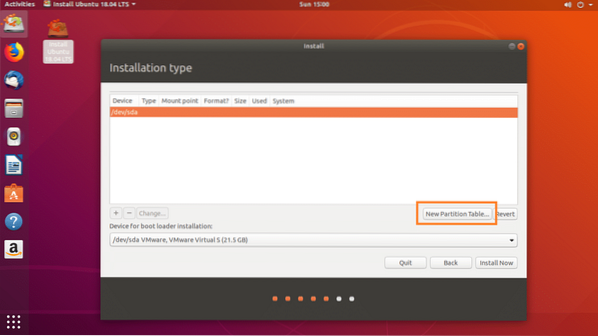
If your hard drive is new and you selected Something else in the earlier section, your hard drive won't have any partition table. In that case, click on New Partition Table… button.
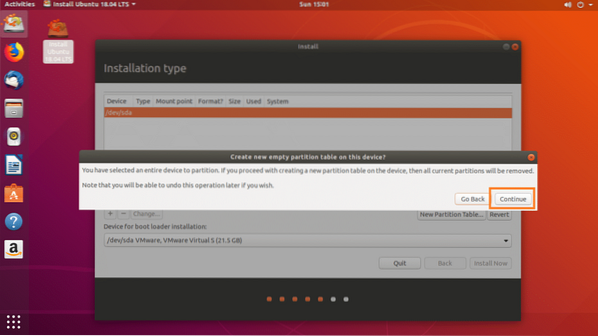
Click on Continue.
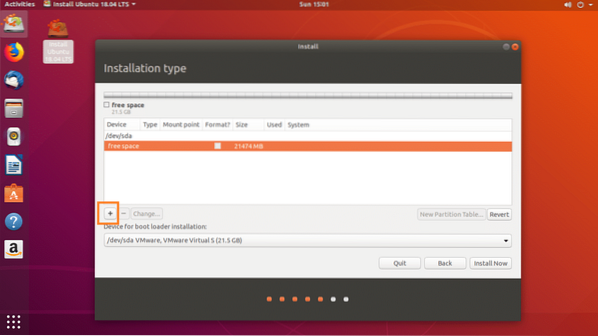
Select free space and click on the + icon as marked in the screenshot below.
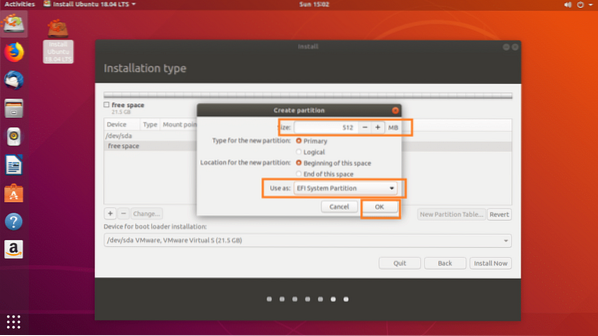
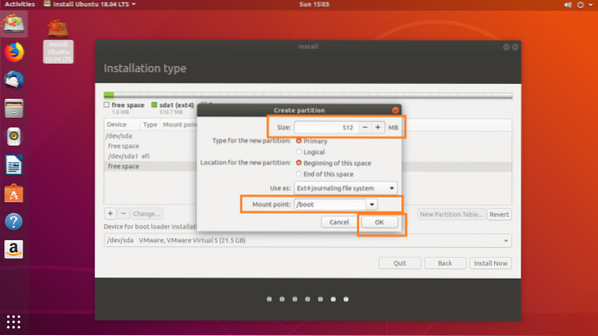
First create an EFI System Partition of 512 MB of disk space with the following settings as marked in the screenshot below and click on OK.
Now create a /boot partition of 512 MB of disk space with the following settings as marked in the screenshot below and click on OK.
Now create a / (root) partition and give it the rest of the free disk space. Make sure it has the following settings as marked in the screenshot below and click on OK.

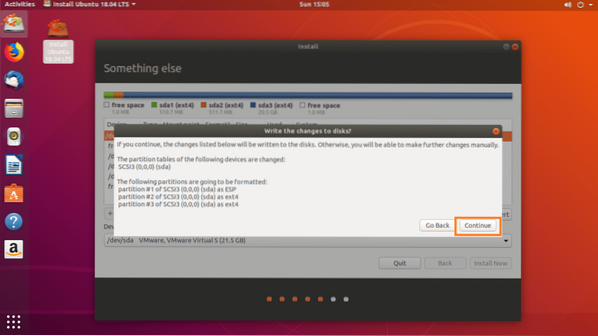
Finally, it should look something like this. Click on Install Now.

Click on Continue.
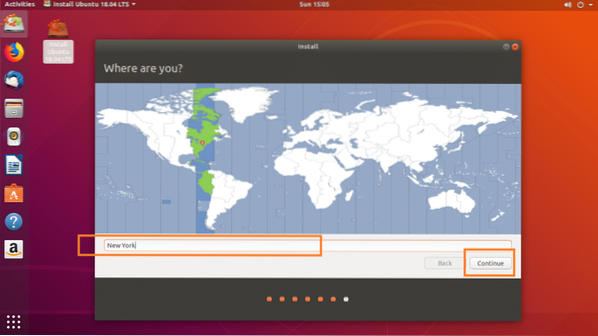
Select your Location from the map or by typing on the text box as marked in the screenshot below. Once you've selected the correct location, click on Continue.
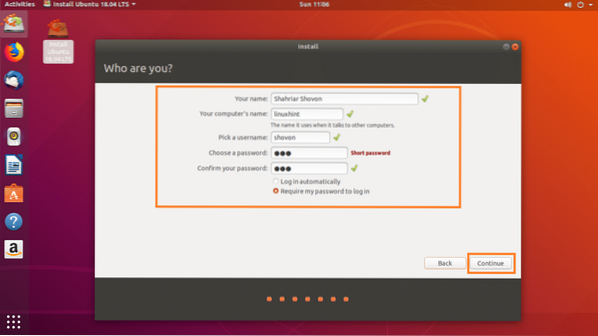
Now fill in the details as marked in the screenshot below and click on Continue.
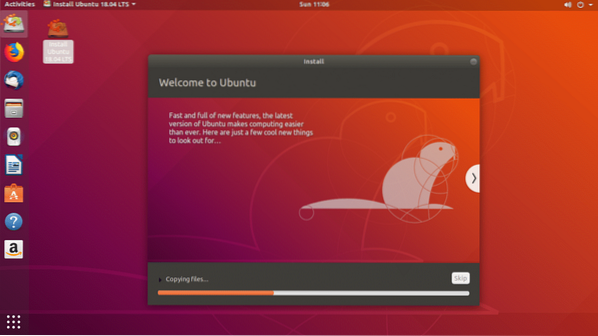
Your installation should start as you can see in the screenshot below.
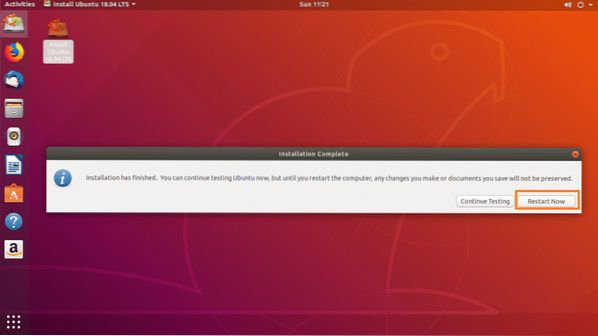
It should take a few minutes for the installation to complete. Once it's completed, you should see the following window. Click on Restart Now button.
Your computer should restart and you should now be able to boot into your new Ubuntu 18.04 LTS system.
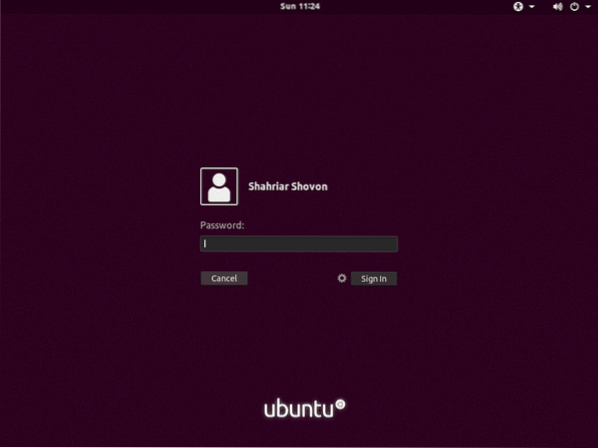
Once you boot into your new Ubuntu 18.04 LTS system, a login window should appear as shown in the screenshot below. Type in your password and click on Sign In.
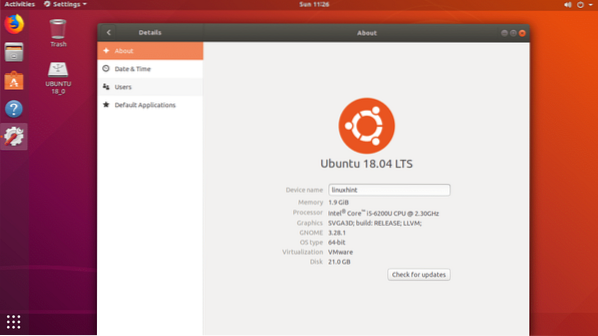
You should be logged in to your new Ubuntu 18.04 LTS system.
That's how you use Rufus to make a bootable Ubuntu 18.04 LTS installer USB and install Ubuntu 18.04 LTS with it. Thanks for reading this article.

