In this article, I will show you how to install and configure OpenVPN on Debian 9 Stretch. Let's get started.
Installing and Configuring OpenVPN:
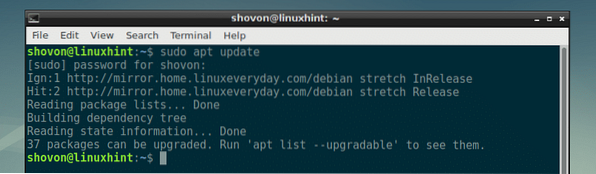
First update the APT package repository cache of your Debian 9 machine with the following command:
$ sudo apt updateThe APT package repository cache should be updated.
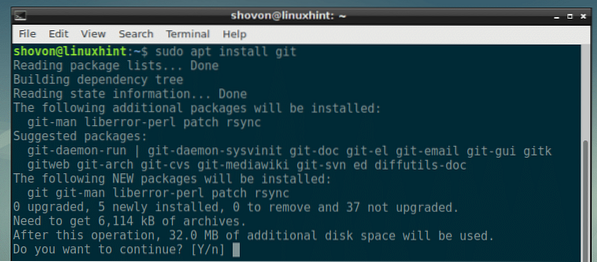
Now install Git with the following command:
$ sudo apt install git
Now press y and then press
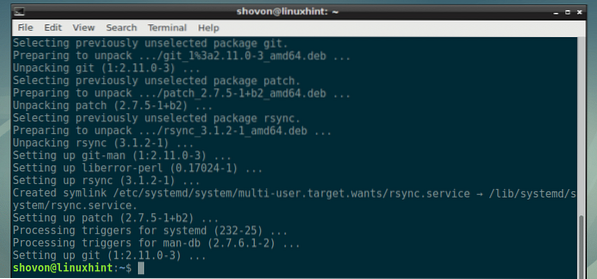
OpenVPN should be installed.
Installing and configuring OpenVPN manually is a tedious task. You will have to know a lot of things to set it up correctly. The good news is, there is actually a GitHub repository (which you can find at https://github.com/Angristan/OpenVPN-install) helps you install and configure OpenVPN very easily. So that is how I am going to install OpenVPN in this article.
Now navigate to the ~/Downloads directory with the following command:

Now clone the OpenVPN-Install GitHub repository with the following command:
$ git clone https://github.com/angristan/openvpn-install.git
The OpenVPN-Install GitHub repository should be cloned.

A new directory openvpn-install should be created and all the OpenVPN-Install GitHub repository files should be copied inside of it.
$ ls
Now navigate to openvpn-install/ directory with the following command:
$ cd openvpn-install
You should be able to find openvpn-install.sh file in this directory.

Now make openvpn-install.sh executable with the following command:
$ chmod +x openvpn-install.sh
As you can see, openvpn-install.sh script is now executable.

Now run openvpn-install.sh script as root with the following command:
$ sudo ./openvpn-install.sh
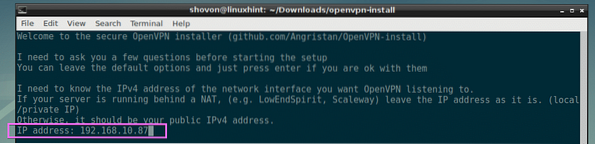
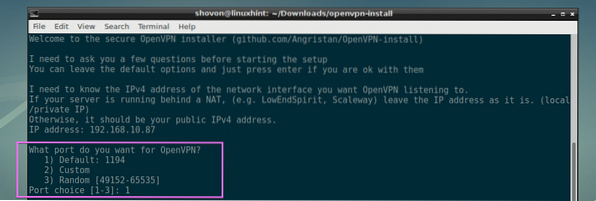
Now make sure the IP address is correct. If you want to change it, you can change it here. This will be the IP address of the OpenVPN server once it's installed. So make sure it's correct. Once you're done, press
Now you have to tell OpenVPN what port to use. The default port is 1194. But you can use other port.
If you want to use a specific port, press 2 and then press
If you want OpenVPN to pick a random port to use, just press 3 and press
I am going with the default port. So I am just going to press
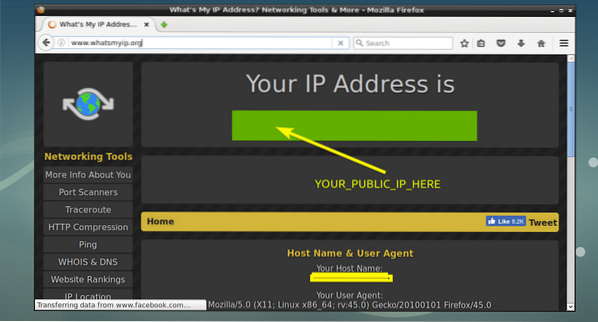
You have to type in your Public IPv4 address here if you want to access the OpenVPN server over the internet. But if you want to access OpenVPN server from your local network only, just type in the IP address you typed earlier, your NAT IP address.

You can find your Public IPv4 address very easily. Just visit http://www.whatsmyip.org/ and your public IPv4 address should be there.
Now you have to tell OpenVPN what communication protocol to use. You can either use UDP or TCP. UDP is selected by default, and its faster than TCP. Once you're done, press

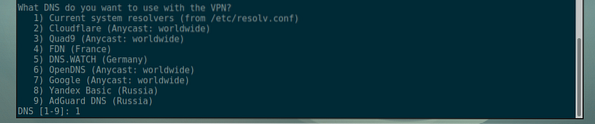
Now you have to select a DNS provider. OpenVPN will use it to resolve hostnames. There are many providers to choose from. I will pick the default one, 1) Current system resolvers (from /etc/resolv.conf). This will use your Debian 9 machine's /etc/resolv.conf file to resolve the DNS hostnames.
Once you're done, press
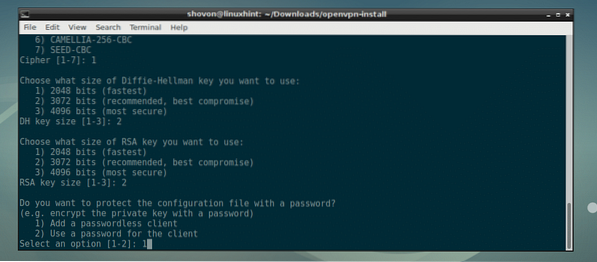
Now select an encryption type. If you don't know what it is, then leave the default and press

Now select the Diffie-Hellman key size to use. The more key bits you use, the more secure the encryption is, but encryption-decryption process will be slower. You can use the recommended key bits or use 4096 bits. I am going with the default, 3072 key bits. Once you're done, press

Select the RSA key size. The concepts are the same here as the Diffie-Hellman key as I discussed in the earlier section. I am going with the default, 3072 key bits. Once you're done, press

You can require a password when other people try to connect to your VPN server. The default behavior is to not ask for the users for a password while connecting to the server. This is the default behavior and this is what I am going with. You can set a password if you want. it's all up to you. Once you're done, press
Now type in the client name (do not use any spaces) and press

Just press

OpenVPN installation should begin.
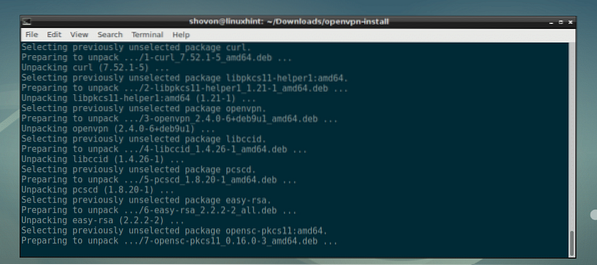
OpenVPN should be installed.
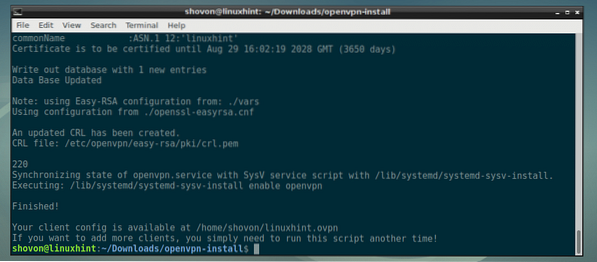
Now you should be able to find a OVPN file in your users HOME directory with the same name as your client name (as you set earlier). In my case, the file name is linuxhint.ovpn.

Connecting to the OpenVPN Server:
If you want to connect to your OpenVPN server from other computer, you will need a copy of the OVPN file (in my case linuxhint.ovpn) that was generated by the OpenVPN installer.
On the client computer, you have to install OpenVPN client software.
If you're using Linux operating system, just install OpenVPN there and copy the OVPN file there.
I assume, you're using an Ubuntu server as the OpenVPN client.
Now install OpenVPN there with the following command:
$ sudo apt install openvpn
I copied the linuxhint.ovpn file there.

Now run the following command to connect to your OpenVPN server:
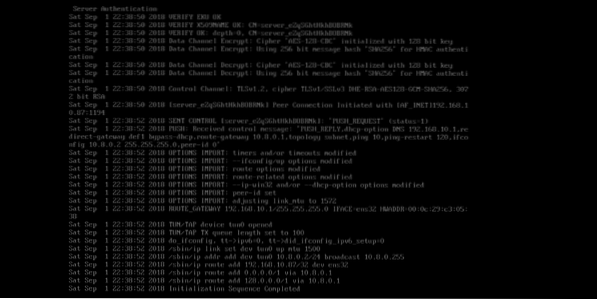
$ sudo openvpn --config linuxhint.ovpn
You should be connected to your OpenVPN server.
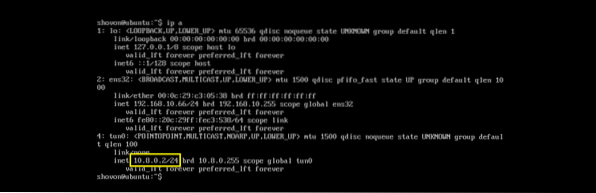
As you can see, a tun0 interface is added to my Ubuntu Server.
So that's how you install and configure OpenVPN on Debian 9 Stretch. Thanks for reading this article.


