
One of the popular sandboxed video games, available to is Minecraft. First released in 2009, Minecraft comes with several amazing features. Players can build everything from simple houses to skyscrapers, explore infinite worlds, craft, and struggle to survive in a block 3D generated world.
By late 2019, Minecraft is rated as the second-best-selling video game of all time. An additional fantastic feature about this game is that you can set up your own Minecraft server.
One of the most significant advantages of having your Minecraft server is that you are entirely in charge of your overall gaming experience. You get to configure your settings on the server as the admin. You can make use of the granted admin privileges to your advantage of playing the game. You can make a Minecraft server accessible to you only, or your fellow gaming buddies, or make it public for anyone to access it.
Installing Minecraft Server on Linux
In this tutorial, you will learn how to install your Minecraft server on Linux and enjoy a fantastic gaming experience with friends. Linux is a perfect choice for establishing a Minecraft server since it is known for its stability and reliability for server support. Our Linux distribution of choice is Ubuntu 20.04 LTS. Follow along as we will give you a step by step procedure of setting up and running your Minecraft server.
Prerequisites
To get started with this tutorial, you will need;
- A Ubuntu 20.04 PC with overall Sudo privileges. Admin privileges are required since we will need to install additional packages
- An active internet connection
Step 1 - Install the Required Software Packages and Configure Firewall
In this step, we will install several Softwares, including Java and Screen. The Screen is necessary to run the Minecraft server as a background process.
As a rule of thumb, ensure your APT package manager and system are up-to-date before installing new packages. Do this by executing the commands below.
sudo apt update sudo apt upgrade
Now we will need to install OpenJDK version 8 of Java. We will go for the headless JRE as it is a minimal version with no support for GUI apps. That makes it an ideal choice since we need to run Java on a server. Execute the command below.
sudo apt install openjdk-8-jre-headless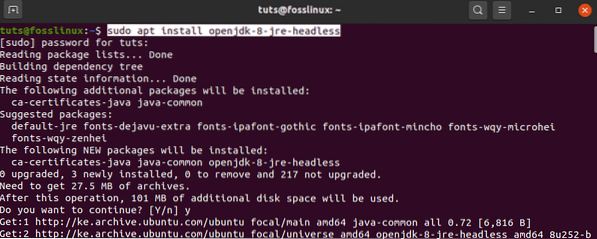
Next, we will install the Screen. As described above, Screen enables the Minecraft server to run as a background process. If you started the Minecraft server in the Terminal and later close the Terminal, that would automatically kill the server. With Screen, our Minecraft server will continue running in the background. Execute the command below.
sudo apt install screen 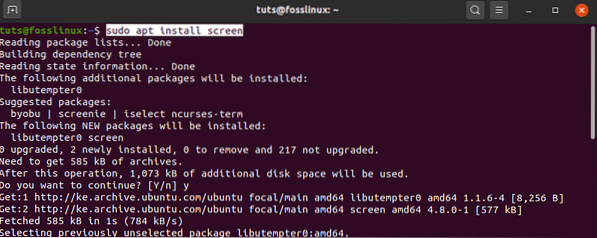
Once we have installed the required software packages, we now need to configure the firewall. We aim to allow incoming connections from Minecraft through port 25565 (default). Execute the following command to add a new firewall rule.
sudo ufw allow 25565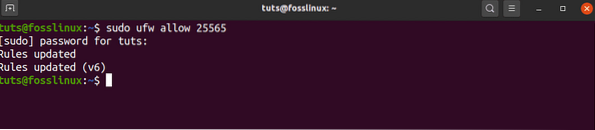
Now that we have our firewall configured and our necessary packages installed, we can install the Minecraft server.
Step 2 - Download Latest Minecraft Server
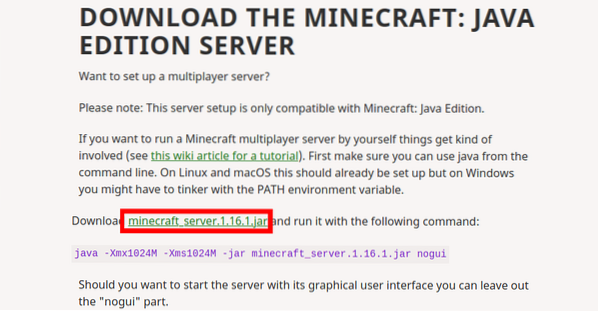
To download Minecraft Server, navigate to Minecraft official website and copy the Download link from the section indicated in the image below.
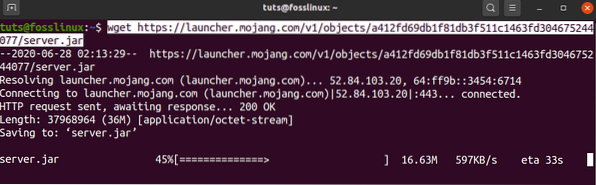
We will use the “wget” command to download the file. Execute the command below.
wget https://launcher.mojang.com/v1/objects/a412fd69db1f81db3f511c1463fd304675244077/server.jar
If “wget” is not installed in your system, run the command below to get it.
sudo apt install wget
That option will download the latest version of Minecraft. To get older versions of Minecraft, visit mcversions.net. However, in this particular tutorial, we will focus on the newest version.
Step 3 - Configure and Start Minecraft Server
Once we have downloaded the Minecraft jar file into our system, we need to configure and run it.
We will start a Screen session using the screen command.
screen
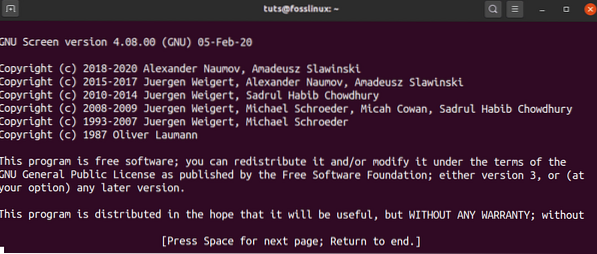
You will see a banner on the Terminal windows displaying some information concerning the Screen utility. Press the pace Bar, and the Terminal will show the standard terminal window. We can now execute our commands here and leave them running.
Before we continue with the next command, we need to perform some changes. The Minecraft jar file that we downloaded was saved as “server.jar.” We need to rename it to fit the Minecraft edition that we downloaded. You can see the version below where we copied the download link in as in the image below.
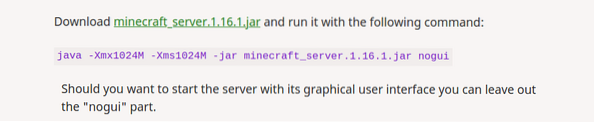
In our case, we need to rename it to “minecraft_server.1.16.1.jar.” We will use the command below.
mv server.jar minecraft_server.1.16.1.jar
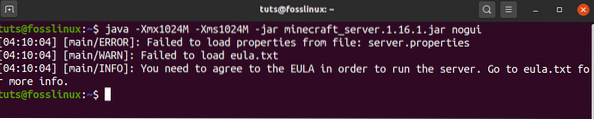
Now let's start our initial configuration by running the command below on the Terminal. Don't be alarmed in case it raises an error. With recent updates, Minecraft designed it this way so that users should first accept the End User Licence Agreement before getting started with Minecraft.
Execute the command below. Be sure that you specify your Minecraft edition. It might be different from mine.
java -Xmx1024M -Xms1024M -jar minecraft_server.1.16.1.jar nogui
Before we handle this error, let's look at some of the arguments present in this command.
- -Xms1024M: This is the memory set that the server will start running on. Currently, its set to 1024M (1GB). You can specify new size, depending on your system RAM. M is used to represent MB, while G is used to represent GB. Therefore, in our situation above, we could use Xms1G, which would be the same as Xms1024M.
- -Xmsx1024M: This refers to the maximum system memory that can be used up by the server. You can still raise this limit depending on your system RAM available. Similarly, with Xms, Xmx can also work with either MB or GB.
- -jar: That is a flag to specify the Jar file to execute.
- nogui: This parameter enables us to launch the Minecraft server without a Graphical User Interface
Now let's solve the error arising. It is generated because two files were not found during the execution. That is the End User Licence Agreement present in eula.txt and the server.properties, which holds the configuration file.
Luckily, when the server lacks these two files, it creates them in the working directory. By running the “ls” command, we should be able to see the two files.

Let's start by solving the EULA issue. Open the eula.txt file with your favorite text editor. In my case, I will use the nano editor.
nano eula.txt
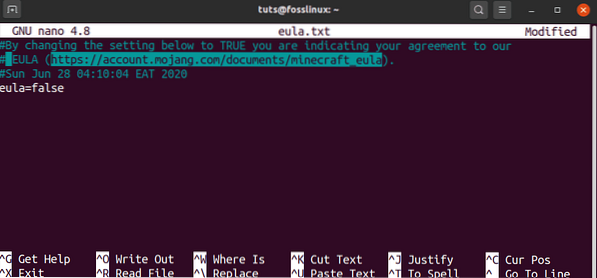
The file does not contain much text. Our interest is the EULA link and the Eula parameter currently set to false. Open the link on your browser and read the user license agreement. Once satisfied with everything, come and back to this file and set the Eula parameter to true. Save and close the file.
Once done with the eula.txt file, we can now look at the “server.properties” file. It contains all the necessary configuration options for your Minecraft server. To get more detailed information about server properties, visit Official Minecraft Wiki. Open this file with your favorite text editor and enter your preferred configurations. In this post, we will only cover the necessary settings.
nano server.properties

In this file, we will only perform some of the primary configurations, as listed below.
- gamemode=survival - This option sets the gameplay mode. Other options include creativity, adventure, and spectator.
- difficulty=easy - This option sets the difficulty of the game. Other options include peaceful, normal, and hard.
- pvp=true
- level-name=world
- motd=A Minecraft Server: This is the name of your Minecraft server that will be listed in the servers list.
Now that we have configured both the eula.txt file and server.properties file, we can go back to executing our jar file. Rerun our previous command in the Terminal.
java -Xmx1024M -Xms1024M -jar minecraft_server.1.16.1.jar nogui
It would be best if you now got an output similar to the one above. If you get an error, confirm whether the Eula parameter in the eula.txt file is set to true.
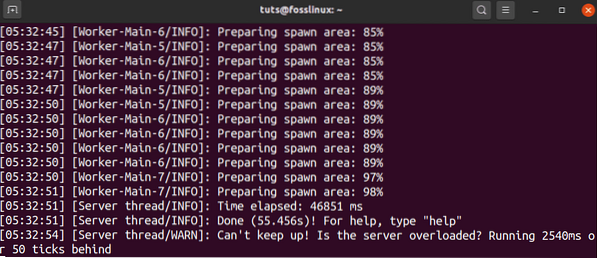
Once the server has finished execution and is successfully running on your system, you should see the output below.
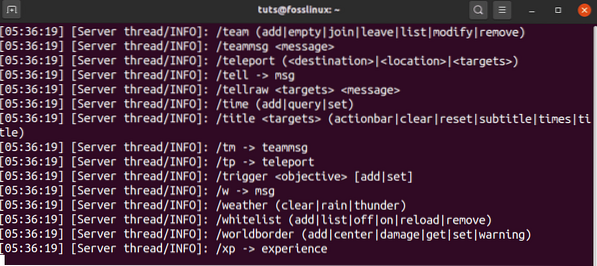
[05:32:51] [Server thread/INFO]: Done (30.762s)! For help, type "help"That means your Minecraft server is up and running, and you are in the admin control panel. Type the “help” command, which will give you the list of options that you can set from here.
Step 4 - Keep the Minecraft Server running
Our current Minecraft session is running on the Screen Terminal. To go back to our main Terminal window and detach from the current screen session, use Ctrl-A + ctrl-D key sequence.
Now we need to identify the ID of our Minecraft session running on Screen. Run the list command below.
screen -list

From the output, we can identify our Minecraft session as 15254. To resume this session, use the -r parameter as in the command below.
screen -r 15254
When you want to log out or close the Terminal, be sure to use the sequence Ctrl-A + Ctrl-D to detach your Minecraft screen. That will keep running in the background.
Step 5 - Connect your Minecraft Client to the Server
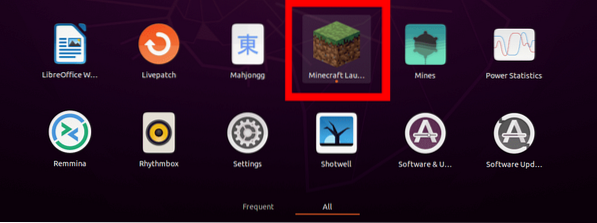
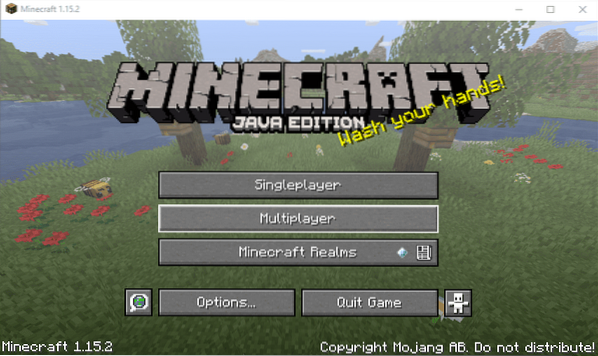
To continue with this step, we need Minecraft Java Edition installed. If you don't have it yet, download the DEB file from minecraft.net and install it with “Software Install.” Launch your Minecraft Java edition from the applications menu.
Please select the option Multiplayer so that we can connect to our server.
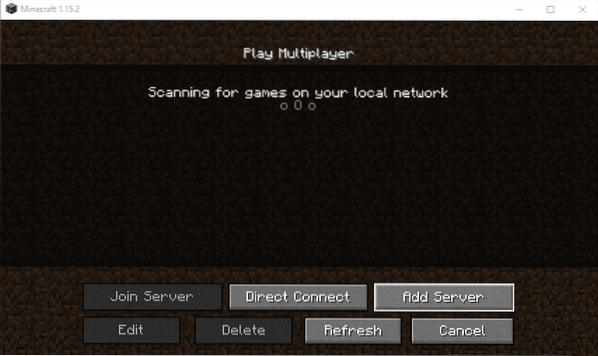
The “Play Multiplayer” window will open. Here, select the option “Add Server.”
The “Edit Server Info” window will open. Here you will be required to give your server name and also the server address. The address can be the localhost or your current IP address. You can see this by running the ifconfig command.
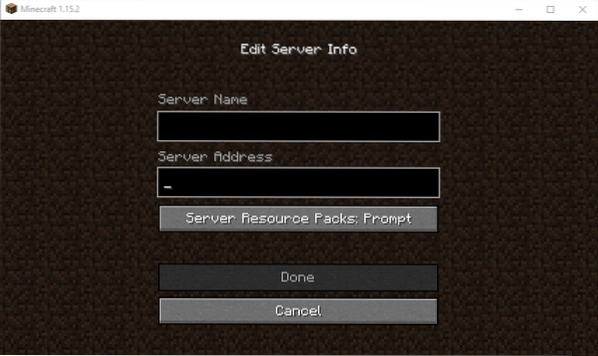
Once finished, click “Done” and you will be taken back to the multiplayer window. You should now see your server listed here.
Unless you perform any changes in your system, your server will always be listed here when you launch it. Remember to start the Minecraft server in Screen before you start playing.
Conclusion
That's all you need to have a Minecraft server running on your Linux System running Ubuntu 20.04 LTS. If you have any additional information for our readers, don't hesitate to leave a comment below.


