What makes OpenOffice tick?
OpenOffice is free and opensource. This implies you can download it absolutely free of charge and share it with your family, friends, and colleagues without losing your precious sleep over impending legal implications. Additionally, You can quite easily install OpenOffice on any PC hardware with minimal effort. Thirdly, OpenOffice comes bundled with 6 office productivity applications which include :
Writer: This is a word processor that you use to pen down a document.
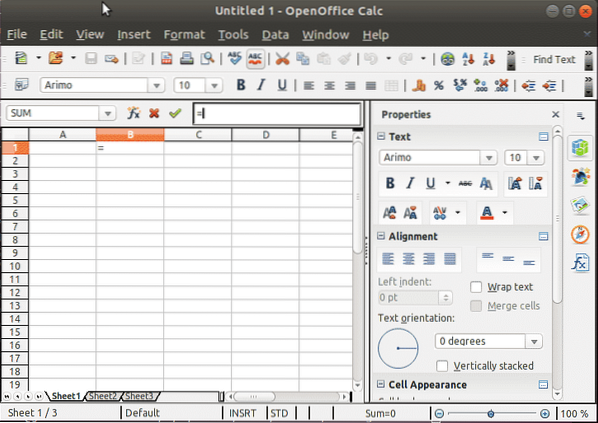
Calc: This is a spreadsheet, equivalent to Microsoft Excel in windows.
Impress: This is the presentation tool that allows you to create quick, simple yet awesome presentations. It's the equivalent of Microsoft PowerPoint
Draw: This is a tool that lets you create simple diagrams & 3D images
Base: This is the database engine. You can create & edit tables and forms, and formulate queries. In Microsoft Office, this would be Microsoft Access.
Math: A tool that lets you formulate mathematical equations.
Now let's get along with the installation of OpenOffice
Step 1: Install Java 8
Before everything else, it's important to check if Java is installed on your system. Java 8 comes highly recommended for this installation. You can achieve this by executing the command:
# java -version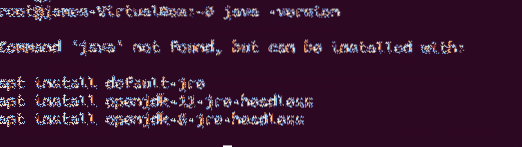
The output clearly shows that Java is missing from the system To install Java 8 run the command:
# apt install openjdk-8-jdk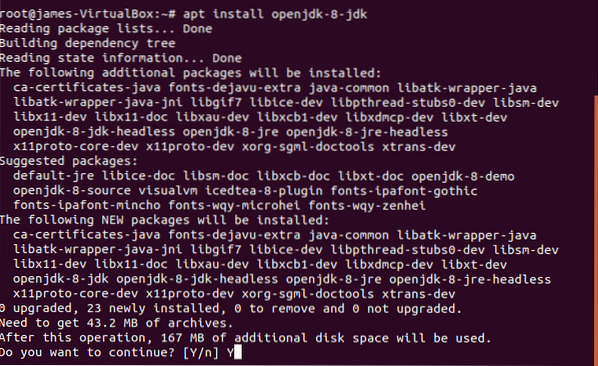
Again, to confirm the installation of Java 8 run:
# java -version
This time around, we have confirmed that Java 8 is indeed present. Perfect! Let's carry on.
Step 2: Uninstalling LibreOffice suite from Ubuntu
LibreOffice and Apache OpenOffice cannot both be present at the same time. If LibreOffice is installed, which is usually the case, the installation of OpenOffice will be unsuccessful. Therefore, we need to bid goodbye to LibreOffice. To do so, issue the command:
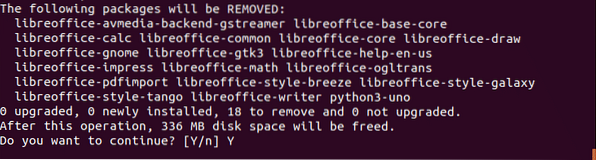
# apt remove LibreOffice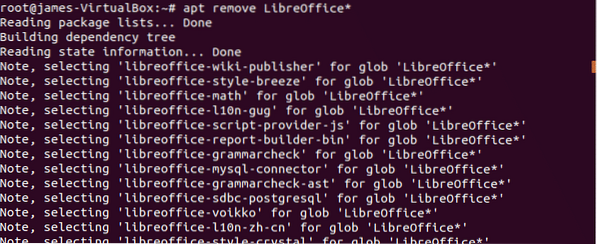
When prompted if you still want to continue, type Y and hit ENTER
Step 3: Downloading & installing the latest Apache OpenOffice
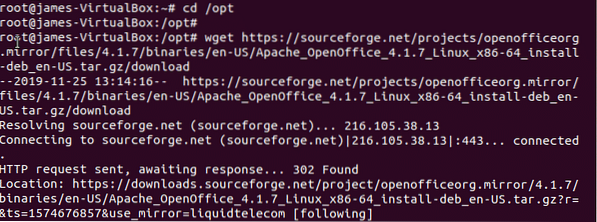
After the uninstallation of LibreOffice suite, proceed and download the latest tarball file from Apache OpenOffice's main website as shown:
# cd /opt# wget https://sourceforge.net/projects/openofficeorg.mirror/files/4.1.7/binaries/
en-US/Apache_OpenOffice_4.1.7_Linux_x86-64_install-deb_en-US.tar.gz/download
Next, extract the OpenOffice tarball file as shown:
# tar -xvf download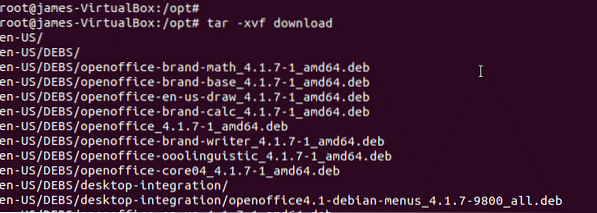
Navigate to the uncompressed folder, In my case this was DEBS
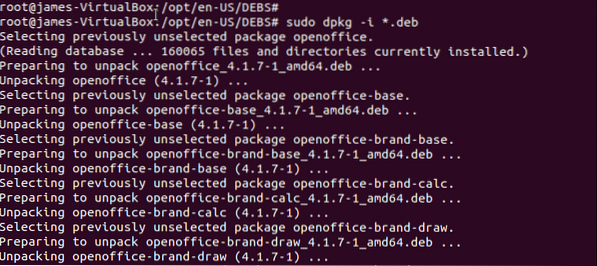
# cd en-US/DEBSTo install OpenOffice run
# sudo dpkg -i *.debSince this will take a while, it's the perfect moment to grab yourself a cup of coffee 🙂
And finally, be sure to install the Desktop integration features for OpenOffice. To do this, navigate to the desktop-integration folder created during the installation process:
# cd desktop-integrationTo install, desktop integrations feature, run:
# dpkg -i *.deb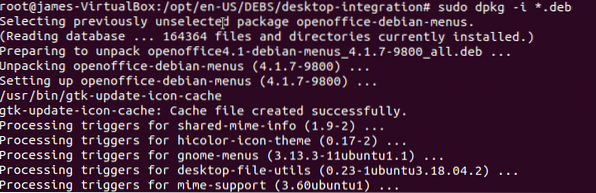
Step 4: Launching and Using OpenOffice
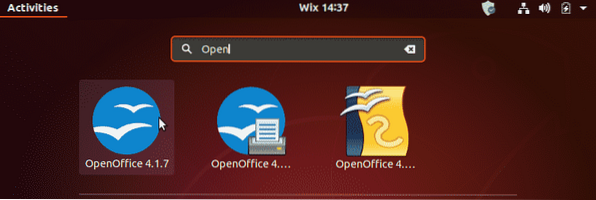
With the installation of the desktop integration complete, now launch OpenOffice by searching using the application menu as shown:
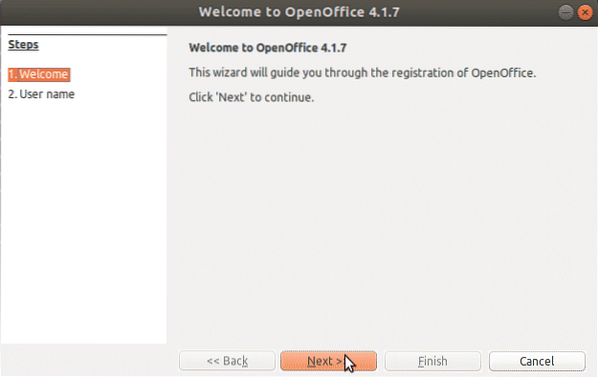
Click on the installation icon and an installation wizard will pop-up as shown:
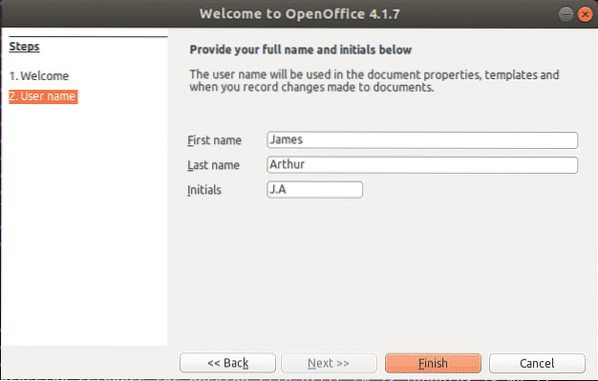
Provide your username details and hit the 'Finish' button.
And finally, Apache OpenOffice will be launched providing you with a set of applications that you can use as earlier described in the introduction section.
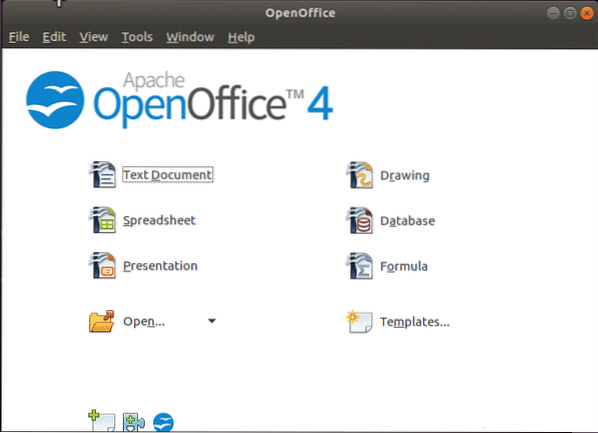
To launch any of them, simply click on the application icon. The image below depicts the OpenOffice application
And that's how you install Apache OpenOffice. Thank you for coming this far and taking your time on this guide.


