Downloading Proxmox VE:
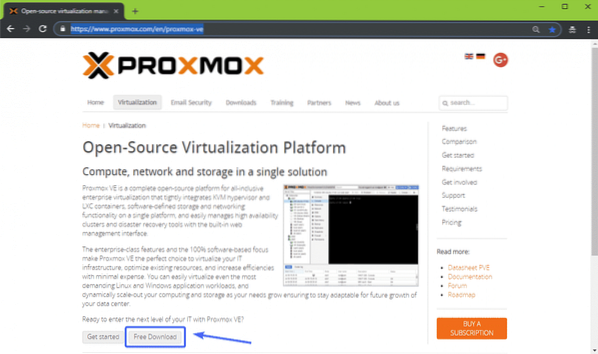
You can download Proxmox VE for free from the official website of Proxmox. First, visit the official website of Proxmox VE at https://www.proxmox.com/en/proxmox-ve
Once the page loads, click on Free Download as marked in the screenshot below.
You should be redirected to the following page. At the time of this writing, Proxmox VE 5.2 is the latest version of Proxmox VE. To download Proxmox VE 5.2 ISO installer, click on the download button as marked in the screenshot below.
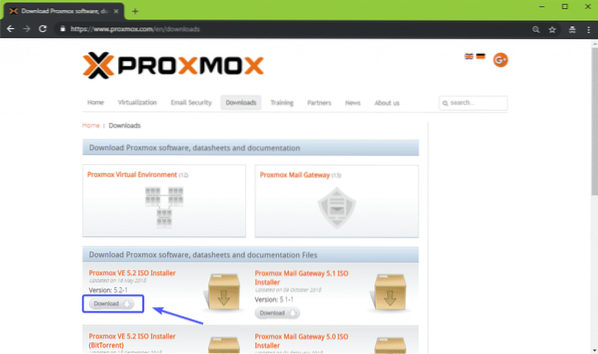
Your download should start. It may take a while to complete.

Making Bootable USB of Proxmox VE:
Now, you have to make a bootable USB thumb drive of Proxmox VE in order to install it on your computer. On Linux, you can use dd command to make a USB bootable thumb drive very easily.
To make a bootable USB thumb drive of Proxmox VE on Linux, run the following command:
$ sudo dd if=~/Downloads/proxmox-ve_5.2-1.iso of=/dev/sdX bs=1MNOTE: Here, sdX is your USB thumb drive. You can use the lsblk command to find out what it is in your case.
On Windows, you can use Rufus to make bootable USB thumb drive of Proxmox VE. To download Rufus, go to the official website of Rufus at https://rufus.ie/en_IE.html and click on Rufus Portable link as marked in the screenshot below.
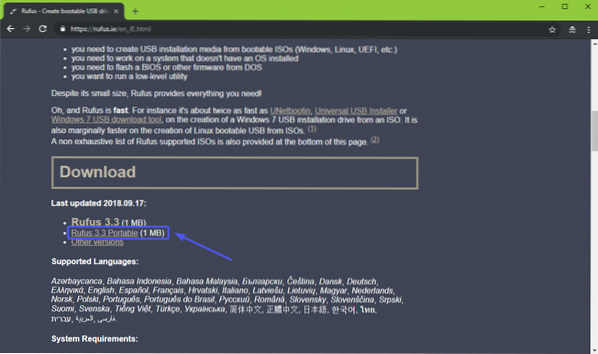
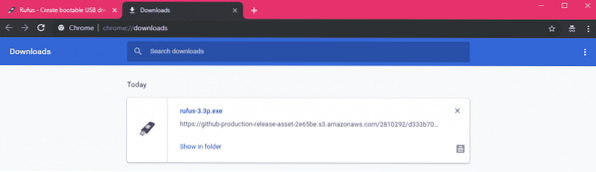
Rufus should be downloaded.
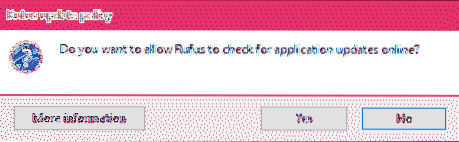
Now, insert your USB thumb drive and run Rufus. Click on No when you see the following dialog.
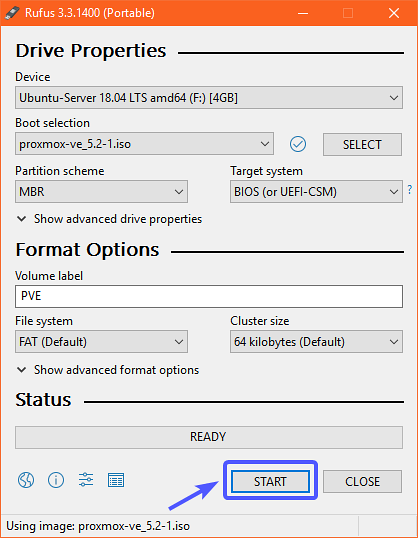
Rufus should start. Now, make sure your USB thumb drive is selected in Rufus. Then, click on SELECT as marked in the screenshot below.

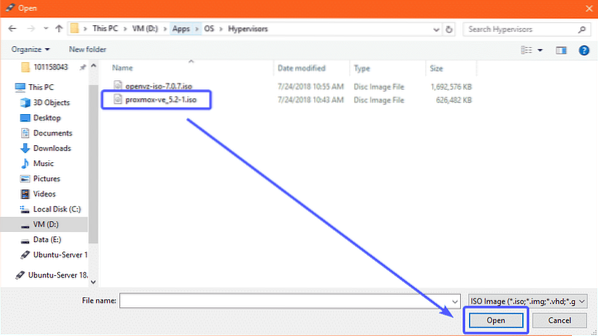
A file picker should be opened. Now, select the Proxmox VE ISO image that you just downloaded and click on Open.
Now, click on START.
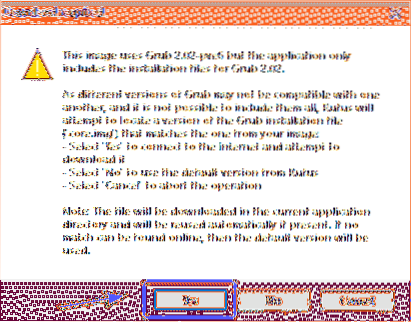
Now, click on Yes.
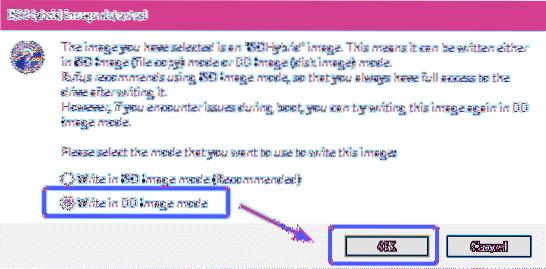
Now, select Write in DD Image mode and click on OK.
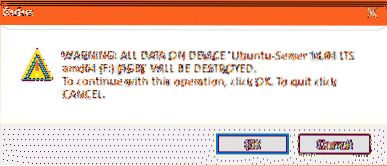
If you have any important data on your USB thumb drive, move them somewhere safe and click on OK. Your USB thumb drive should be formatted.
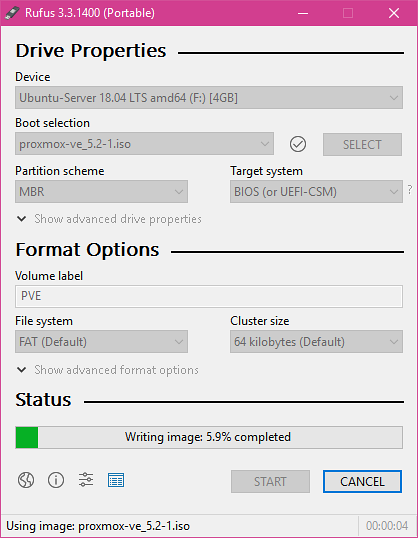
Rufus should be copying all the required files from the ISO file to your USB thumb drive.
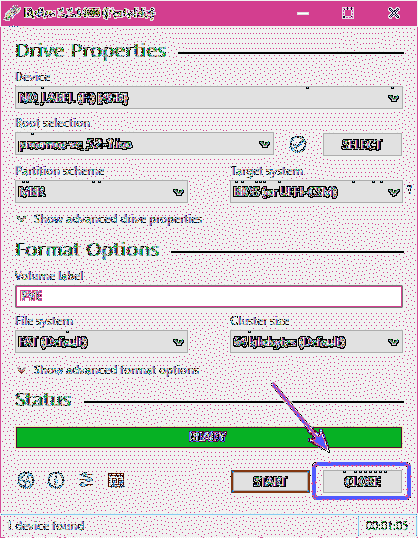
Once Rufus is done with making the USB thumb drive bootable, you can click on CLOSE to close Rufus.
Now you can use the USB thumb drive to install Proxmox on your computer.
Enable Hardware Virtualization:
Before you install Proxmox VE on your computer, make sure hardware virtualization is enabled on your motherboard's BIOS. If you're using AMD processor, it should be labeled as AMD-v. If you're using Intel processor, then it should be labelled as VT-x or VT-d.
Installing Proxmox VE:
Now, insert the bootable USB thumb drive on your computer and boot from it.
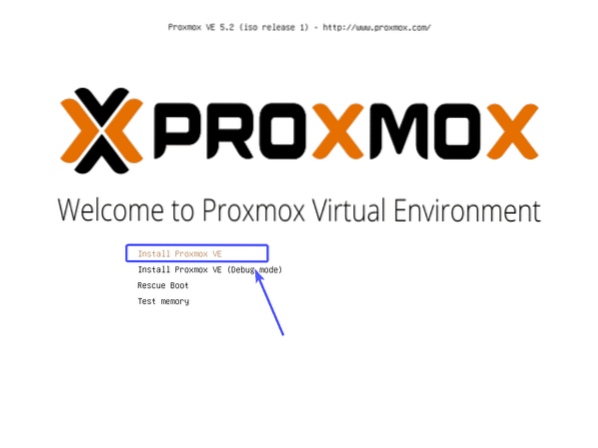
Once Proxmox VE is booted from the USB thumb drive, you should see the following window. Now, select Install Proxmox VE and press
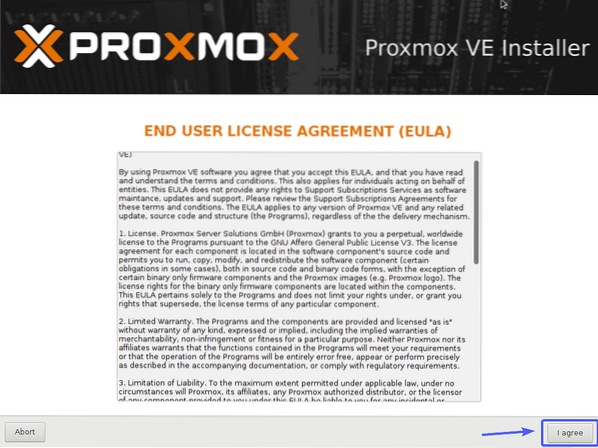
Proxmox installer should start. Now, click on I agree.
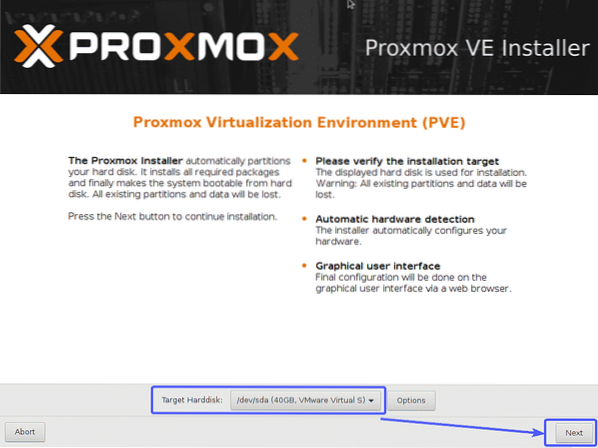
Now, select your hard drive or SSD where you want to install Proxmox VE and click on Next.
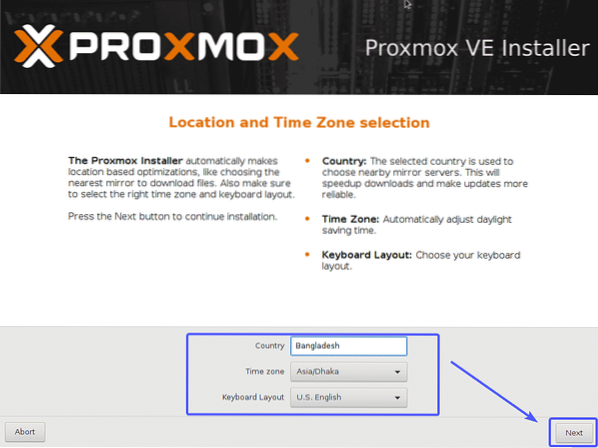
Now, type in your Country, select your Time zone and Keyboard Layout. Once you're done, click on Next.
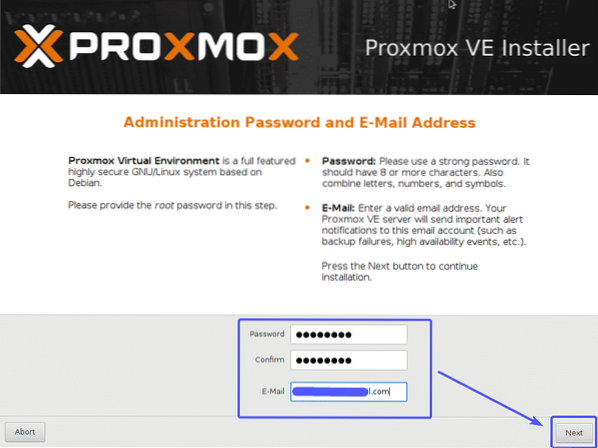
Now, type in your Proxmox VE password and email address. Once you're done, click on Next.
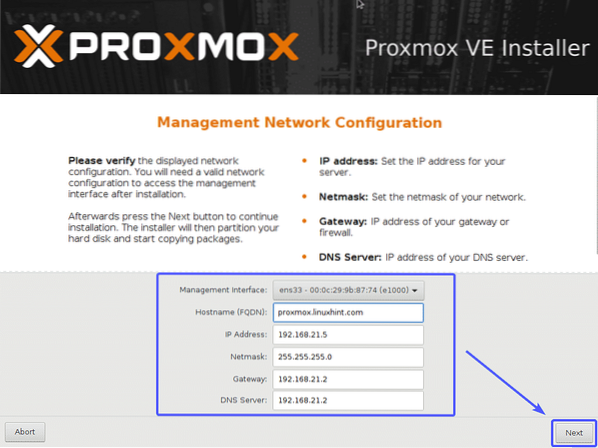
Now, configure management network interface for Proxmox VE. Once you're done, click on Next.
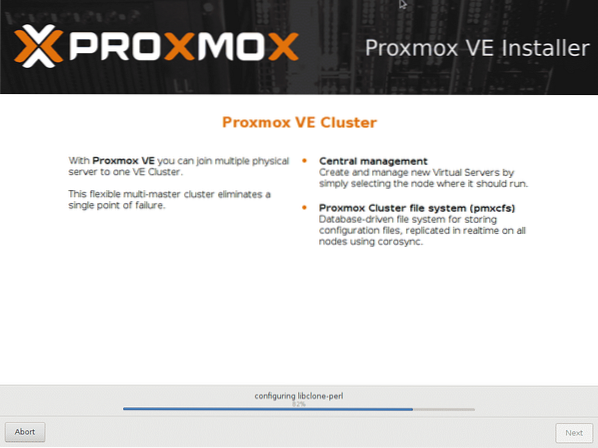
Proxmox VE is being installed…
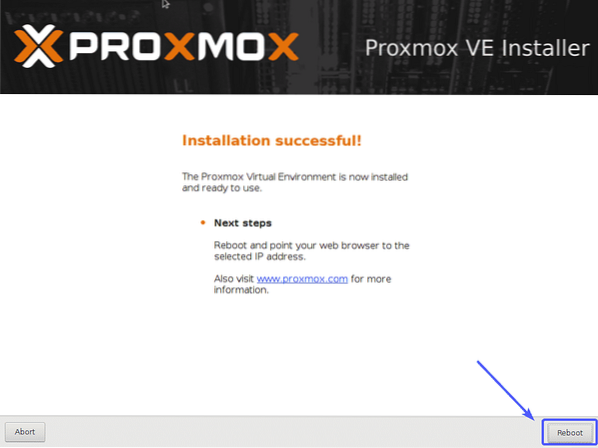
Once the installation is complete, click on Reboot. Your computer should be restarted.
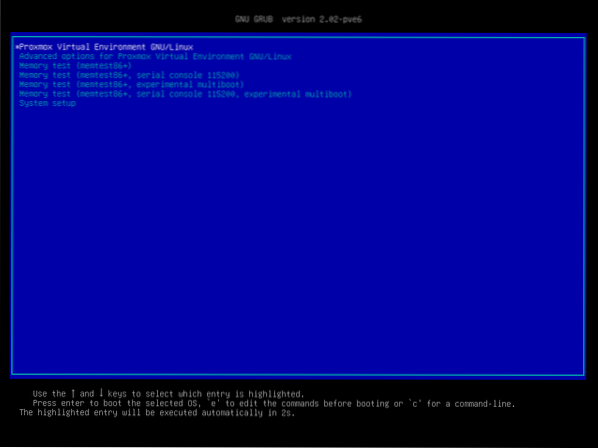
From the Proxmox GRUB menu, select Proxmox Virtual Environment GNU/Linux and press
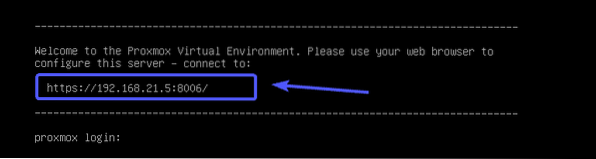
Proxmox VE should start. Now, visit the management IP as marked in the screenshot below from any web browser.
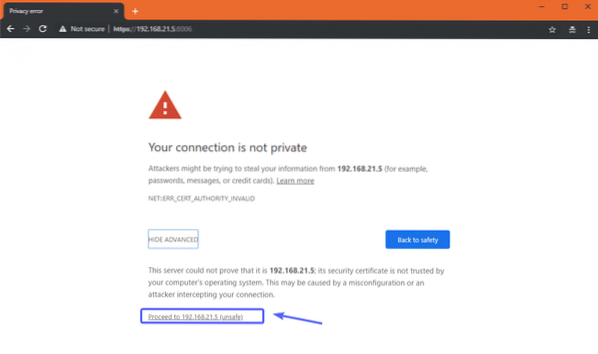
As Proxmox VE uses self-signed SSL certificates by default, you may see the following warning message when you try to visit the management web UI from your web browser. Just accept the SSL certificate. On Google Chrome, click on Proceed to 192.168.x.y (unsafe) as marked in the screenshot below.
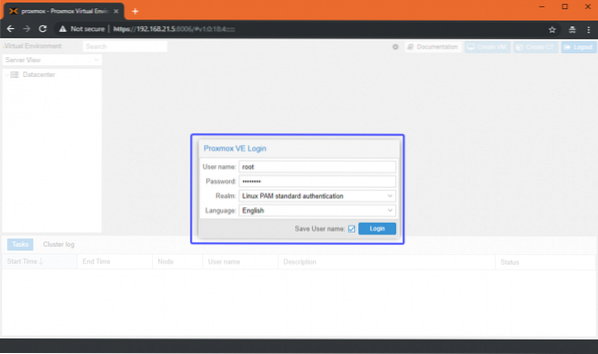
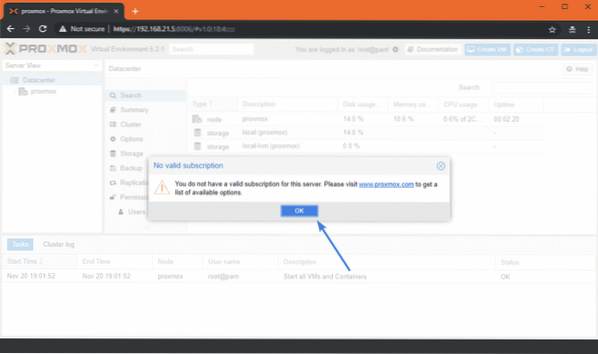
Now, you should be able to see the Proxmox VE web management interface. Login with the user root and the password that you set when you installed Proxmox VE.
You should see the following dialog box. Just click on OK.
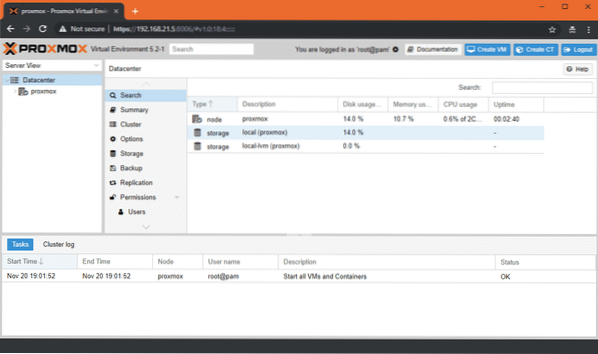
Now, you can use the Proxmox VE web based management interface to manage (create, delete and many more) your KVM virtual machines and LXC containers.
You can also see, a summary of your total system usage from the Summary tab as you can see in the screenshot below.
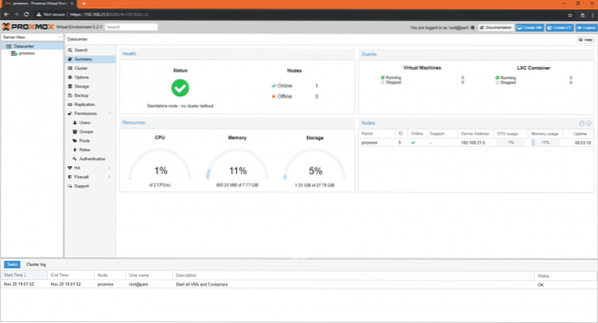
The Proxmox VE web based management interface is really easy to use and you should be able to figure it out very easily. It's one of the best virtualization platform out there. I really like the user interface of the Proxmox VE web console.
So, that's how you install Proxmox on your computer or server. Thanks for reading this article.


