This guide shows you how to download and install fonts in Ubuntu 20.10 Groovy Gorilla. There are two methods that you can use to install fonts in Ubuntu:
- Using the font manager
- Using the terminal
Before installing a font, you will need to obtain the font from an online source. There are various free sources to search for and download fonts; for example, dafont.com or 1001freedonts.com. Search for any font you would like and download the font file. The downloaded file will probably be a zipped file. After you unzip the font file, you will get two types of font files:
- OTF (OpenType Font)
- TTF (TrueType font)
OTF and TTF are the font file extensions. OTF is more advanced due to additional features.
Method 1: Install Font Using Font Manager
The simplest way to install a font on your Ubuntu system is through the font manager. If you followed the step above correctly, you have already downloaded the font file. If the font file is a zipped file, then unzip it first before proceeding. Next, right-click on any of the “font_name.ttf” or “font_name.otf” files, or simply double-click on the file. I am using the “Bebas” font, so the filenames for this font would be “Bebas.ttf” and “Bebas.otf.” A window for the font manager will open when you click on the file, as shown below:
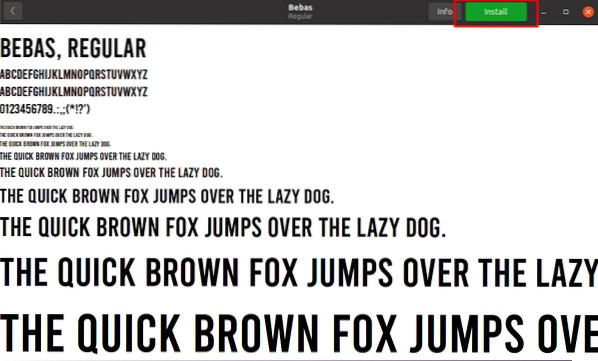
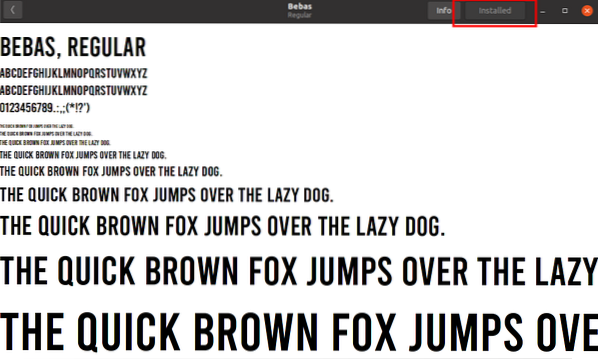
To install the font onto your system, simply click the green install button located at the top-right corner of the screen. The font will be installed in the “~/.local/share/fonts” directory. Since the font file will be installed in the “~/.local/share/fonts” directory, this font will only be available for the user who installed it. After installation, the button will turn grey and the button text will change to “Installed,” as you can see in the following image:
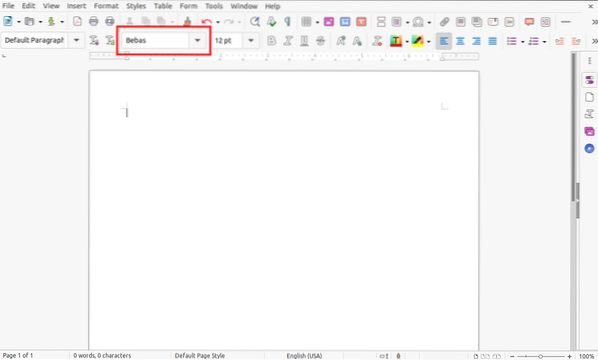
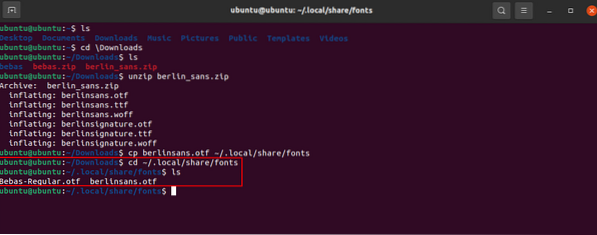
To verify font installation use any text document application or launch terminal, change directory to “~/.local/share/fonts.” To list the items in the directory, use the “ls” command. You can see the installed fonts in the image below.
Method 2: Install Font Using Terminal
For those who prefer to install files manually via the command-line, this second method for installing fonts should be easy and simple. All you need to do is copy the downloaded font file, either the TTF or OTF file, to the “~/.local/share/fonts” directory using the “cp” command.
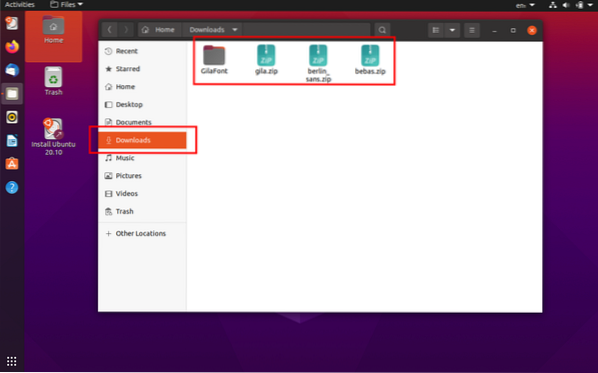
Open the terminal and, using the “cd” command, navigate to the directory to which the font has been downloaded. In my case, the font file is in the “Downloads” folder. For manual installation, I am using the “berlin_sans” font.

Next, unzip the font file using the “unzip” command.
$ unzip berlin_sans.zip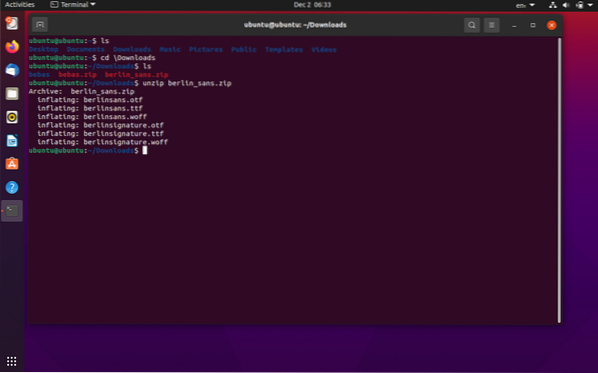
The files from the zipped folder will extract in the same “/Downloads” directory. Now, copy the font to the “~/.local/share/fonts” directory using the “cp” command:
$ cp berlinsans.otf ~/.local/share/fonts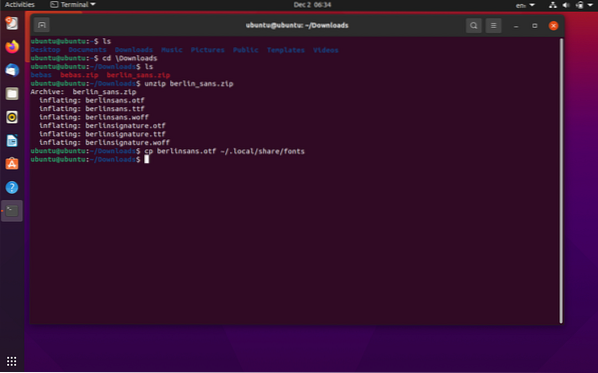
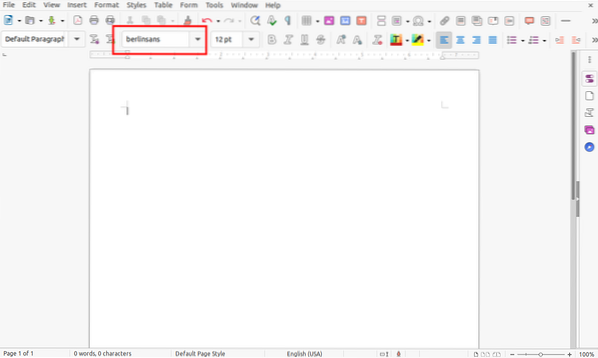
You can verify the installed font using any text editing software or by issuing the “ls” command in the “/.local/share/fonts” directory:
Installing Fonts for All Users
In the above examples, the fonts that we installed could only be used by the user who installed them. Now, we will install a font so that it can be accessed by all users. The process for this method is not unlike the methods previously described. All you need to do is change the directory from “~/.local/share/fonts” to “/usr/local/share/fonts.” To differentiate from other examples, I am using the “Gila” font.
First, change the current directory to the directory where the font file is present. My font files will be downloaded to the “Downloads” directory, as shown below. Next, unzip the font file in a folder using the following command:
$ unzip Gila.zip -d GilaFont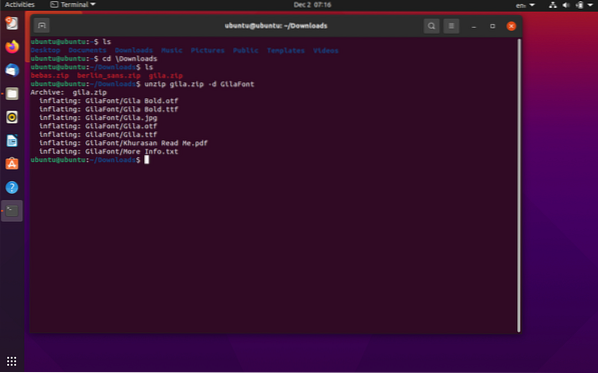
The font files will be extracted to the destination folder “GilaFont.” Now, to install the font type, issue the following command:
$ sudo cp GilaFont/Gila.otf /usr/local/share/fonts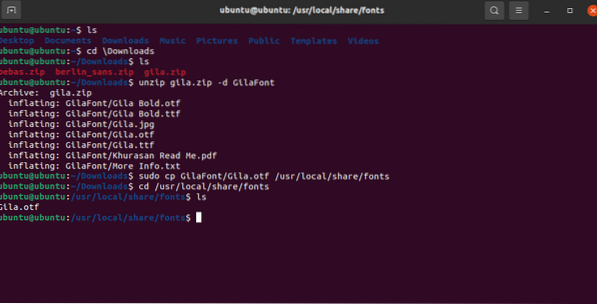
You can verify the font installation by changing the directory to “/usr/local/share/fonts” and then list using the “ls” command, as shown in the above image.

Similarly, font availability can also be verified using any text editing application, as shown above.