

Sometimes, you do not want a process to run at a default time specified by your operating system rather you yourself want to define the time for a process to run. For doing this in Ubuntu, we make use of the Cron daemon which works in the same way as the Task Scheduler works in Windows. What you can do with the Cron daemon is that you can specify the time for a process such as a maintenance or a backup related task to run. In this way, you can automate these tasks to run later without any manual intervention. In this article, we will explain how to get this done using Crontab in Ubuntu.
Scheduling of Tasks in Ubuntu Using Crontab
For doing this, you need to proceed as follows:
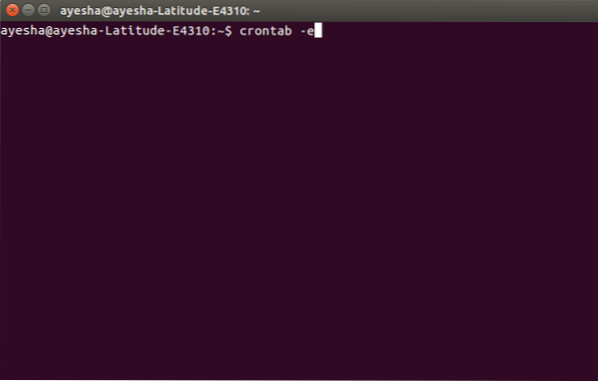
Launch terminal by pressing Ctrl+ T or clicking on the terminal icon located on the taskbar or searching for terminal in the search window and pressing enter. The newly opened terminal window is shown below:
Now type the command crontab -e in the terminal and press enter to open the crontab file. This command is shown below:
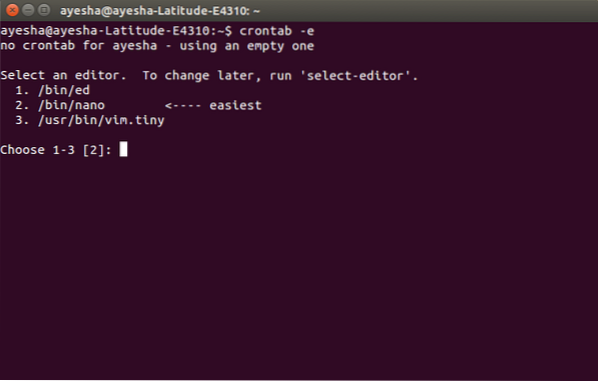
As soon as you will press enter, the terminal will ask you to select an editor to open this file. Press 2 and then press enter to select nano editor because it is always good to open system files with nano editor.
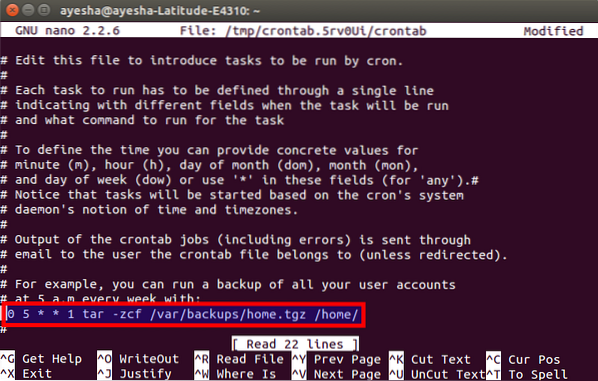
The moment you will press enter, you will see that your terminal has changed itself into the nano editor window and your crontab file has opened in this editor. It is shown below:
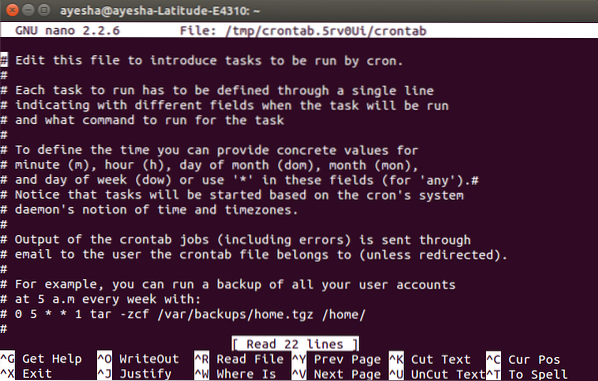
You can scroll through this file by making use of the up and down arrow keys. All the lines written in this file that start with a '#' represent a comment. If you want to add a new task to get scheduled at your specified time, then you must write it without a hash. For example, if you want to run a backup of all your user accounts every week at 5 a.m, then you should type the command:
0 5 * * 1 tar -zcf /var/backups/home.tgz /home/
This is shown below:
Once you have finished adding your tasks, just press Ctrl+ O to save your crontab file in nano editor. It will show the modified status as top right corner and will ask you for a file name to write. Just press enter to select default. It is given below:
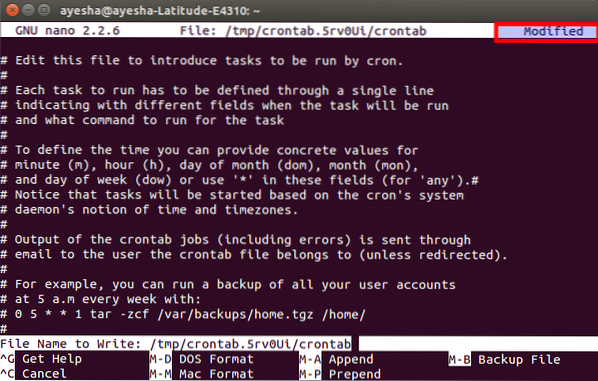
After pressing enter, you will be returned to your regular nano editor window. Now to exit from nano editor after saving your file, just press Ctrl+ X.
As soon as your nano editor will close, you will be directed to your original terminal window. Here you will see the “crontab: installing new crontab” message, which is an indication to tell that your crontab file was saved successfully. This message is shown in the image below:

Once you are done with this, now all your user accounts will experience a backup every week at 5 a.m.
Conclusion
Through the method explained above, you can schedule any system related tasks at the time of your own choice. These changes will be saved forever until you modify this file again. This kind of automation reduces the burden of the user of doing everything manually. I hope this article was helpful.


