If you want to learn more about the Btrfs filesystem, check my article Introduction to Btrfs Filesystem.
In this article, I am going to show you how to install and use Btrfs on Ubuntu 20.04 LTS. So, let's get started.
Installing Btrfs Filesystem
The Btrfs filesystem package is available in the official package repository of Ubuntu 20.04 LTS, so you can easily install it from there.
First, update the APT package repository cache with the following command:
$ sudo apt update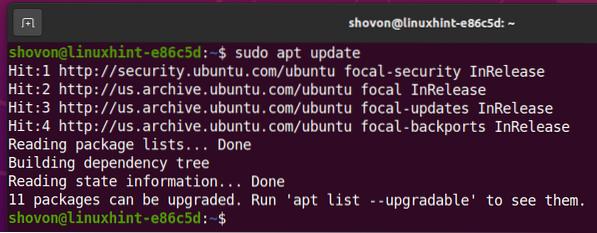
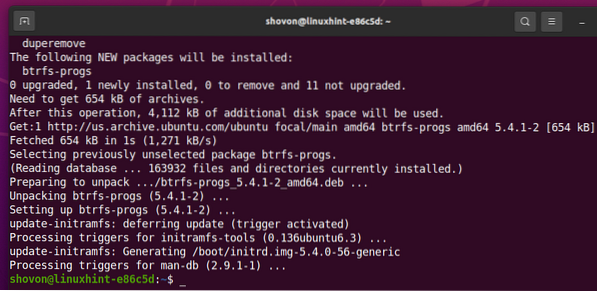
To install the Btrfs filesystem on Ubuntu 20.04 LTS, run the following command:

The Btrfs filesystem should be installed.
Partitioning the Disk
You don't have to partition your HDD/SSD to create a Btrfs filesystem; you can create it on your bare unpartitioned HDD/SSD. But you may want to partition your HDD/SSD before you format your HDD/SSD with the Btrfs filesystem.
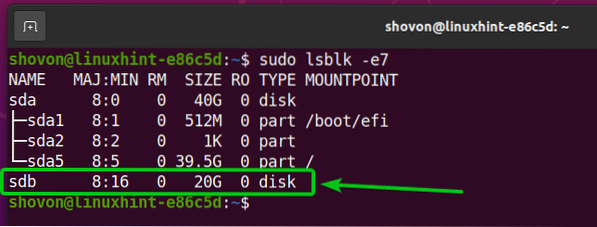
You can list all the storage devices and partitions of your computer with the following command:

I have an HDD sdb on my computer, as you can see in the screenshot below. I will be partitioning the HDD sdb and formatting the partitions with the Btrfs filesystem for the demonstration in this article.
To partition the HDD sdb, I will use the cfdisk partitioning tool.
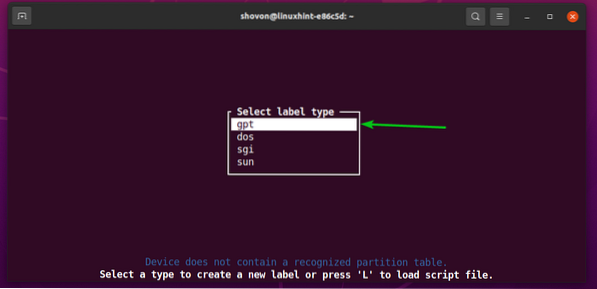
You can open the HDD sdb with the cfdisk partitioning tool as follows:

Select gpt and press
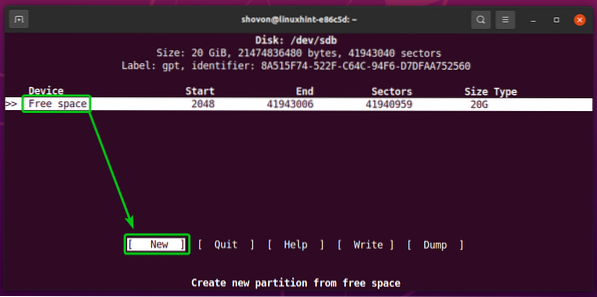
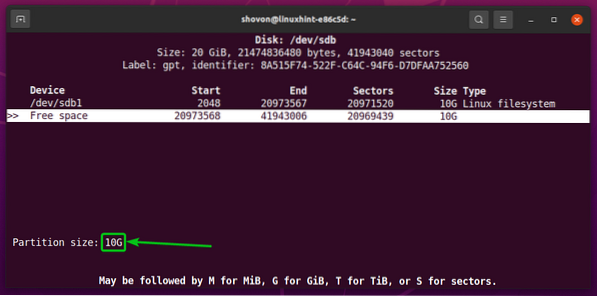
To create a new partition, select Free space, then select [ New ], and press
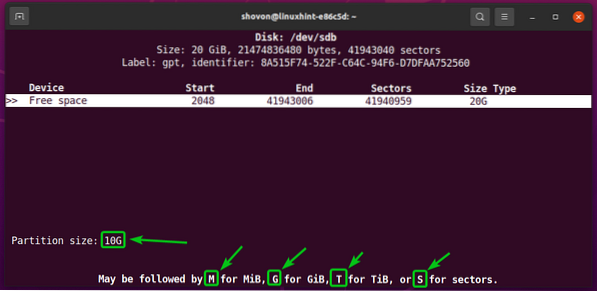
Type in the size of the partition you want to create. I will create a 10 GB partition. So, I will type in 10G.
You can use the following symbols to create partitions of different sizes/units:
M - partition size in megabyte unit
G - partition size in gigabyte unit
T - partition size in terabyte unit
S -number of sectors you want to use for the partition
Once you're done, press
A new partition (sdb1 in my case) should be created.
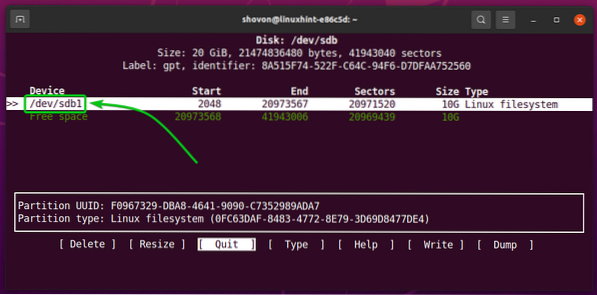
Let's create another partition.
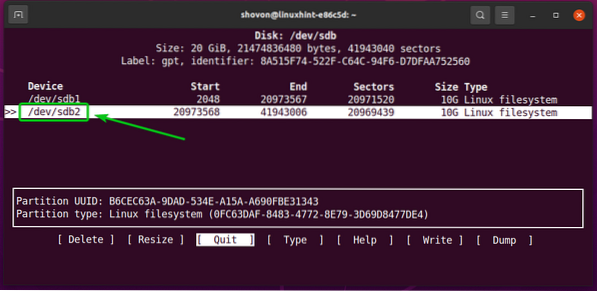
To do that, select the Free space, then select [ New ], and press
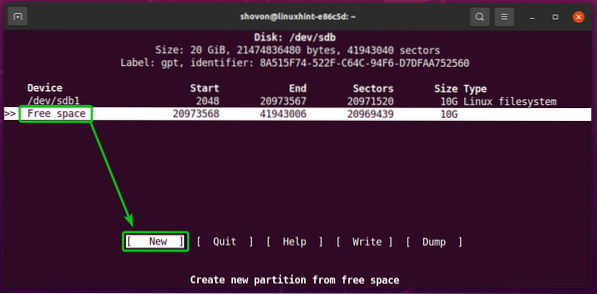
Type in the size of the partition, and press
A new partition (sdb2 in my case) should be created.
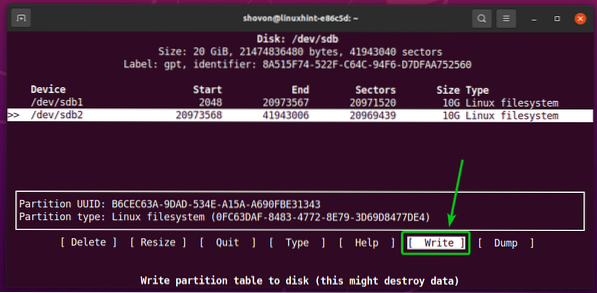
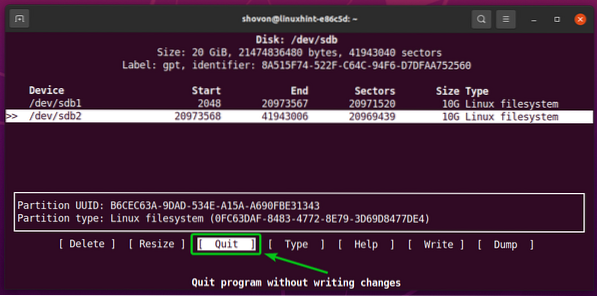
To write the changes to the disk, select [ Write ] and press
To confirm the changes, type in yes and press
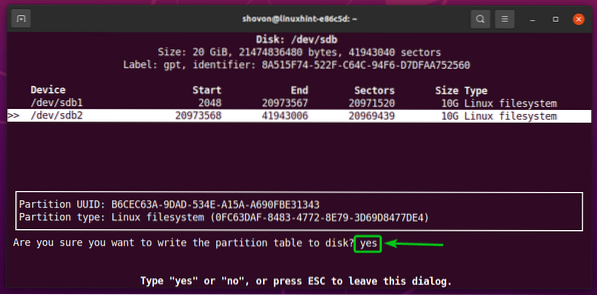
The partition table should be saved to the disk.

To quit cfdisk program, select [ Quit ] and press
Formatting a Disk with Btrfs Filesystem
In this section, I am going to show you how to format a partition with the Btrfs filesystem.
I have created 2 partitions, sdb1 and sdb2, in the earlier section of this article. I will format the partition sdb1 with the Btrfs filesystem for the demonstration.
To format the partition sdb1 with the Btrfs filesystem, run the following command:
$ sudo mkfs.btrfs -L data /dev/sdb1NOTE: Here, the -L flag sets the label of the partition. In this case, the partition label is data.

The partition sdb1 should be formatted with the Btrfs filesystem.
Mounting a Btrfs Filesystem
To mount a Btrfs filesystem, you need to create a directory (mount point) where you can mount the Btrfs filesystem.
To create a directory/mount point /data, run the following command:
$ sudo mkdir -v /data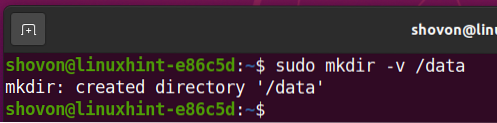
Once the /data mount point is created, you can mount the sdb1 Btrfs filesystem on the /data mount point with the following command:
$ sudo mount /dev/sdb1 /data
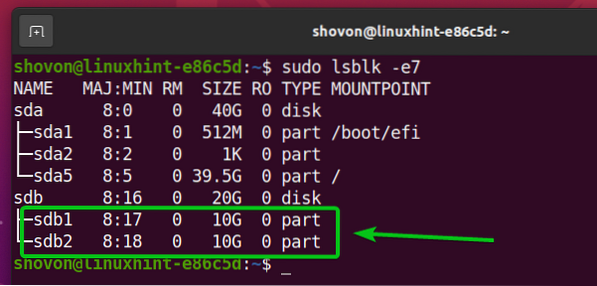
The Btrfs partition sdb1 should be mounted in the /data mount point, as you can see in the screenshot below.
$ sudo lsblk -e7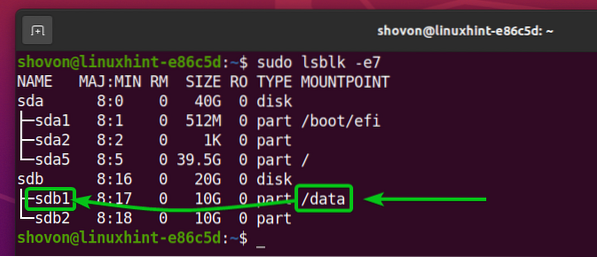
Checking Btrfs Filesystem Usage Information
Checking the usage information of your Btrfs filesystem is very important, and there are many ways to check it. Let's see some of them.
You can use the following command to see the usage summary of all the Btrfs filesystems on your computer:
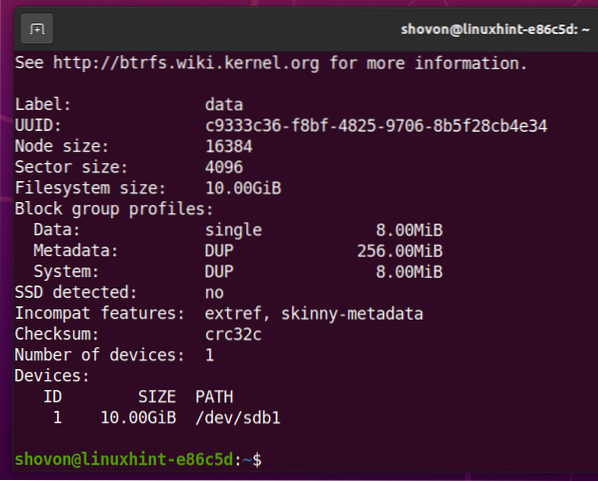
$ sudo btrfs filesystem show
The usage summary of all the Btrfs filesystems on your computer should be displayed.
You should find the following usage information here:
- The label of each of the Btrfs filesystems on your computer.
- The UUID of each of the Btrfs filesystems on your computer.
- The total number of devices added to each of the Btrfs filesystems on your computer.
- The disk usage information of each of the storage devices added to each of the Btrfs filesystems on your computer.

To find disk usage information about a specific Btrfs filesystem mounted on a specific directory path (e.g., /data), run the following command:
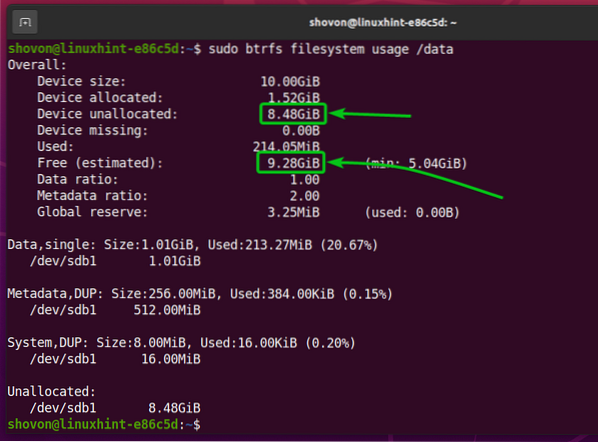
$ sudo btrfs filesystem usage /data
As you can see, a lot of disk usage information about the Btrfs partition mounted on the /data mount point is displayed.
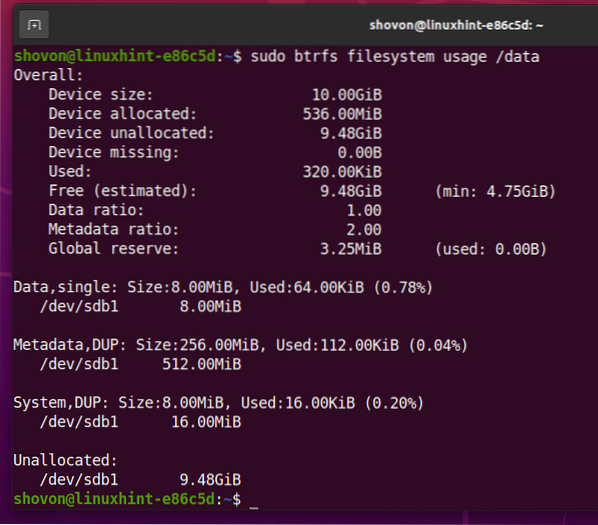
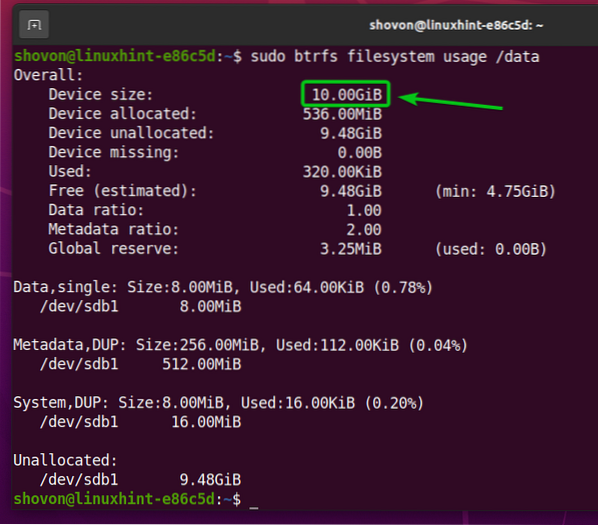
On the top, you should find the total disk size of the Btrfs filesystem.
You should also find the amount of disk space the Btrfs filesystem has allocated (reserved for storing data) and the amount of disk space that is used from the allocated/reserved disk space.
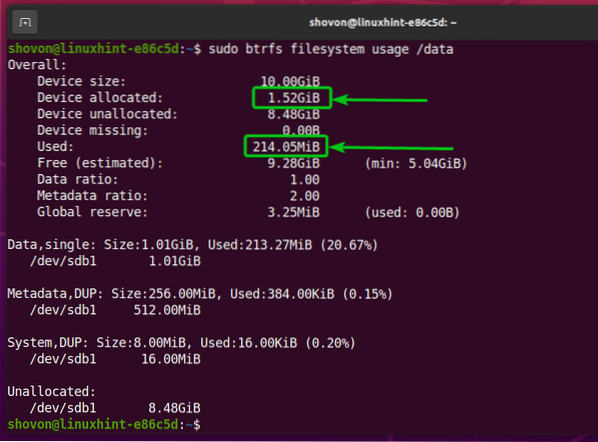
You should also find the amount of disk space the Btrfs filesystem did not allocate (did not reserve for storing data) yet and the estimated amount of disk space (allocated and unallocated) that is still available for storing new data.
On the bottom, you should find the following information:
- The total amount of disk space allocated and used for data from all the storage devices added to the Btrfs filesystem.
- The amount of disk space allocated for data in each of the storage devices added to the Btrfs filesystem.
- The total amount of disk space allocated and used for metadata from all the storage devices added to the Btrfs filesystem.
- The amount of disk space allocated for metadata in each of the storage devices added to the Btrfs filesystem.
- The total amount of disk space allocated and used for the Btrfs system data from all the storage devices added to the Btrfs filesystem.
- The amount of disk space allocated for the Btrfs system data in each of the storage devices added to the Btrfs filesystem.
- The amount of unallocated disk space in each of the storage devices added to the Btrfs filesystem.
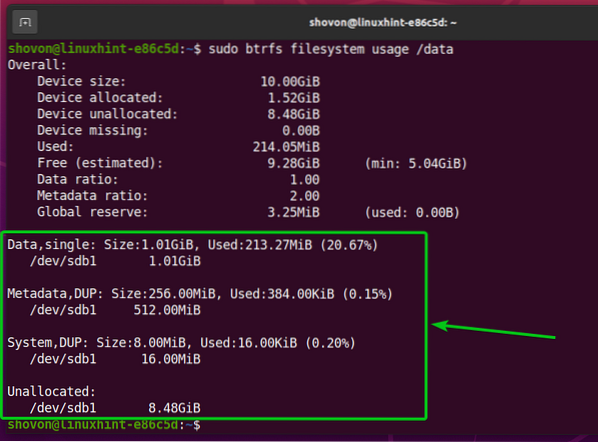
On the bottom, you should also find the method (i.e., single, DUP) that is used to allocate disk space for the data, metadata, and system data:
- For single-mode allocation, the Btrfs filesystem will keep only one instance of the allocation. There won't be any duplicates.
- For DUP mode allocation, the Btrfs filesystem will allocate the disk space in different parts of the filesystem for the same purpose. So, multiple copies (usually two) of the same data will be kept on the filesystem.
- Usually, the data is allocated in the single mode. The metadata and the system data are allocated in DUP mode.
- In single mode, notice that the Btrfs filesystem can use all the allocated disk space.
- In DUP mode, notice that the Btrfs filesystem can use half the disk space from the total allocated disk space.

To see the summary of the disk space allocated and used for the data, metadata, and system of a Btrfs filesystem mounted in the /data directory, run the following command:
$ sudo btrfs filesystem df /data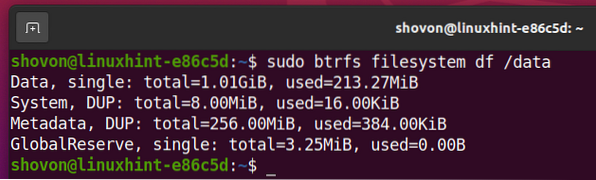
You can also list the disk usage information of each of the files and directories of the Btrfs filesystem mounted on the /data directory as follows:
$ sudo btrfs filesystem du /data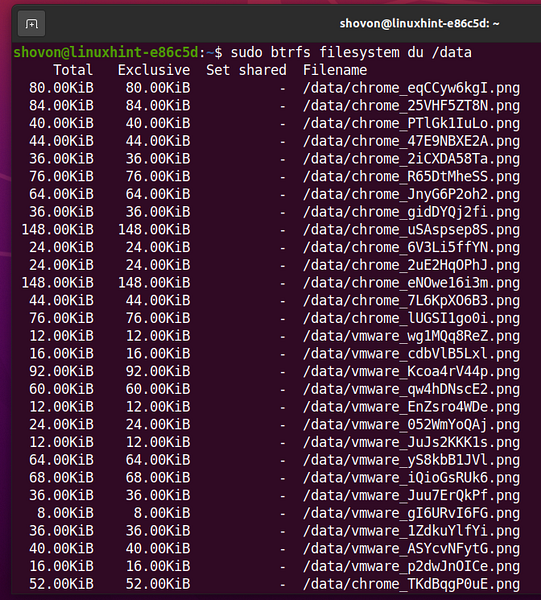
In the end, the disk usage summary of all the files and directories of the /data btrfs filesystem should be displayed.
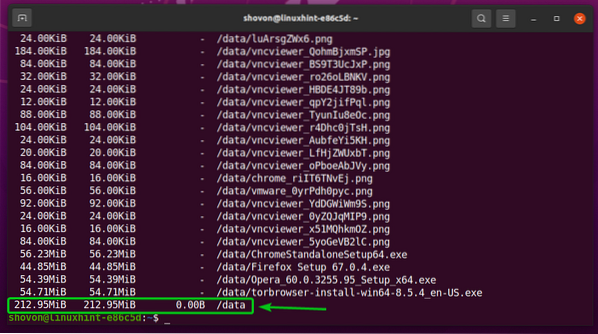
To only see the disk usage summary of the files and directories of the Btrfs filesystem mounted on the /data directory, run the following command:
$ sudo btrfs filesystem du -s /data
Adding More Storage Devices to a Btrfs Filesystem
If you need more disk space on your Btrfs filesystem, you can add more storage devices or partitions to the Btrfs filesystem to expand the disk space of the filesystem.
For example, to add the partition sdb2 on the Btrfs filesystem mounted on the /data directory, run the following command:
$ sudo btrfs device add /dev/sdb2 /data
As you can see, the new partition sdb2 is added to the Btrfs filesystem mounted on the /data directory.
$ sudo btrfs device usage /data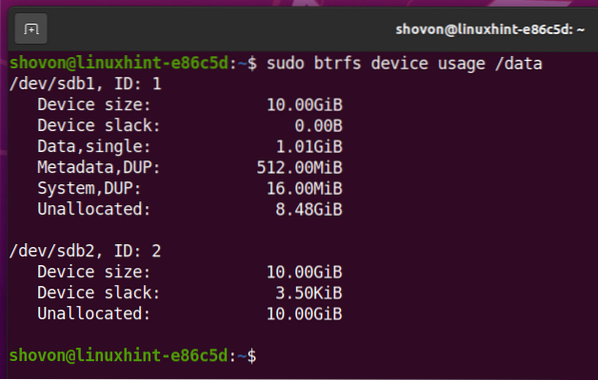
As you can see, the size of the Btrfs filesystem mounted on the /data directory has increased.
$ df -h -x squashfs -x tmpfs -x devtmpfs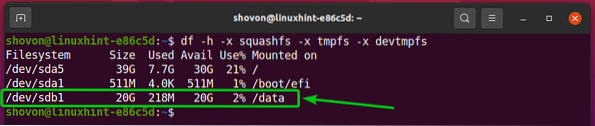
Mounting a Btrfs Filesystem at Boot Time
Once you have set up a Btrfs filesystem, you don't want to mount it manually every time you boot your computer, rather mount it in automatically. Let's see how to do that.
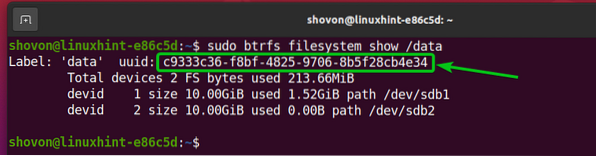
First, find the UUID of the Btrfs filesystem mounted on the /data directory as follows:
$ sudo btrfs filesystem show /data
In my case, the UUID of the Btrfs filesystem is c9333c36-f8bf-4825-9706-8b5f28cb4e34. It will be different for you. So, make sure to replace it with yours from now on.
Open the /etc/fstab file with the nano text editor as follows:
$ sudo nano /etc/fstab
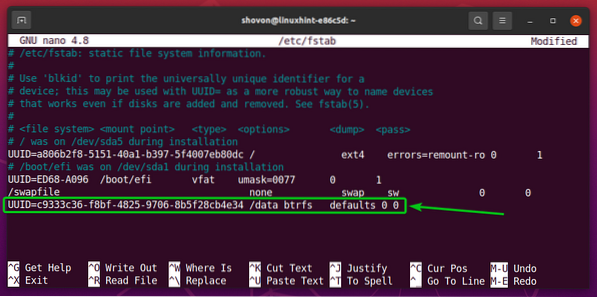
At the end of the /etc/fstab file, type in the following line:
UUID=c9333c36-f8bf-4825-9706-8b5f28cb4e34 /data btrfs defaults 0 0Once you're done, press
For the changes to take effect, reboot your computer with the following command:
$ sudo reboot
Once your computer boots, you should see that the Btrfs filesystem is correctly mounted in the /data directory at boot time, as you can see in the screenshot below.
$ df -h -x squashfs -x tmpfs -x devtmpfs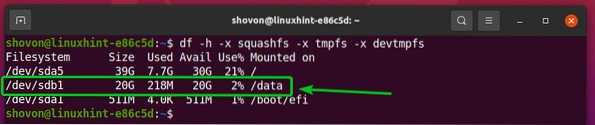
Conclusion
In this article, I have shown you how to install and use the Btrfs filesystem on Ubuntu 20.04 LTS. This information imparted here should help you get started with the Btrfs filesystem on Ubuntu 20.04 LTS.


