In this article, we will learn how to remove conflicting libraries and install open office 4.1.7 on Ubuntu 20.04 LTS through the command line environment. Let's start!
Installation steps of OpenOffice on Ubuntu 20.04 LTS
To install OpenOffice on Ubuntu 20.04, you need to follow the following steps:
Step 1: Remove LibreOffice or old installed office version
Before starting the installation of OpenOffice 4 on your system, first, you need to remove the LibreOffice and its libraries because LibreOffice and OpenOffice can't run on the same system; both softwares have the same libraries that conflict during the installation. Therefore, completely remove the LibreOffice from the system. Use the following command that will completely remove the LibreOffice:
$ sudo apt remove libreoffice-base-core libreoffice-impress libreoffice-calclibreoffice-math libreoffice-common libreoffice-ogltrans libreoffice-core
libreoffice-pdfimport libreoffice-draw libreoffice-style-breeze libreoffice-gnome
libreoffice-style-colibre libreoffice-gtk3 libreoffice-style-elementary
libreoffice-help-common libreoffice-style-tango libreoffice-help-en-us libreoffice-writer

Then, run the below-mentioned command:
$ sudo apt autoremove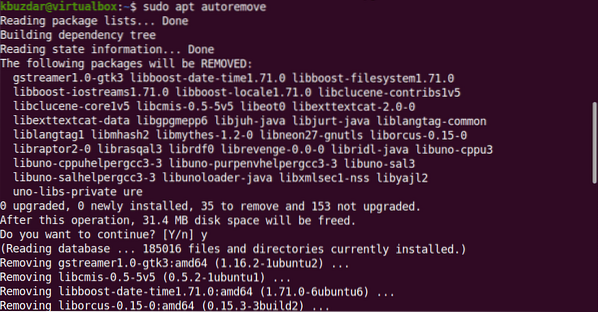
The above command will remove all LibreOffice libraries from your system. Now, your system is ready for OpenOffice installation.
Step 2: Download OpenOffice
This package is not available on the Ubuntu software repository. Therefore, to install OpenOffice on Ubuntu 20.04, you need to download this package from the official OpenOffice website. This package is not available on the Ubuntu software repository. Therefore, to install OpenOffice on Ubuntu 20.04, you need to download this package from the official OpenOffice website.
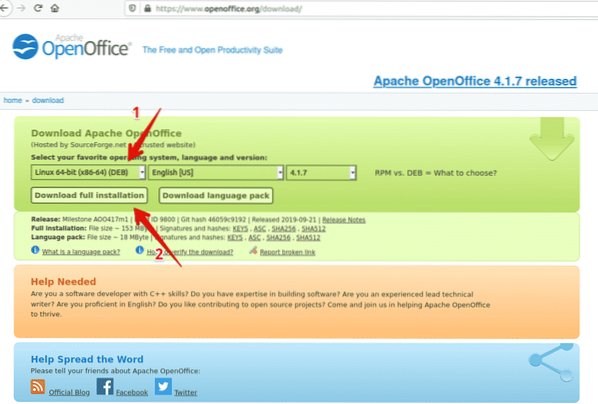
Download the latest version of OpenOffice from their official website from the mentioned link https://www.openoffice.org/download/index.html. At the time of writing this article, OpenOffice 4.1.7 is available as the latest version. Therefore, Select the 'Linux 64-bit (x86-64) (DEB)' from the dropdown dialog box and select the preferred language and OpenOffice version and then click on the 'Download full installation' option.
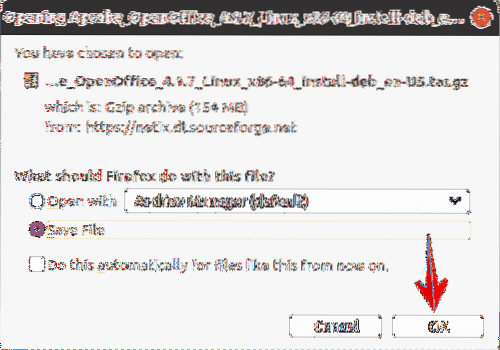
The dialog box will display on your desktop. Here, you will select 'Save File' and set the location where you want to save it and click on Ok. In a while, the setup Apache_OpenOffice_4.1.7_Linux_x86-64_install-deb_en-US.tar.gz will begin to download on your system. The download process will take time to complete.
Once the download is complete, you will navigate into Downloads directory and list files using the following command:
$ cd Downloads$ ls

Step 3: Extract the tar file
The downloaded file is a tar file, so you need to extract it. Therefore, using the tar command-line utility extract the downloaded file as follows:
$ tar -xvf Apache_OpenOffice_4.1.7_Linux_x86-64_install-deb_en-US.tar.gz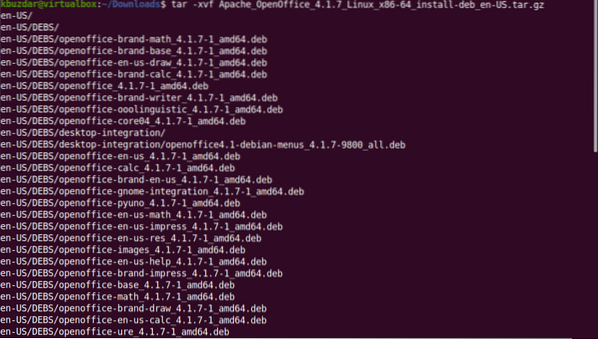
The above command will extract the downloaded file. This will create a directory named 'en-US' into the Downloads. Now, using the following command, you will navigate into the DEBS.
$ cd en-GB/DEBS/Step 4: Install deb packages
After that, you execute the following command to install the deb packages.
$ sudo dpkg -i *.deb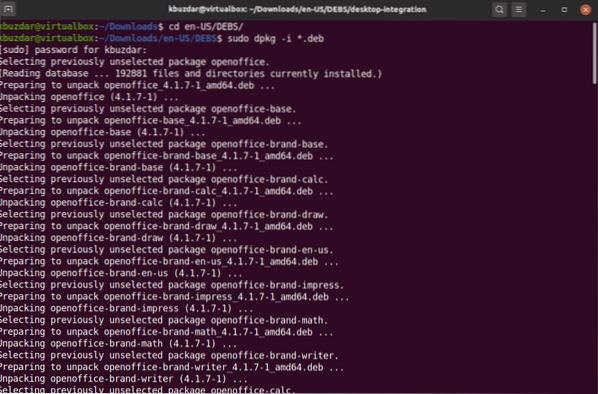
Now, you will integrate all packages on your desktop using the following command:
$ cd desktop-integration/Install the deb packages using the following command:
$sudo dpkg -i *.deb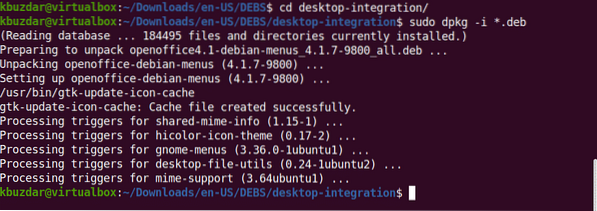
Step 5: Launch OpenOffice 4.1.7
OpenOffice 4.1.7 has been installed on your system now. You can verify it by launching the OpenOffice 4 on your system either by using the terminal or from the desktop.
$ openoffice4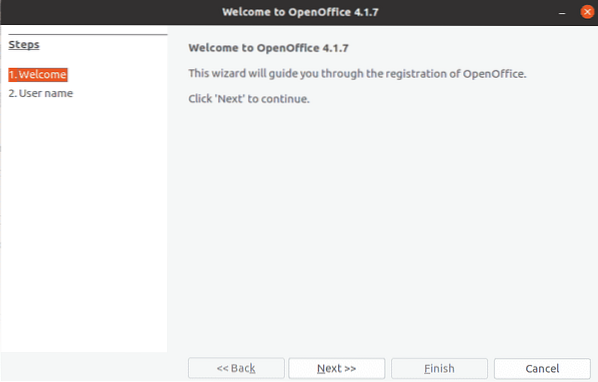
When you launch OpenOffice first time, you will see the above displaying window on your system. Click on Next and then Finish.
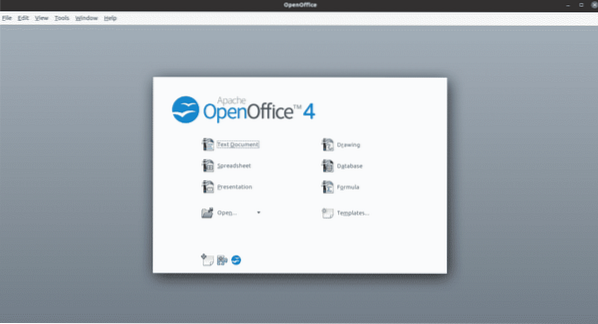
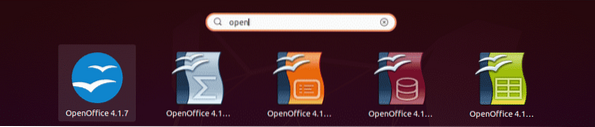
To launch it from the desktop, click on Activities and search 'Openoffice' in the application search bar. You will see as the following results on your system:
To use the apache OpenOffice full functionality, you may need to install the Java Runtime Environment on your system Ubuntu 20.04 if it is not already installed on your system.
Therefore, using the following command, you can install JDK-8 or 11 on your system after updating the apt-cache.
$ sudo apt update$ sudo sudo apt install openjdk-8-jre
Conclusion
In this article, we have learned how to install the latest version of OpenOffice 4.1.7 on Ubuntu 20.04 using the command line. Moreover, we also learned how to remove conflicting LibreOffice Libraries from your Ubuntu system. Now, you can use all packages of OpenOffice on your system related to drawing, writing, calculation, impress, maths, etc. I hope you enjoyed this article.


