With the Raspberry Pi Camera module, you can take pictures and record videos using your Raspberry Pi. The module does not require much power to work, and the 5V power supply that you use to power your Raspberry Pi is enough to run both the camera module and the Raspberry Pi.
The Raspberry Pi camera module is available with different camera resolutions. Currently, there are three Raspberry Pi camera modules available: (1) the Camera Module V2 with an 8-megapixel Sony IMX219 camera sensor, (2) the Pi NoIR Camera V2, which also has an 8-megapixel Sony INX219 camera sensor but does not have an infrared filter, and (3) the Raspberry Pi High-Quality Camera, which uses the 12.3-megapixel Sony IMX477 sensor.
In this article, we will show you how to connect the Raspberry Pi camera module to the Raspberry Pi and how to take pictures and record videos using the camera module. We will use the Raspberry Pi Camera Module V2 in this article, but the other camera modules work the same way.
To follow this article, you will need the following:
- a Raspberry Pi 3 or Raspberry Pi 4 with network connectivity;
- a Raspberry Pi camera module;
- a micro-USB (Raspberry Pi 3) or USB Type-C (Raspberry Pi 4) power adapter;
- a 16 GB or 32 GB microSD card with Raspberry Pi OS; and
- a laptop or desktop computer for VNC remote desktop access or SSH access to the Raspberry Pi.
NOTE: In this article, we will connect to the Raspberry Pi remotely via VNC or SSH using the headless setup of the Raspberry Pi. If you do not want to access your Raspberry Pi remotely via SSH or VNC, you will need to connect a monitor, a keyboard, and a mouse to your Raspberry Pi.
To learn how to flash the Raspberry Pi OS image onto a microSD card, please reference How to Install and Use Raspberry Pi Imager. If you need help installing Raspberry Pi OS on your Raspberry Pi, read How to Install Raspberry Pi OS on Raspberry Pi 4. If you need help with the headless setup of Raspberry Pi, check out How to Install and Configure Raspberry Pi OS on Raspberry Pi 4 Without External Monitor.
Hardware Setup
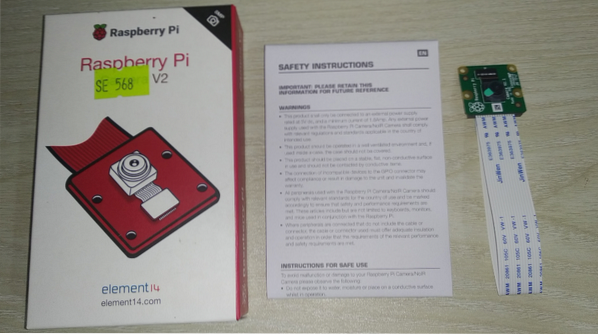
The Raspberry Pi Camera V2 camera module kit comes with the documentation and the camera module.
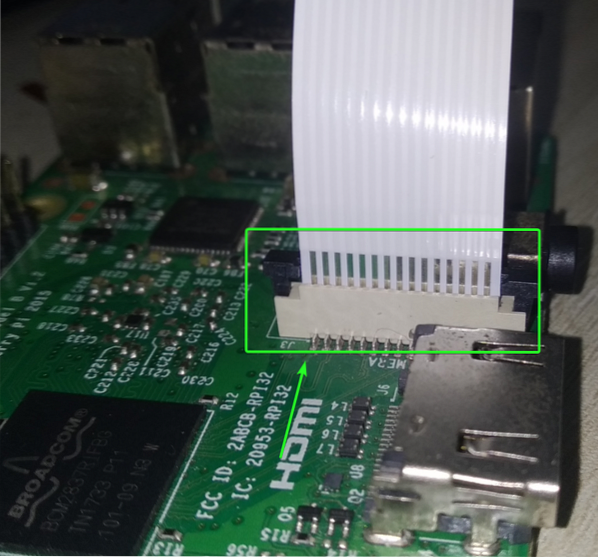
The camera module should go in the CAMERA CSI Connector, as shown in the image below. The Raspberry Pi CAMERA CSI Connector should have a thin plastic film attached to it for protection. Remove the thin plastic film from the CAMERA CSI Connector.
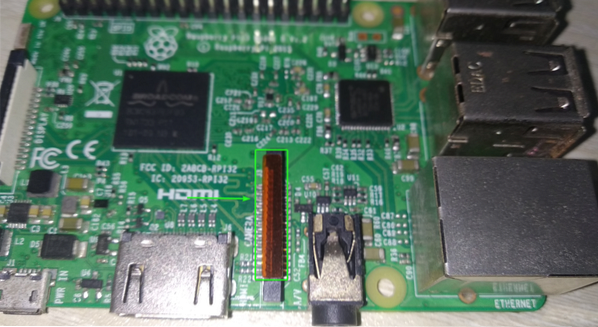
Once the thin plastic film is removed from the CAMERA CSI Connector, it should look as shown in the image below.

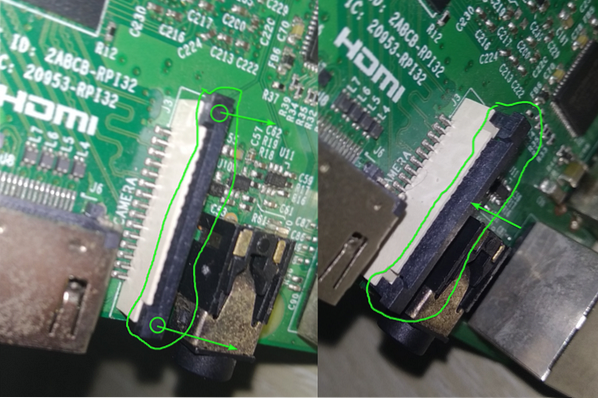
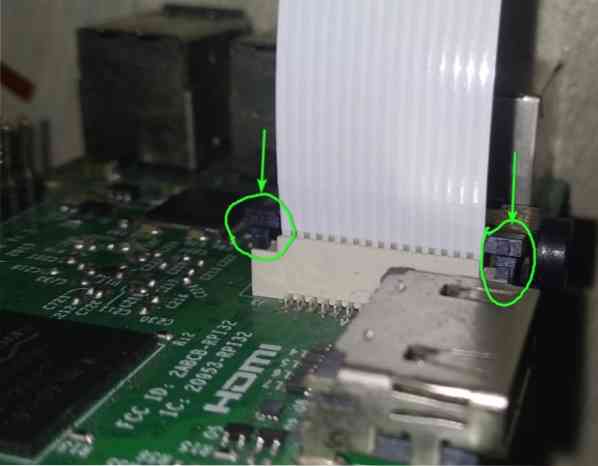
The CAMERA CSI Connector is locked by default. To connect the Raspberry Pi camera module to the CAMERA CSI Connector, you must first unlock it. To unlock the CAMERA CSI Connector, pull the black part as shown in the images below, to lift it.
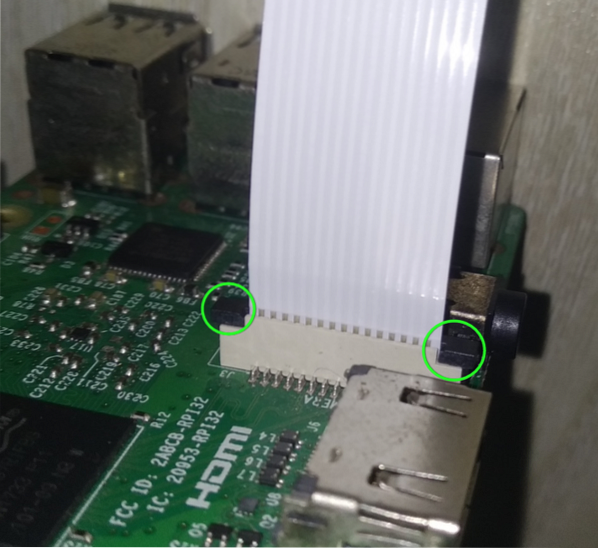
The, the Ribbon cable of the Raspberry Pi Camera module should be inserted into the CAMERA CSI Connector.
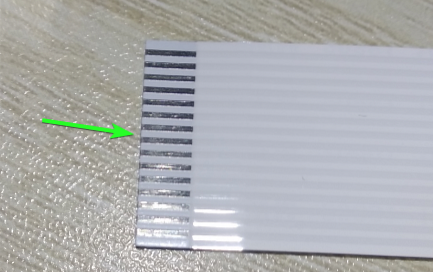
Put the ribbon cable of the Raspberry Pi camera module in the CAMERA CSI Connector. Make sure that the pins of the ribbon cable are facing forward, as shown in the image below.
Push the ribbon cable into the CSI connector carefully. Make sure that a the pins are partially visible, as shown in the image below.

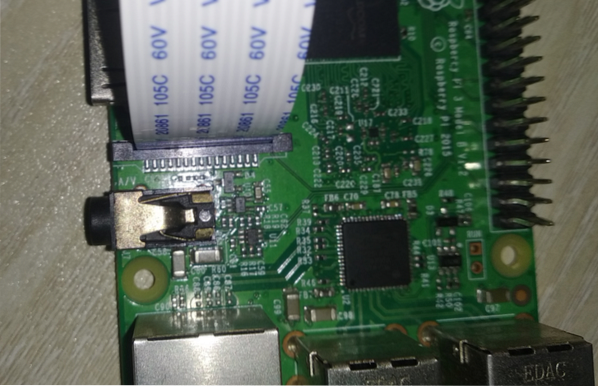
Push the black holder of the CSI Connector down to lock the ribbon cable in place.
Once the ribbon cable is locked to the CSI Connector, it should look as shown in the image below.
The camera module has a thin plastic film attached to the lens of the camera by default to protect the lens from accidental damage. However, before you use the camera, you must remove the plastic film.
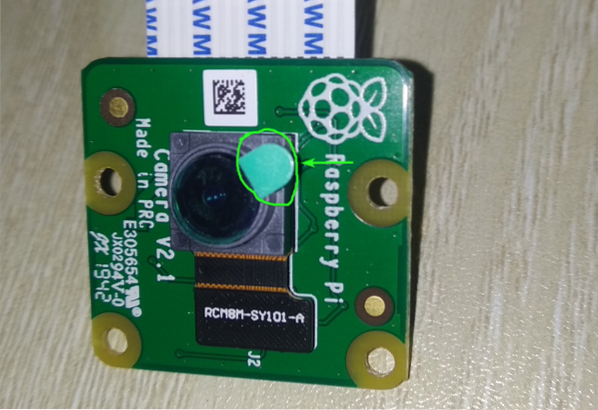
Once the thin plastic film is removed from the camera, it should look like that shown in the image below. Now, the camera is ready to take photos and record videos.

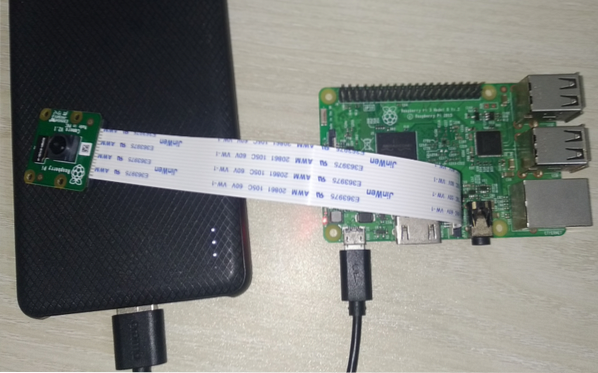
Powering on the Raspberry Pi
Once the camera module is connected to the Raspberry Pi, connect the power cable to the Raspberry Pi and power it on.
Configuring Raspberry Pi Camera Module
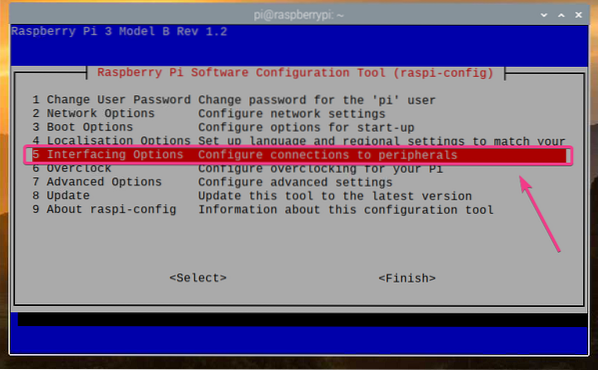
To take pictures and record videos with the Raspberry Pi camera module, you must enable it from the Raspberry Pi configuration software. Start the Raspberry Pi Configuration command-line utility with the following command:
$ sudo raspi-config
Select Interfacing Options and press
Select Camera and press

Select
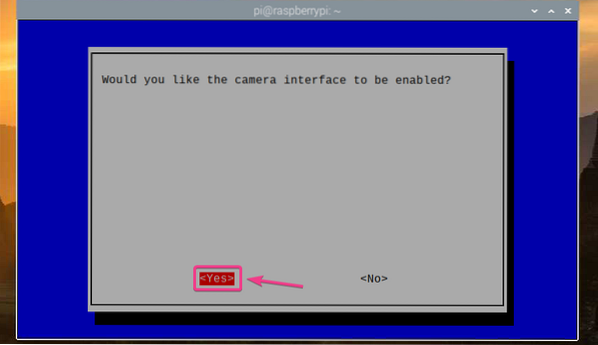
Press
Select
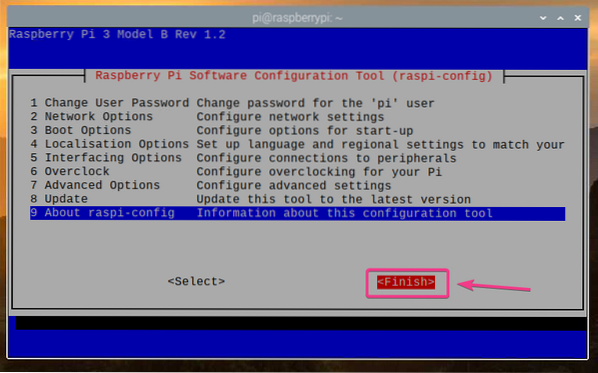
Select
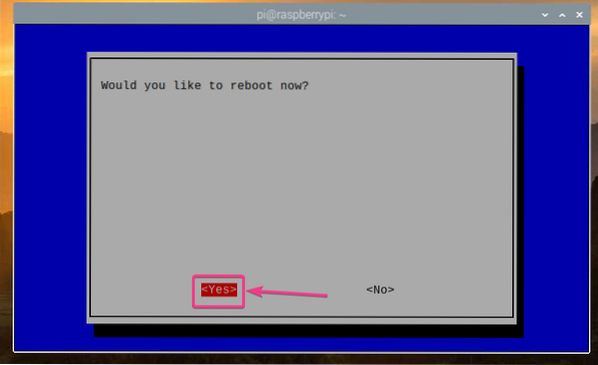
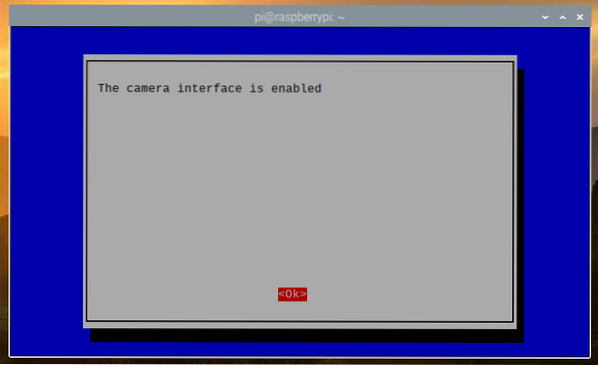
Once your Raspberry Pi boots, the Raspberry Pi camera module should be enabled.
Creating a Project Directory
To organize your project files, create a project directory ~/work with the following command:
$ mkdir ~/work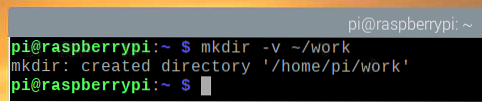
Once the project directory is created, navigate to the project directory as follows:
$ cd ~/work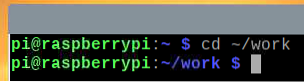
Taking Images from the Command Line
You can capture images from the Raspberry Pi camera from the command line using the raspistill command line program. raspistill comes preinstalled with Raspberry Pi OS.
To take an image from the Raspberry Pi camera and save it as a new file image1.jpg, run the following command:
$ raspistill -o image1.jpg
As you can see, a new image file image1.jpg has been created.
$ ls -lh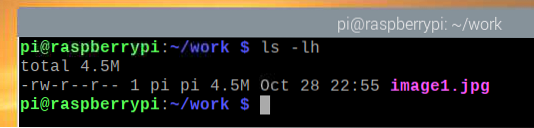
As you can see, the Raspberry Pi Camera module has taken an image.
The maximum supported image resolution for my Raspberry Pi Camera V2 8-megapixel camera is 3280×2464 pixels.

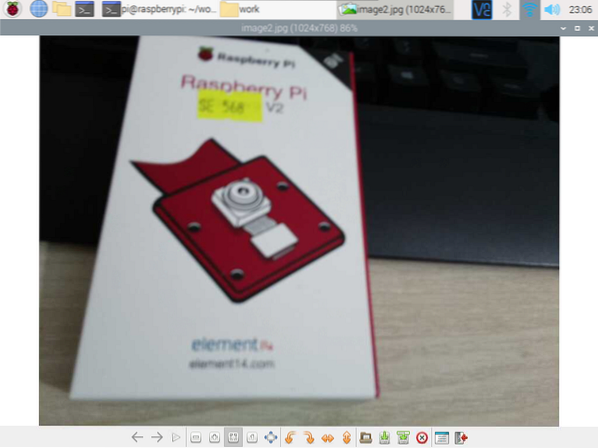
To take image at a lower resolution (i.e., 1024×768 pixels), run the following command:
$ raspistill -w 1024 -h 768 -q 100 -o image2.jpg
As you can see, a new image has been taken.
$ ls -lh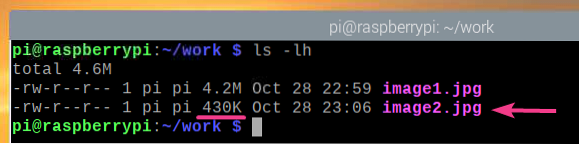
The new image has a resolution of 1024×768 pixels.
You can flip the image vertically using the -vf flag as follows:
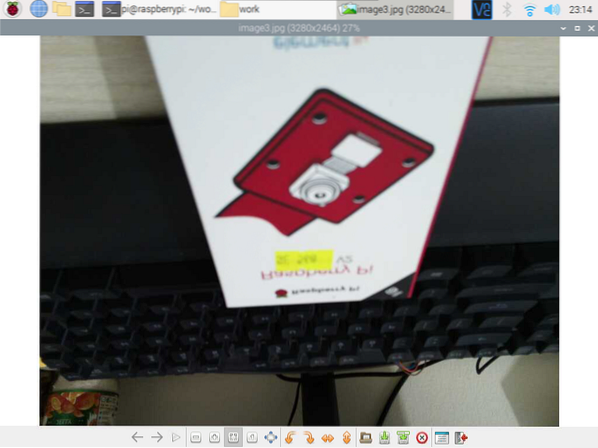
$ raspistill -vf -o image3.jpg
As you can see, the image has been flipped vertically.
You can also flip the image horizontally using the -hf flag as follows:
$ raspistill -hf -o image4.jpg
As you can see, the image has been flipped horizontally.

Recording Videos from the Command Line
You can record videos with the Raspberry Pi camera from the command line by using the raspivid command line program. raspivid comes preinstalled on the Raspberry Pi OS.
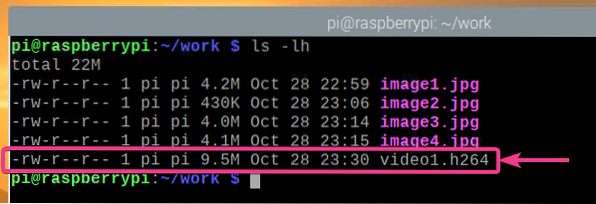
To record a video with the Raspberry Pi camera and save it as a new file video1.h264, run the following command:
$ raspivid -o video1.h264NOTE: The video filename must end with .h264 (H264 video extension).

A short video clip has been recorded and saved as video1.h264, as shown in the screenshot below.
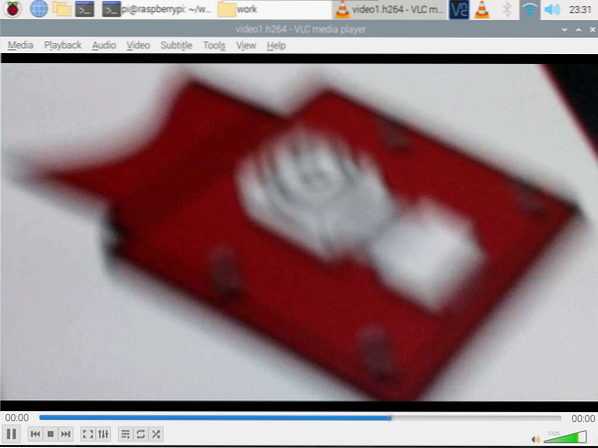
The image below shows the video recorded using the Raspberry Pi Camera module being played.
You can record a video at a specific resolution (e.g., 1024×768 pixels) as follows:
$ raspivid -w 1024 -h 768 -o video2.h264
The image below shows that a new video with a resolution of 1024×768 pixels has been recorded.
$ ls -lh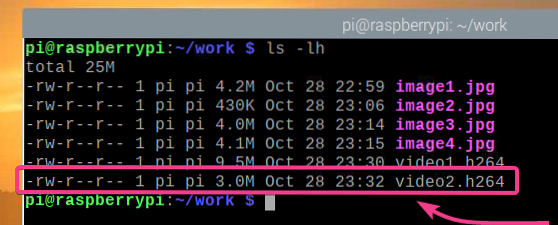
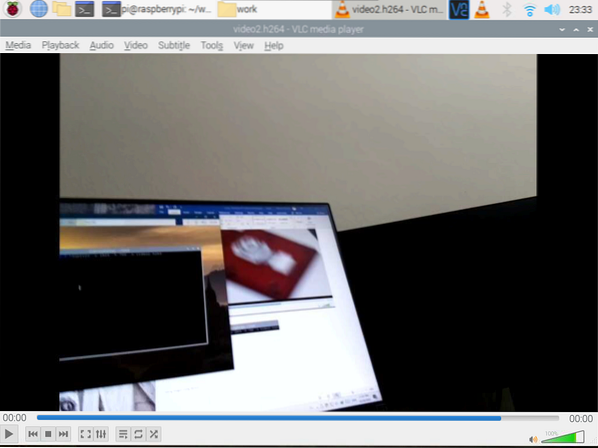
In the image below, the video with a resolution of 1024×768 pixels is being played in VLC Media Player.
As with the raspistill command ine program, you can use the -vf and the -hf options to flip the recorded video vertically and horizontally, respectively.
Working with the Raspberry Pi Camera using Python
In this section, I will show you how to take pictures and record videos with the Raspberry Pi Camera module using the Python programming language. First, we will take pictures with the Raspberry Pi Camera module using Python.
Create a Python script ex01.py in the project directory as follows:
$ nano ex01.py
Then, type in the following lines of code in the ex01.py file. Once you're done, press
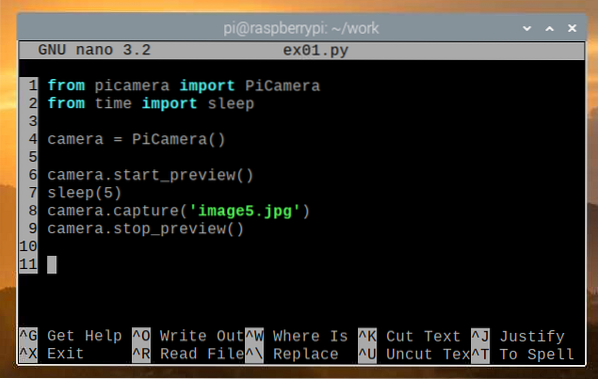
Here, line 1 imports the PiCamera module from the picamera library, and line 2 imports the sleep function from the time library. In line 4, a new PiCamera object is created and a reference to the object is stored in the camera variable.
The camera start_preview() method is used to open a camera preview window before taking a picture. You can only see the preview window if you're connected to your Raspberry Pi via an external monitor. The sleep() function is used to wait 5 seconds before taking the picture. The preview window will be displayed for the number of seconds provided. The camera capture() method is used to take a picture with the Raspberry Pi camera module and save it as the image5.jpg file. Once the image is taken, the camera preview window is no longer needed, and the camera stop_preview() method is used to close the camera preview window.
Run the ex01.py Python script as follows:
$ python3 ex01.py
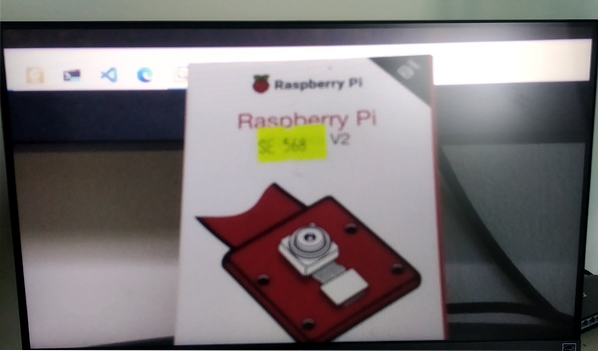
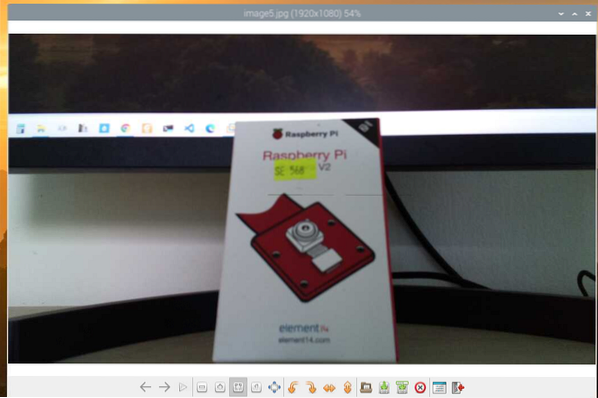
As you can see, the camera preview window is being displayed. The camera preview window will help you align the camera module correctly while taking pictures.
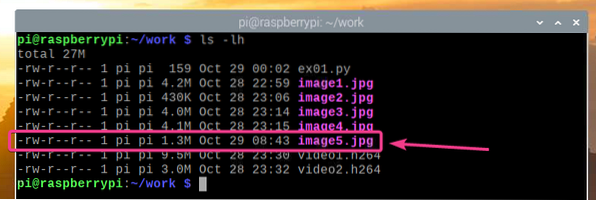
As you can see, a new image has been saved as image5.jpg.
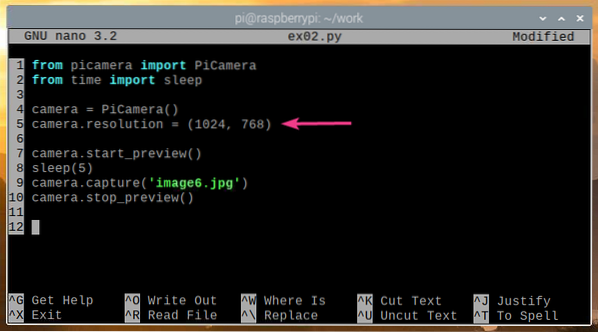
You can also take images at a specific resolution (e.g., 1024×768 pixels) by using a Python script. To do so, first create a new Python script ex02.py as follows:
$ nano ex02.py
Type the following lines of code into the ex02.py Python script file. The code in ex02.py is mostly the same as the code in ex01.py, but the camera resolution property is used in line 5 to set the resolution. Press
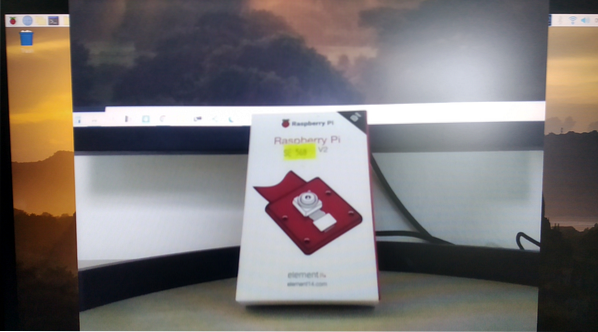
Run the ex02.py Python script as follows:
$ python3 ex02.py
The camera preview window should be displayed.
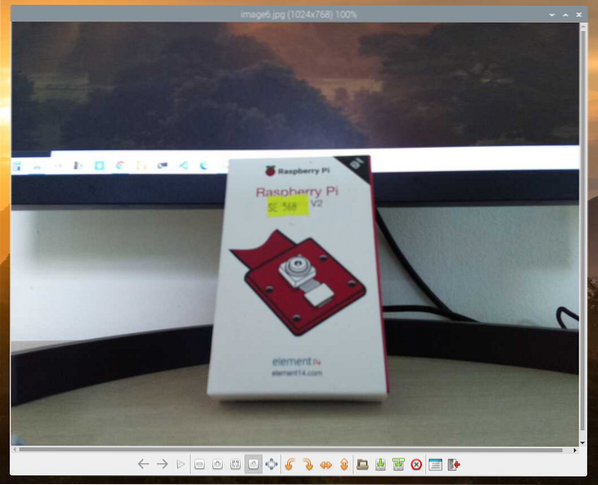
As you can see, a new image of resolution 1024×768 pixels has been captured by using ex02.py.
You can also capture multiple images using the Python programming language. To do so, create a Python script file called ex03.py in the project directory as follows:
$ nano ex03.py
Type in the following lines of code in the ex03.py Python script file. Once you are done, press

The code is the mostly same as that in the ex02.py Python script, but the code used to capture the image is inside a for loop. The for loop runs 5 times in this example, and there is a delay of 10 seconds before an image is captured. Therefore, ex03.py will take 5 images at 10-second intervals.
Run the ex03.py Python script as follows:
$ python3 ex03.py
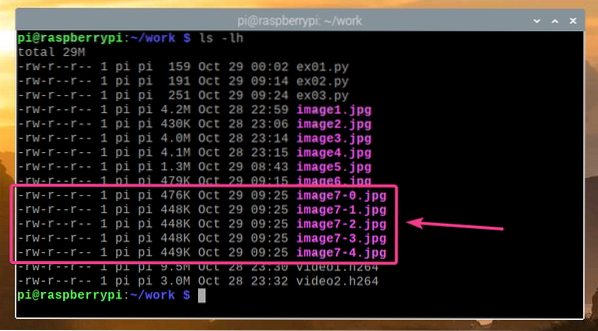
As you can see, ex03.py took 5 images with the Raspberry Pi Camera module.
You can also record videos with your Raspberry Pi Camera using the Python programming language. To do so, create a new Python script ex04.py as follows:
$ nano ex04.py
Type in the following lines of code in the ex04.py Python script. Once you are done, press
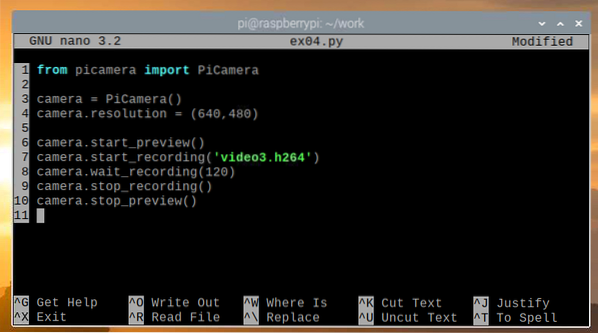
Here, line 1 imports PiCamera from the picamera library, line 3 initializes the PiCamera, and line 4 sets the camera resolution to 640×480 pixels. Line 6 starts the camera preview so that you can see what the Raspberry Pi Camera module is recording, and line 7 starts the recording and saves the recording to video3.h264. Remember the filename must end with .h264 extension.
Line 8 is used to record the video for 120 seconds., and line 9 is used to stop the recording. Once the recording is complete, line 10 is used to stop the camera preview, as we will no longer need it.
Run the ex04.py Python script as follows:
$ python3 ex04.py
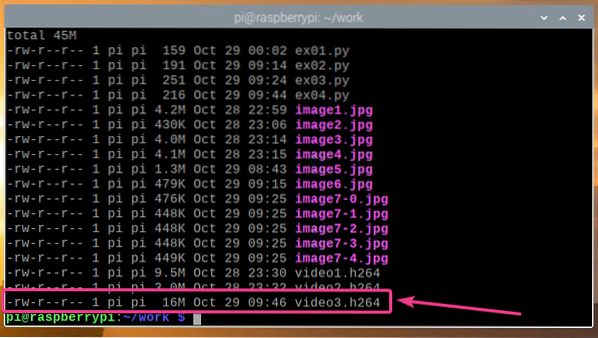
As you can see, the video is recorded and saved to the file video3.h264.
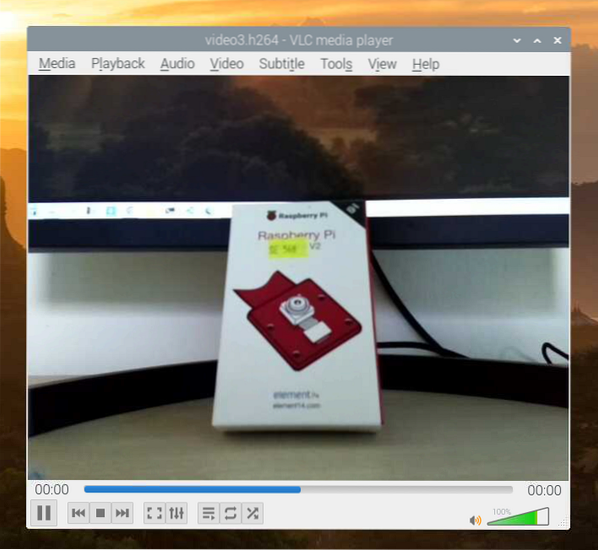
As you can see, the recorded video is being played.
Converting H264 Video Files to MP4
By default, the videos recorded by the Raspberry Pi Camera module are saved in H264 format. However, the most commonly used format is the MP4 format. In this section, we will show you how to convert an H264 video to MP4 video format on Raspberry Pi OS by using the gpac command-line program. This program does not come preinstalled on the Raspberry Pi OS, but it is available in the official package repository of the Raspberry Pi OS.
First, update the APT package repository cache with the following command:
$ sudo apt update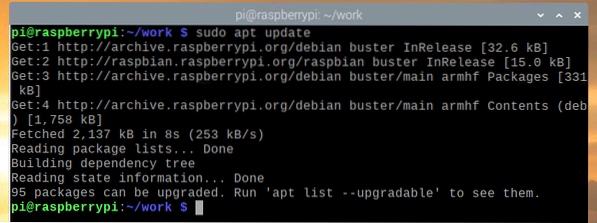
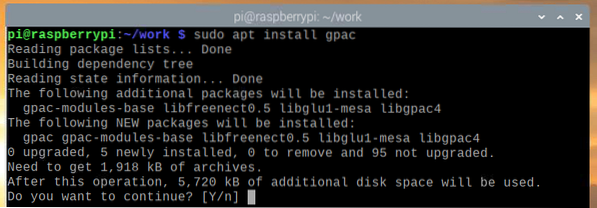
To install gpac, run the following command:
$ sudo apt install gpac
To confirm the installation, press Y and then press
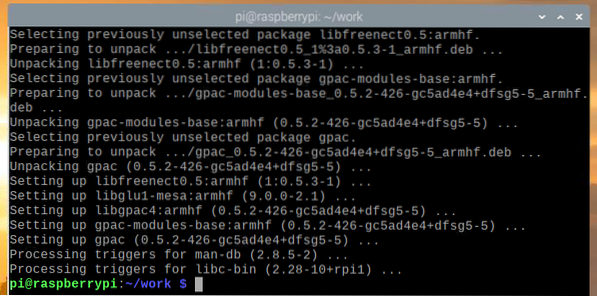
Now, gpac should be installed.
To convert a video3.h264 file to MP4, run the following command:
$ MP4BOX -add video3.h264 video3.mp4
The H264 video is being converted to MP4 format.

At this point, the video has been converted to MP4.

By now, a new MP4 file should have been created in the project directory, as shown in the screenshot below.
$ ls -lh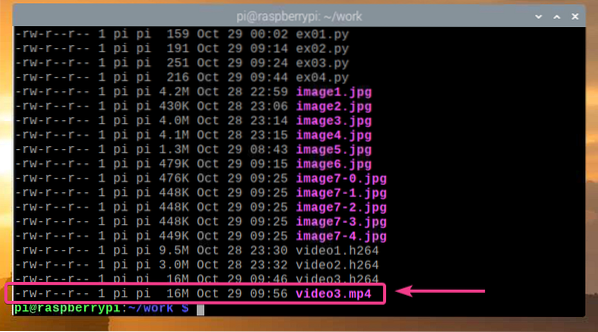
As you can see, the converted MP4 file is being played on the VLC Media Player.
Conclusion
In this article, we showed you how to connect the Raspberry Pi camera module to the Raspberry Pi and how to take pictures and record videos from the command line using the Raspberry Pi camera module and the Python programming language.


