If you have been using Windows 7 or Vista then you might have discovered this simple tweak already, but there are few users who don't know this small yet useful tip. So, I have dedicated this thread to learn how to enable or disable drive letters in Vista and Windows 7.
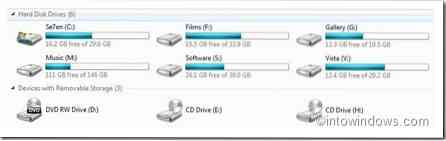
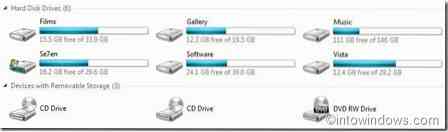
Usually we rename our drive from the default “Disk Volume” name to a good one. So if you aren't using the drive letter to identify any particular drive then it's good to remove/hide the drive letter to enhance the look of explorer.
Hiding drive letter is a very simple task in Vista and Windows 7 unlike XP. Follow the below steps to achieve this.
1. Open explorer. That is, double-click on Computer icon or any folder to open.
2. Go to Organize > Folder and search option.
3. Move to View tab and scroll down the bar till you locate the option named “Show drive letters”.
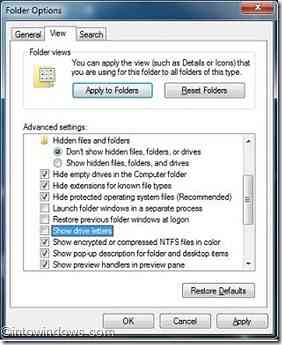
4. Uncheck the option “Show drive letters” to hide the drive letters and check the same option to show drive letters. Click on Apply button.
5. You are done!
Note that this tip works only on Windows Vista and 7 operating systems.


